Showing posts with label Scenics. Show all posts

Thursday, 21 May 2015

Corn Stooks! 15mm Scenery - Part 2

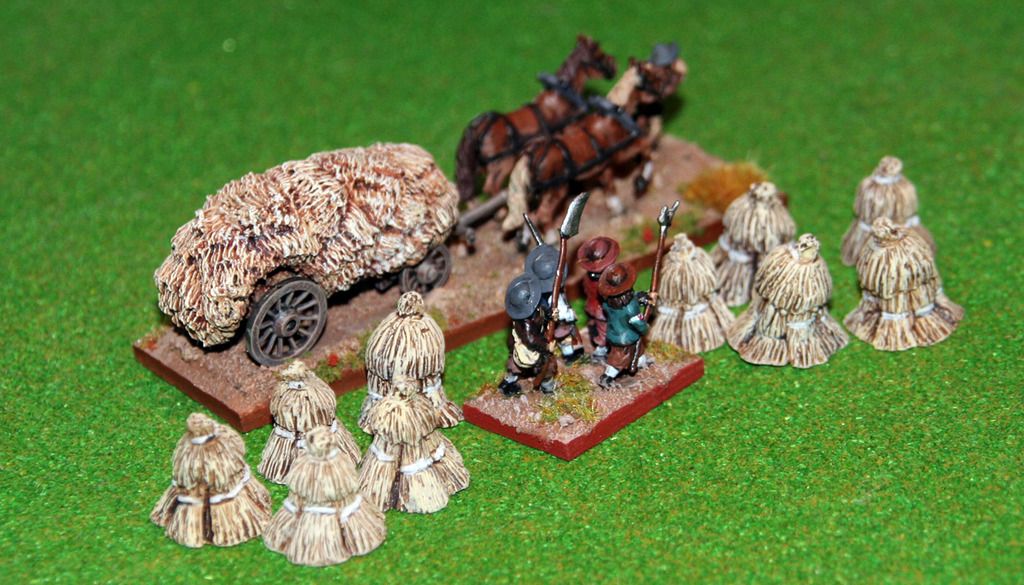
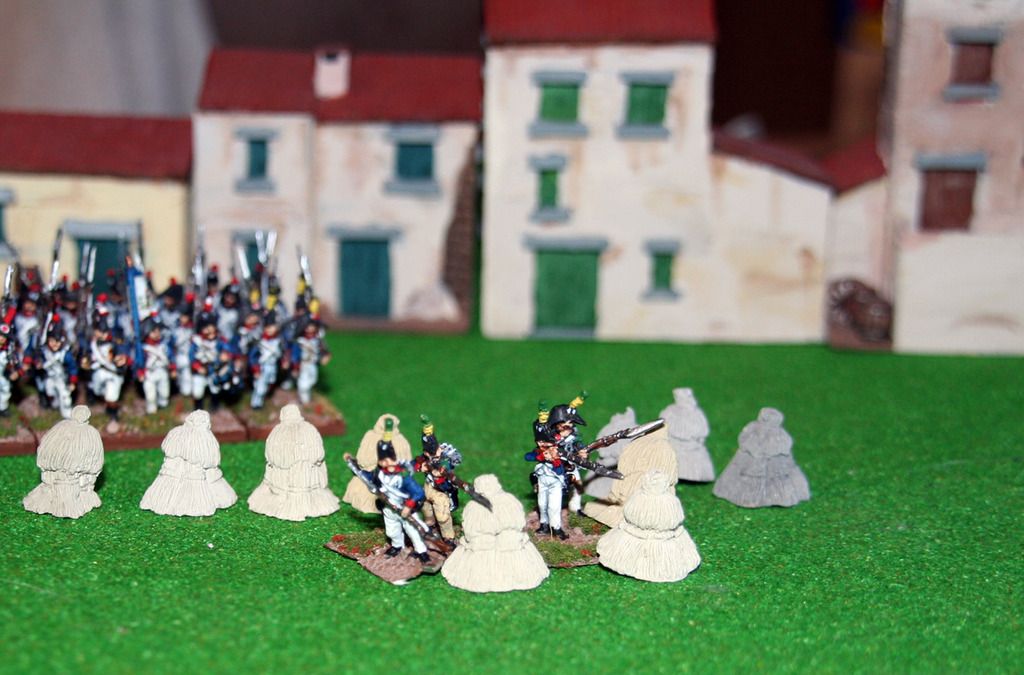
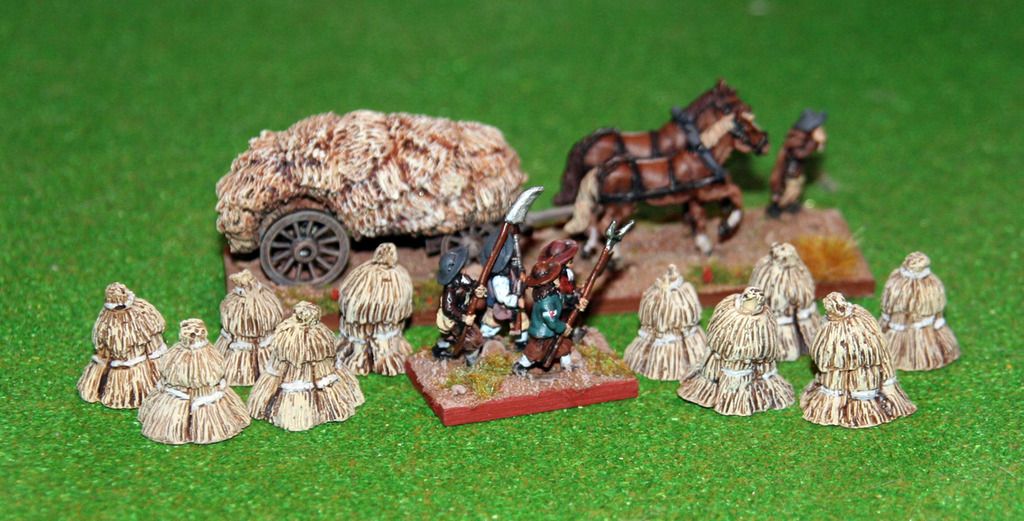
I finally got around to painting the corn stooks I purchased from Timecast. These got quite a quick paint job - undercoat in a sandy straw colour, a wash of Citadels Agrax Earthshade, and a dry brush of the sand with a tint of stomne grey. I highlighted the ties around the corn stooks - even though these would probably have been twisted straw and the same colour.

I decided not to base these separately, but may do so later.

Overall they came out quite well and will add a bit of interest to a table top.


These are pictured with the Museum Miniature hay wagon and Vendee from Alan Toillier.

Monday, 27 April 2015

Corn Stooks! 15mm Scenery from Timecast

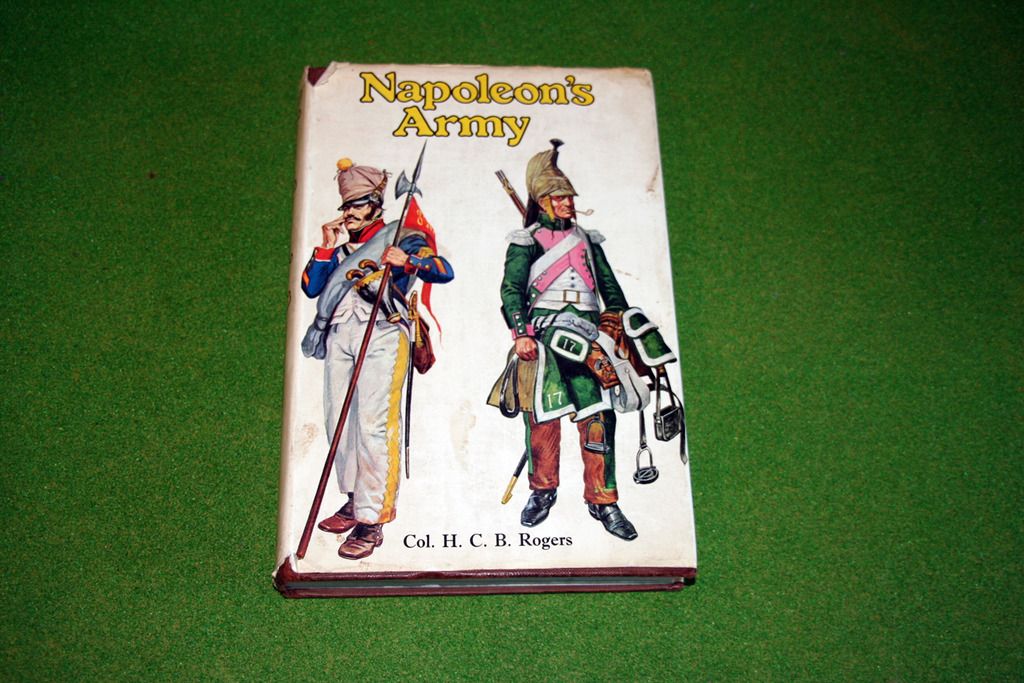
A while ago I picked up a book from a local charity shop, Napoleon's Army by Col. HCB Rogers. I've not had the chance to read all of it, but what I have read that is pertinent to the Marengo period is interesting though a little sketchy. There's lots of snippets that do more to spark curiosity about the era rather than actually explain it.


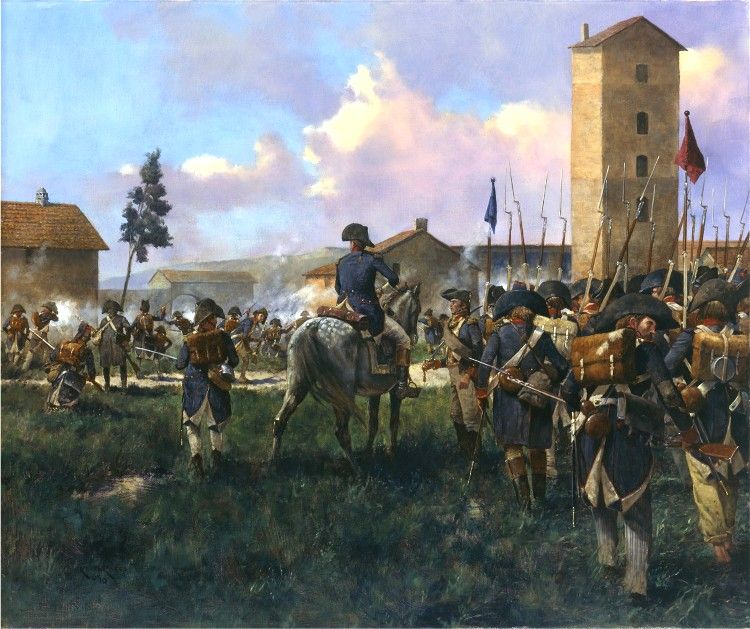
What I did like was some of the internal illustrations. I don't think they were produced for this publication as I'm sure I've seem them elsewhere, and there are no credits or sources. My favourite was this one, described as "Infantry in Italy, 1796".


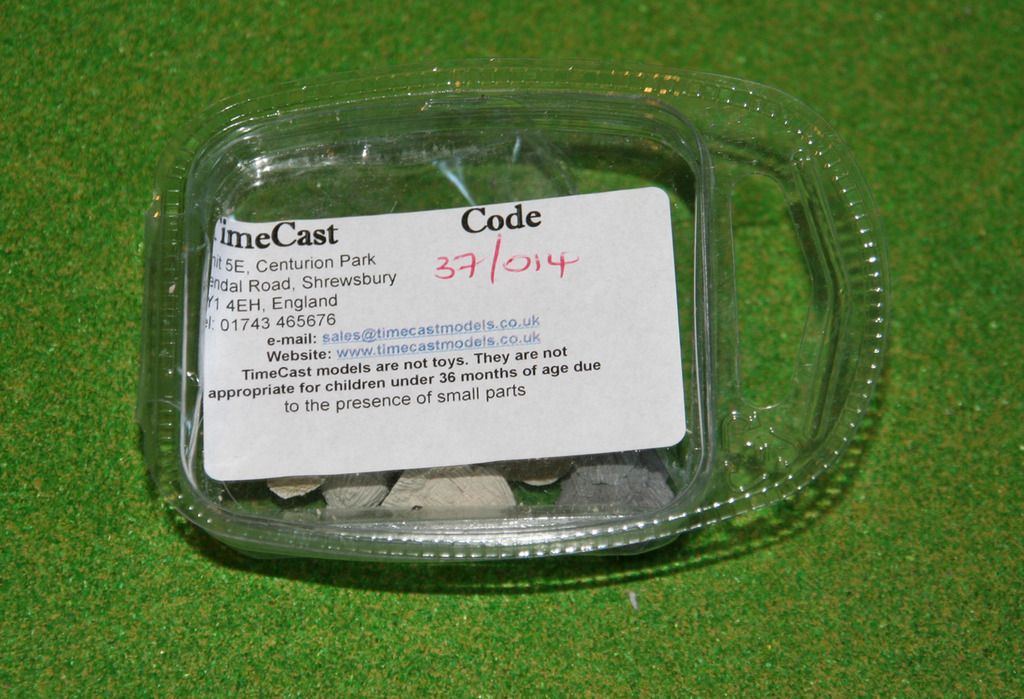
The background buildings are great and I may attempt building some of those in the future. What I really liked were the haystacks, or more accurately Corn Stooks (though they probably had a different name in Italy. I had thought about making these myself but luckily hadn't got around to it when I spotted that Timecast actually had these in their catalogue, specifically in the General Scenic Items range, and available here. They come in 6mm, 10mm and 15mm scales, and at only £2.50 for a pack of ten (the website says 20 but that's obviously an error) the value of these was great.

I'd ordered a pack of Old Glory figures (sidetracked again - I'll post these later but they are SYW / FIW) and included these corn stooks in the order. That was Friday and on Monday they are through the door. How's that for service?

So how did they look? Absolutely fine.

They were well packaged, both the scenic items and figures in a secure bubble wrapped bag. As usual with Old Glory its a big bag of figures with there guns tangled and flag poles bent, but the price is great and there were no broken figures. A bit of care and all is fine with them.


The stooks themselves came well packaged as you can see, so lets pop them open and have a look...


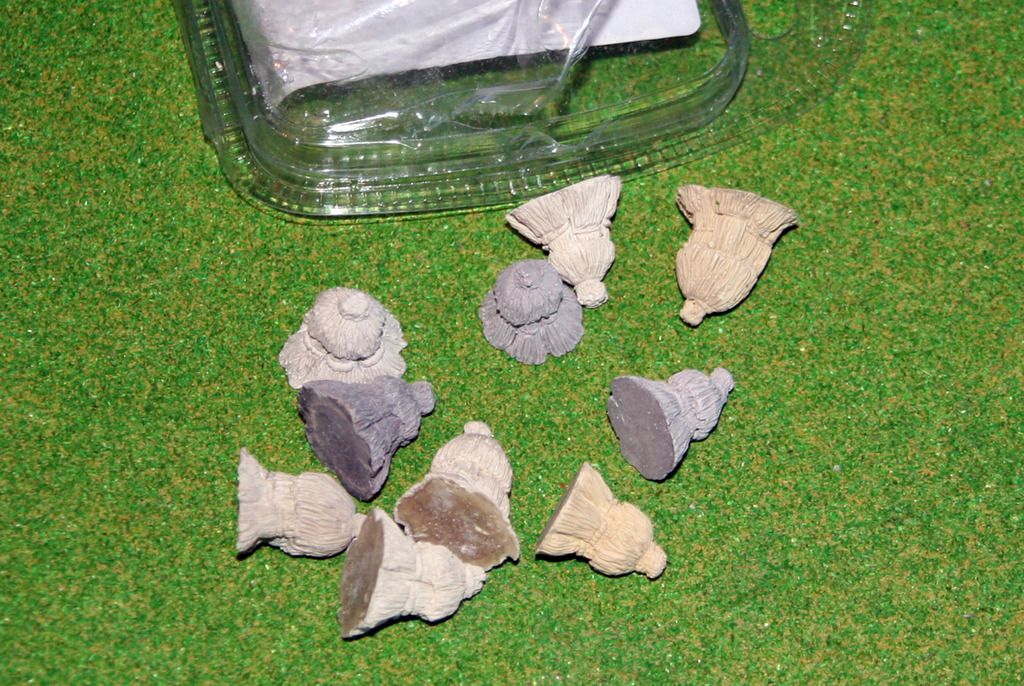
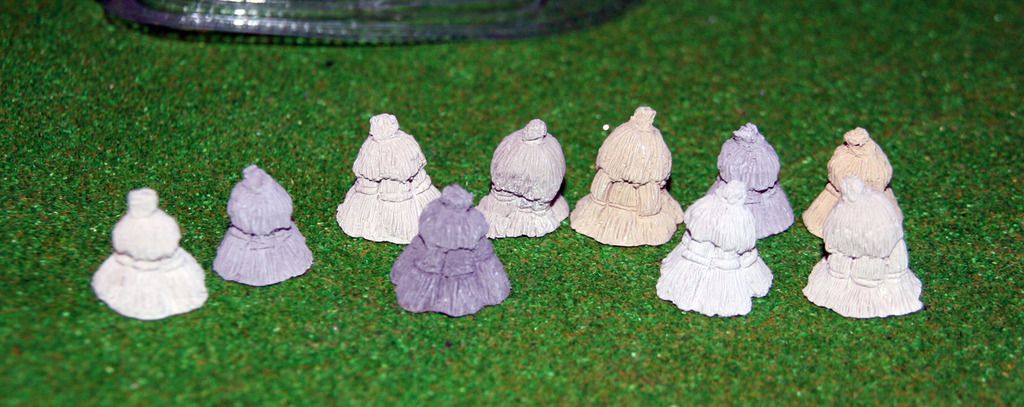
So ten little resin scenic items. They are in different colours for some reason, the resin has a matt feel to it, and they don't stink like some other resin items do.


There are a few variants here. I was expecting them all to be the same, or maybe two designs, but there are quite a few different models here. I like these. They look like they will paint up rather nicely.

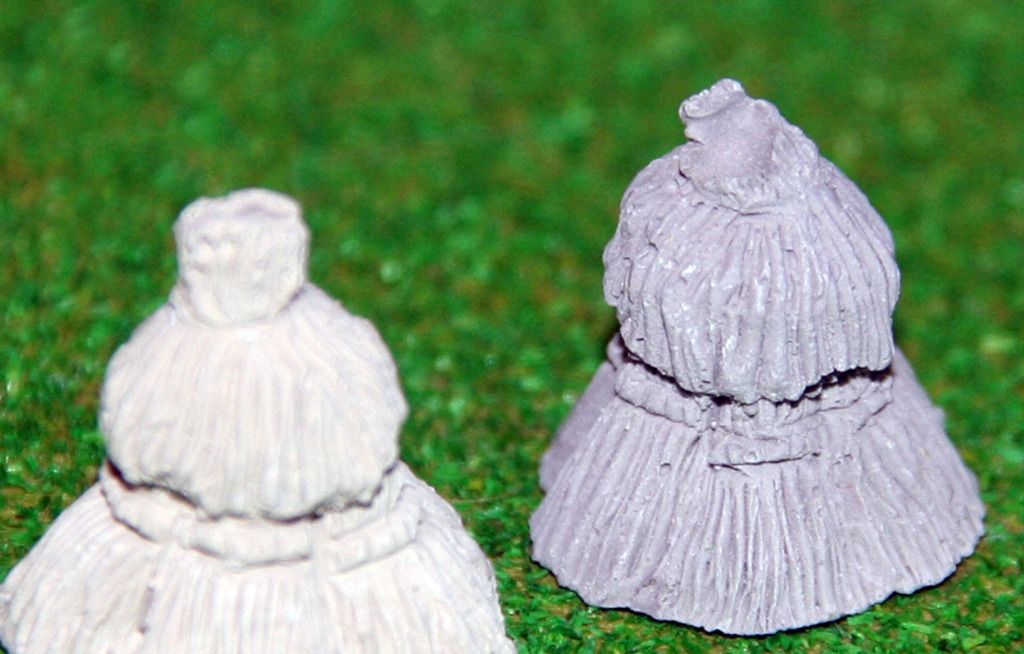
A closer look shows a few bubbles, which some may quibble about but I will easily be able to fill those. The bubble all seem to be at the topmost section of the stooks, but these are overall decent little sculpts.


So how do they compare to the figures? They are slightly small, but then most of my miniatures are on card bases that raise the figures. I may base the stooks to compensate, or maybe that will make them take up too much table space. Once painted I'm sure they'll add a bit of interest to the table.

Here's how they compare to some of my French in a quick attempt to recreat the image from the book. (Which reminds me: I really need to rebase those skirmishers)


Maybe not a greatly interesting blog post, but I sometimes feel little things like these make a tabletop game that little bit more fun.

Unless someone points out that Marengo took place in June and the corn wouldn't be getting harvested yet..... hmmm.

Oh, and here's another interesting image from Napoleon's Army. "Troops of the Army of Italy". I like the little wagon and wish we could get more things like that in 15/18mm.

Friday, 27 March 2015

15mm Civilian Wagons Part 3 - Hay Wagon Completed

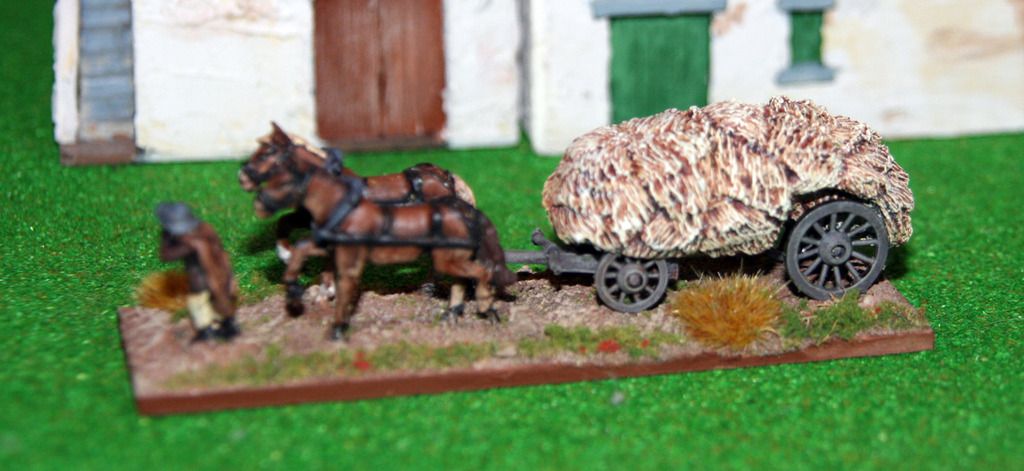
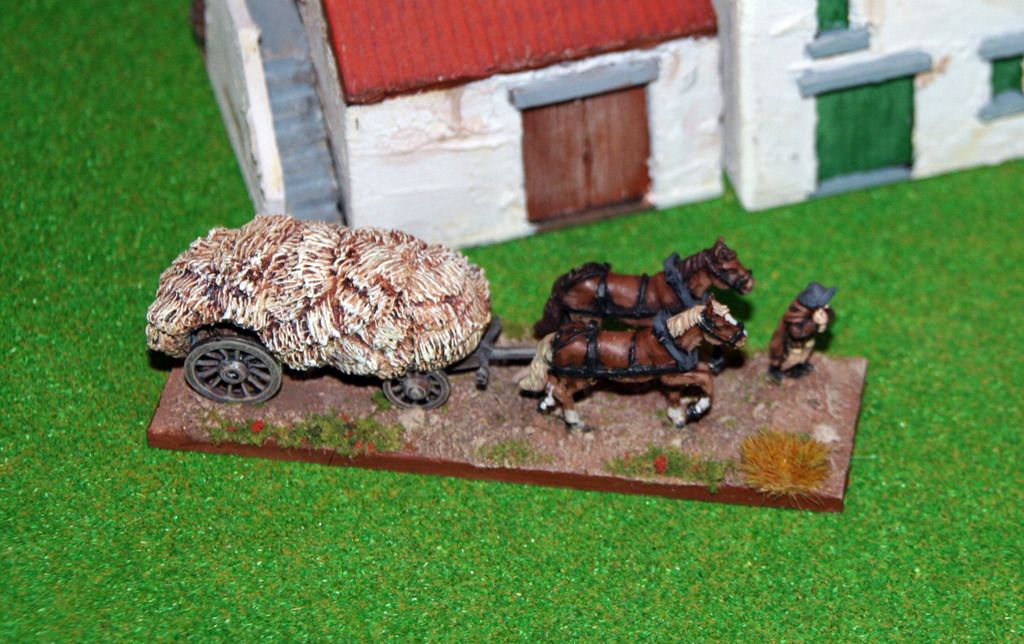
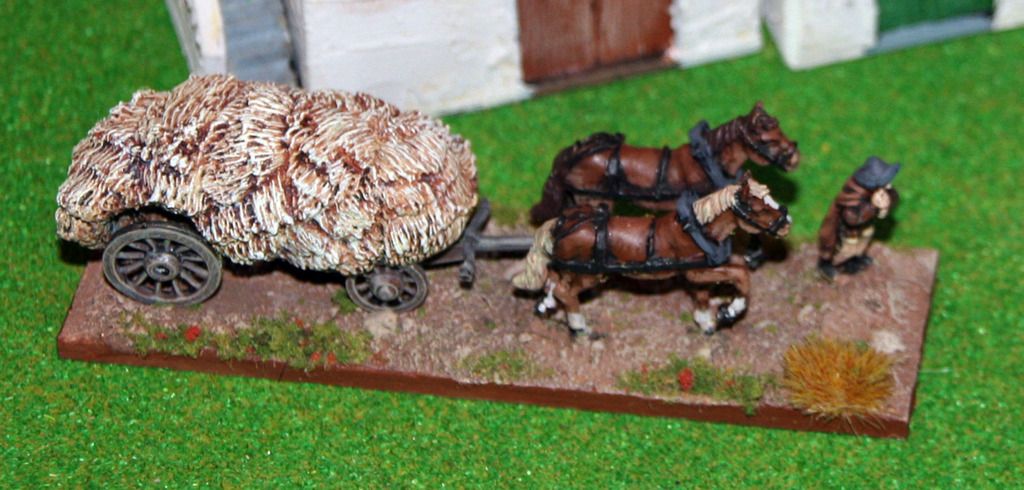
Just finished the Museum miniatures Hay Wagon, with Eureka horses. This was a fun little project and will be suitable for anything from Renaissance up to Napoleonic.

There needed to be a little bit of cheating with the scale of each part of this. The horses looked huge when compared to the figure and the wagon, so to boost the height of the other parts the figure and wagon had card under them to boost them up to so they looked better with the horses. This also helped the miniatures when sitting alongside 18mm figures.

Some of the pics are a bit blurry but you'll get a good idea how the wagon turned out.

I may at some point add a rope or reigns or something so the figure is pulling the horses and not thin air.

Wednesday, 11 February 2015

Making Roads (and putting some terrain and figures on the table)

The other day there the kids had me put the buildings, stream, bridge and trees out on the table with some figures, and what was clear was that I really needed to sort out the road situation. Now at the moment I have limited funds and some spare time, and with a pile of heavy card sitting under my desk, I decided to make myself a test piece of road.

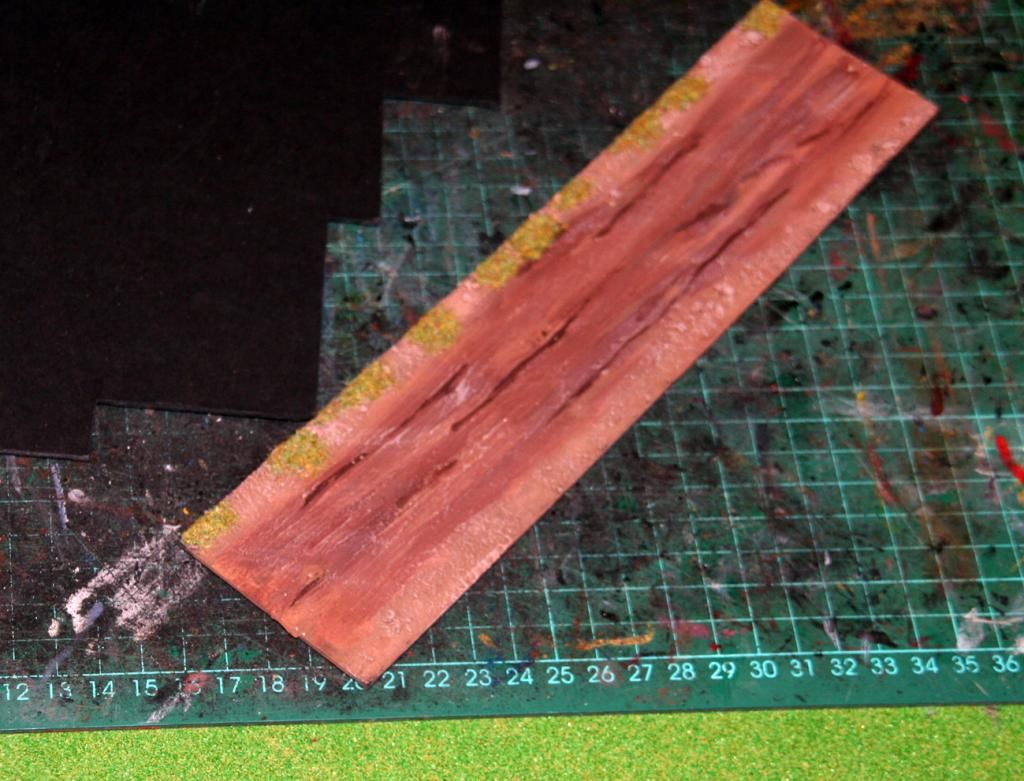
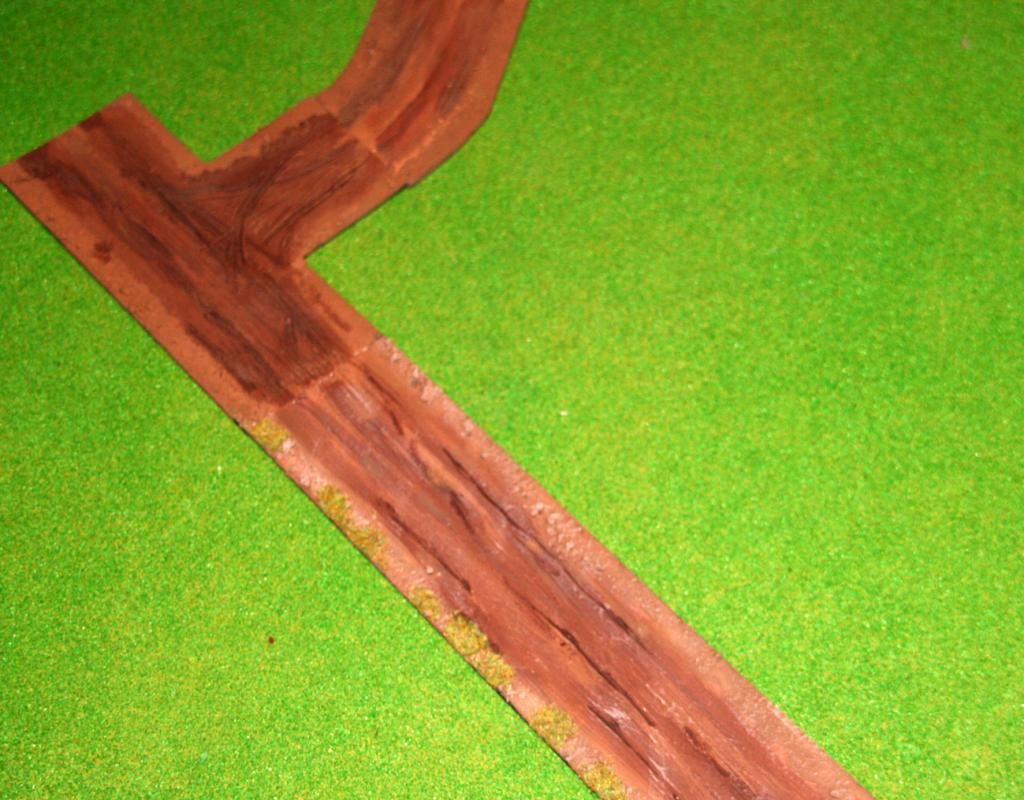
I cut a length of card, 60mm wide to allow a 40mm base width and 10mm each side for some grass, and plastered it lightly with grout. I scored the grout with a bit of scrap card and let it dry. Once it was dry I blobbed PVA glue along the edges and sprinkled sand and gravel. Once that was dry I painted the whole piece with the "chocolate" brown paint I picked up from a DIY store, let it dry, gave it a light wash of darker brown, then drybrushed with a 50/50 mix of the brown and a stone grey. I added a little static grass afterwards.

All in it took about ten minutes between doing some housework and it turned out not bad.

I had to be careful not to put too much onto the card so that it didn't warp. It still turns up a little but not too much.


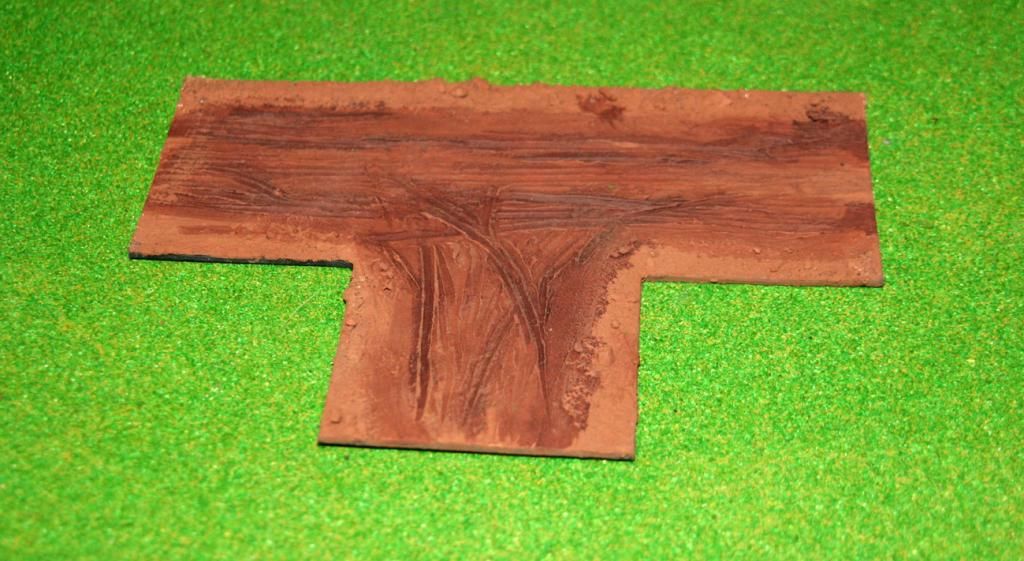
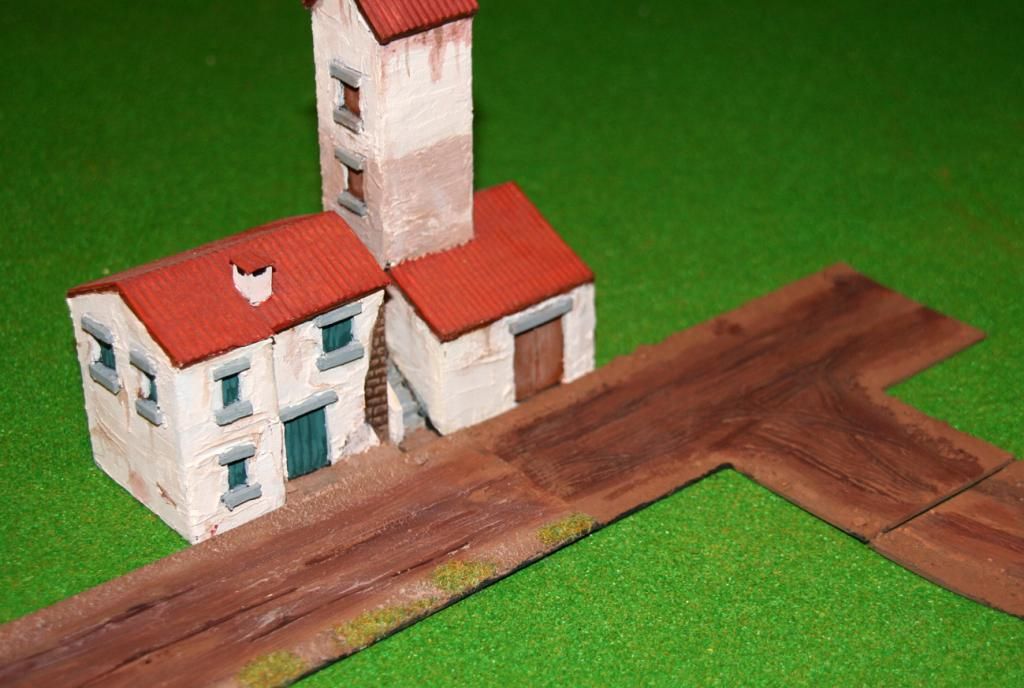
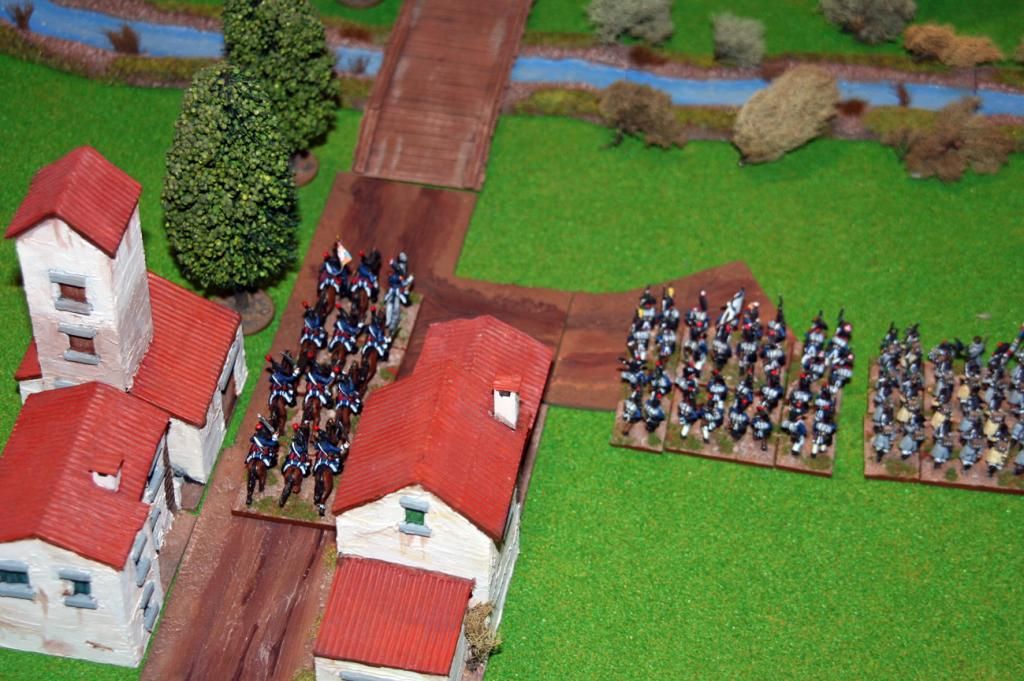
Once I was happy with this piece I did another couple of bits. A "T" junction and a curve. I still need to do a few more straight pieces, which I'll do shorter next time to avoid as much of a warp. These new bits haven't been drybrushed yet - just undercoated and washed, but that shows the painting process.


Then while taking these pictures I got carried away...

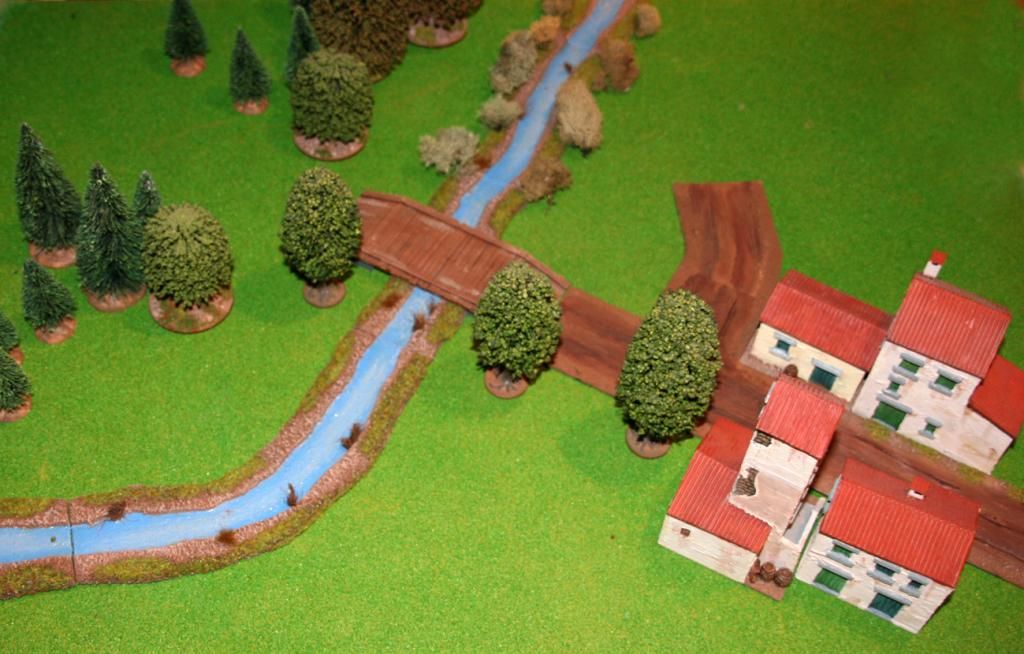
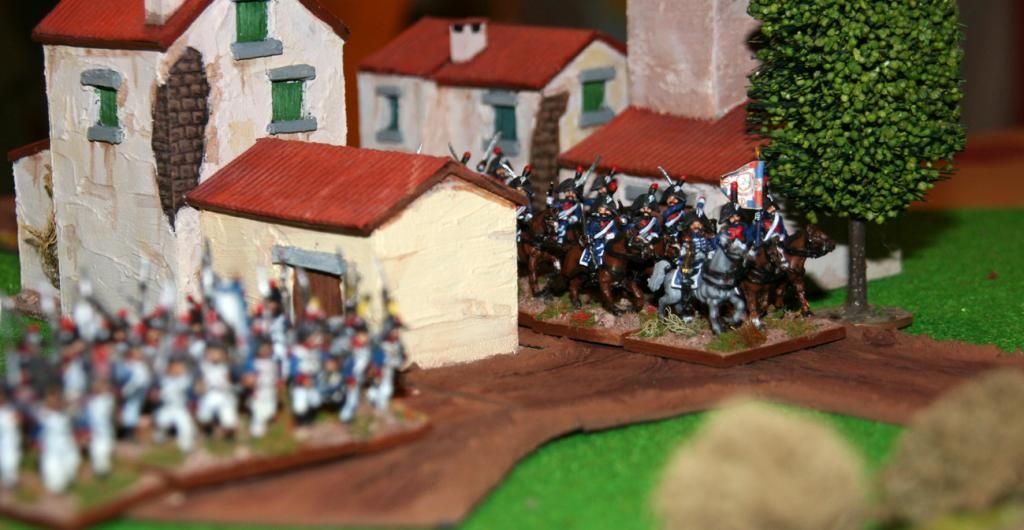
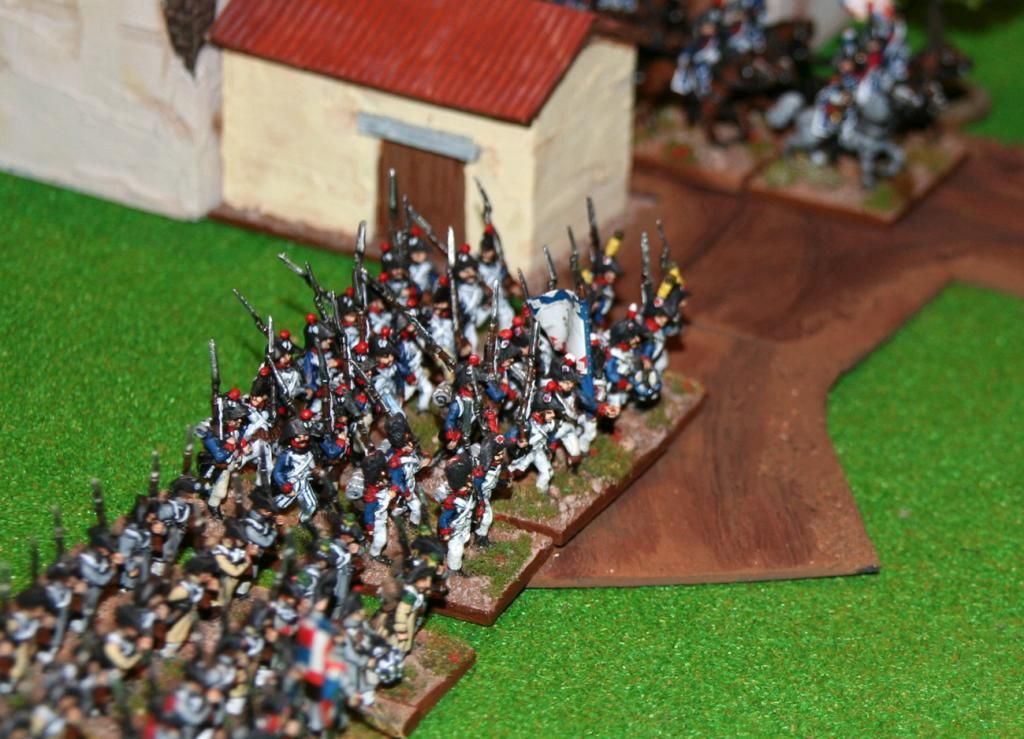
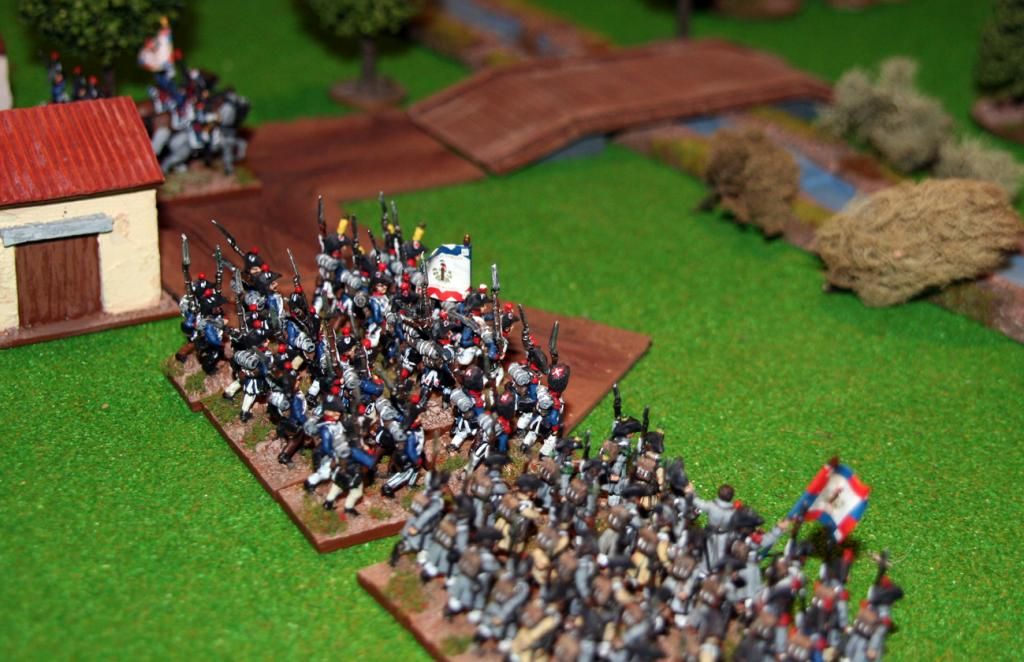
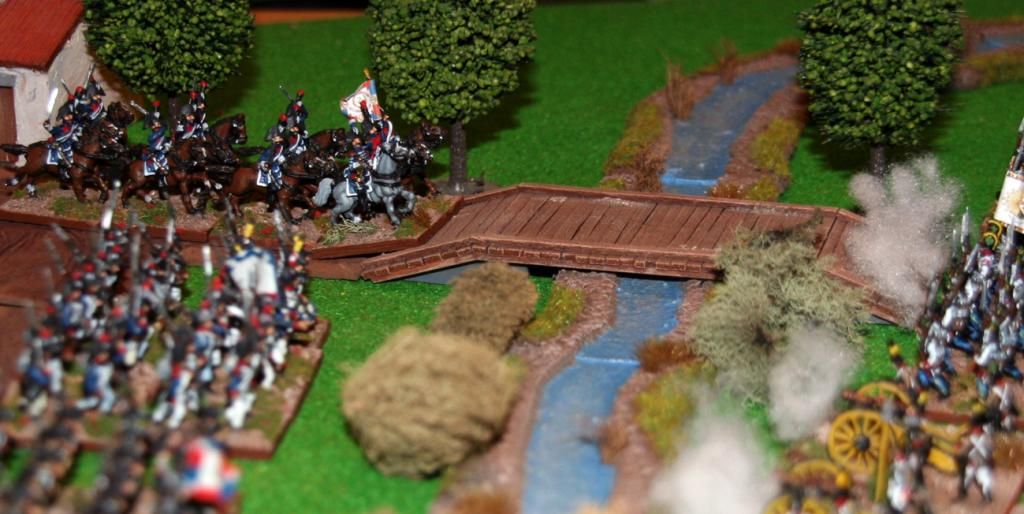
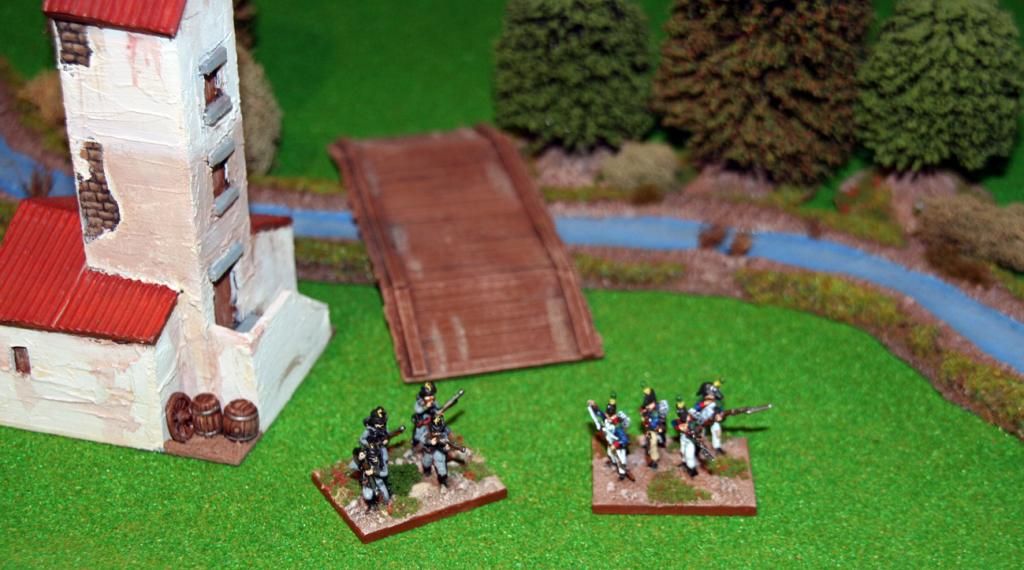
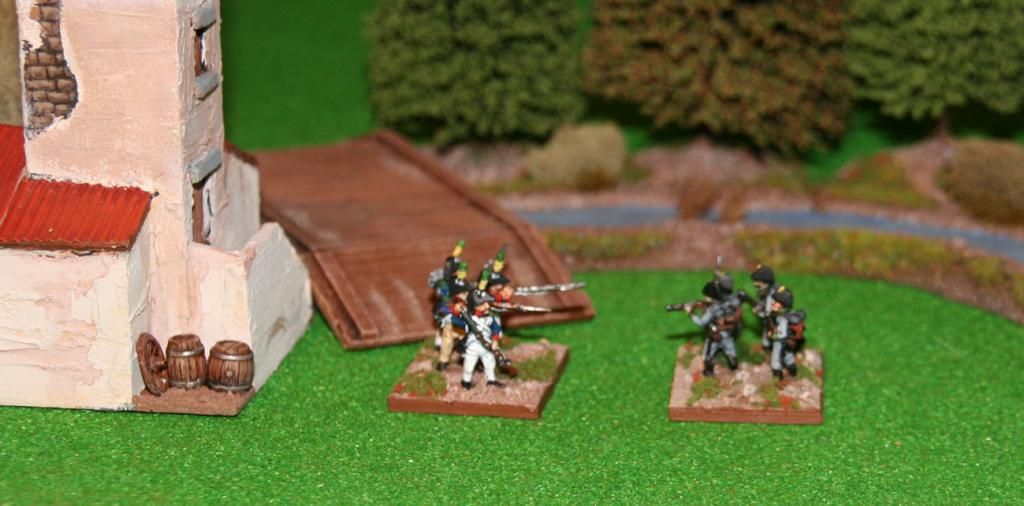
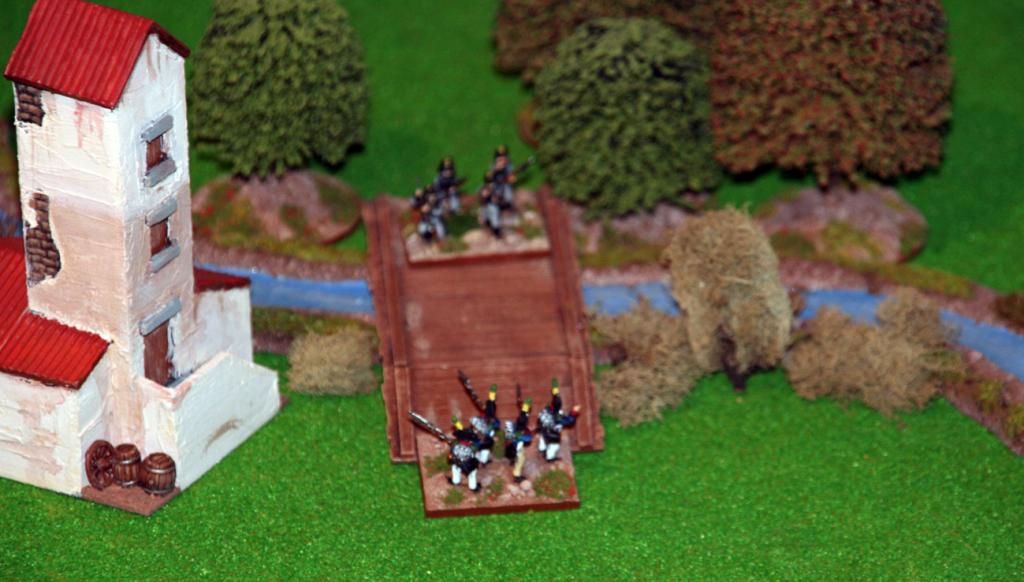
First I added a couple of buildings, then  some trees, then the stream and bridge, and before I knew it I was putting Marengo on the table. It's a very squashed version though as I didn't have much space. In a proper game I'd have a this all a but more spread out, and I need a lot more of the road pieces.


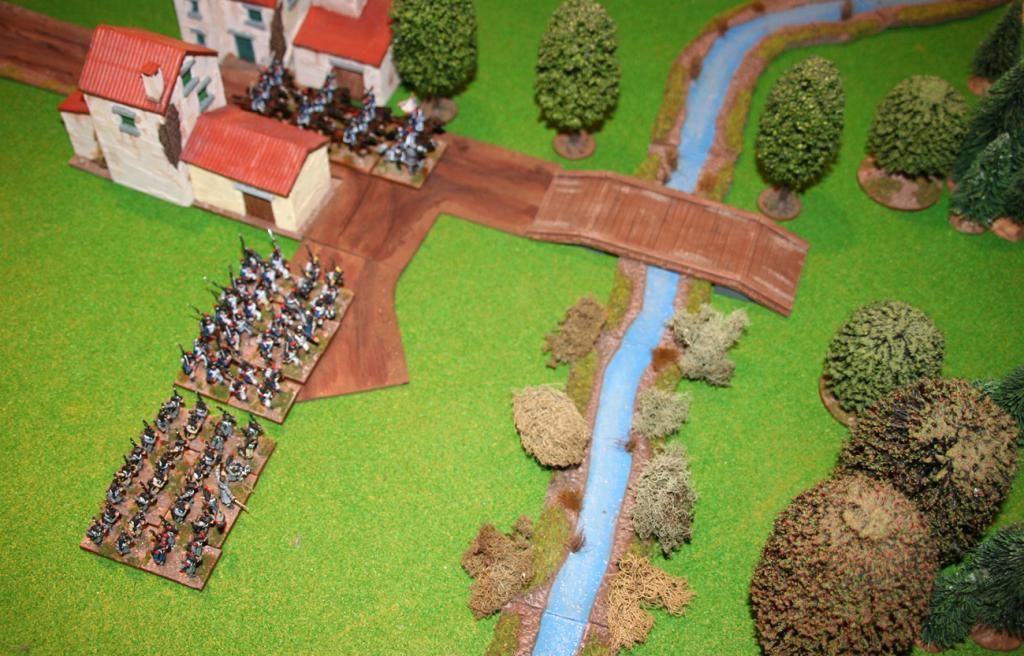
After putting out the terrain it only made sense to add some figures.

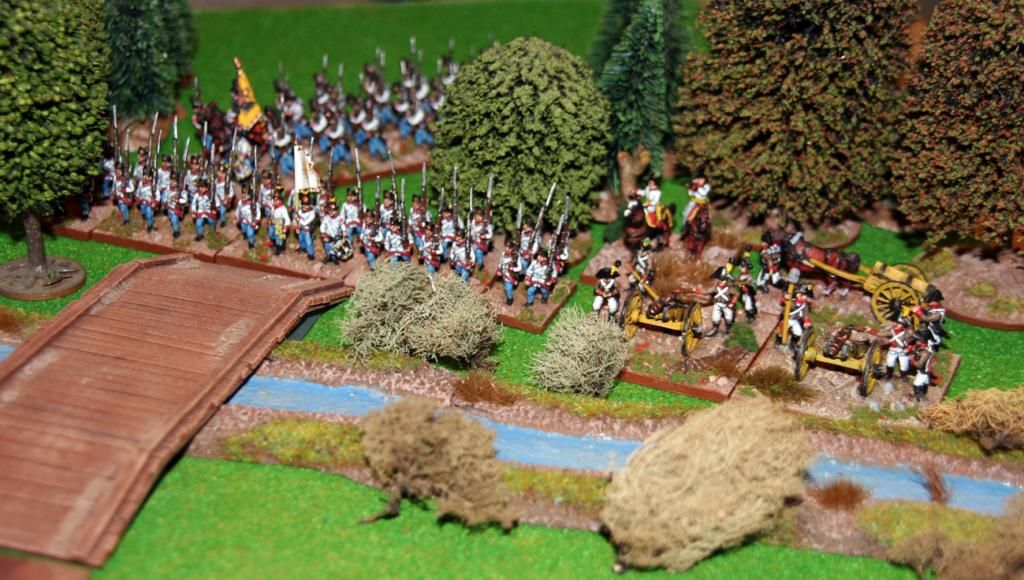
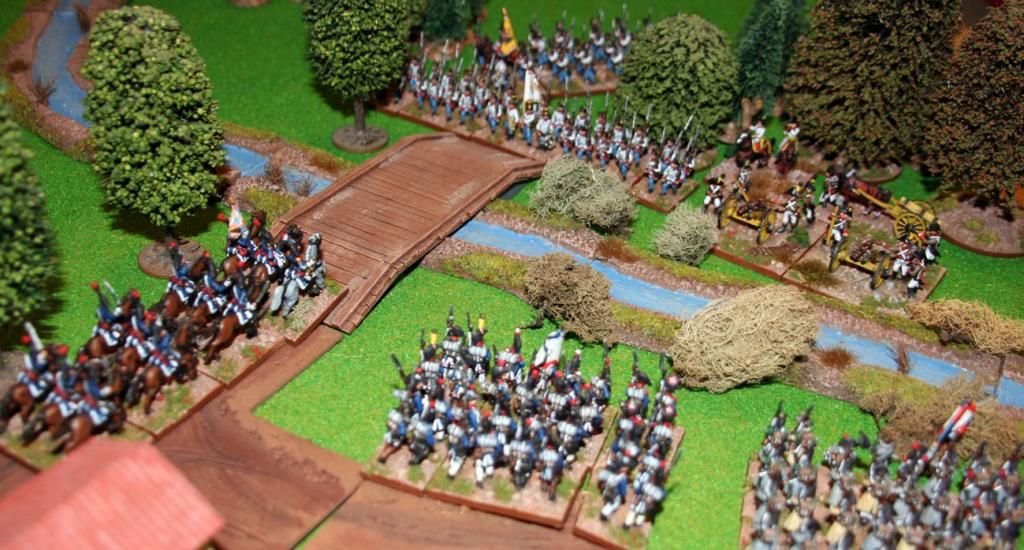
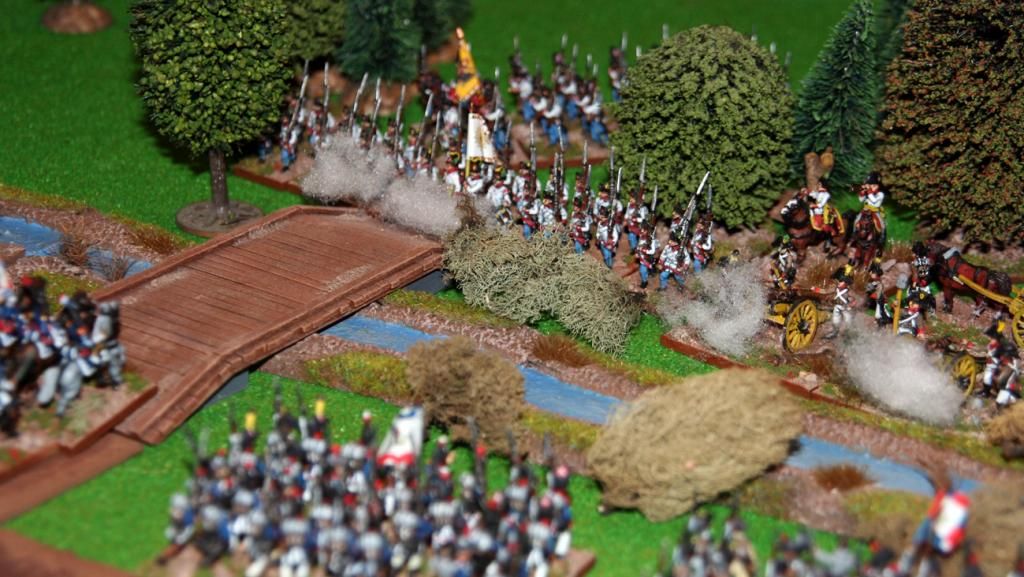
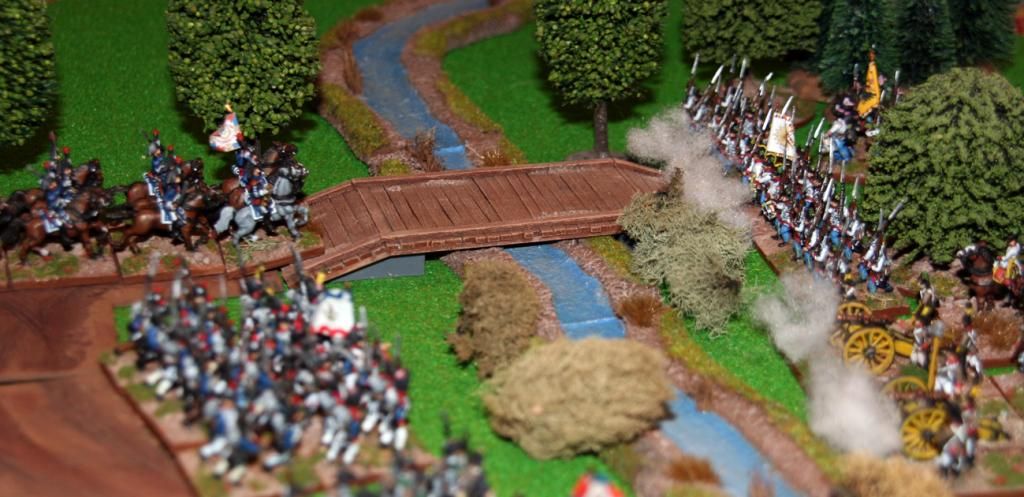
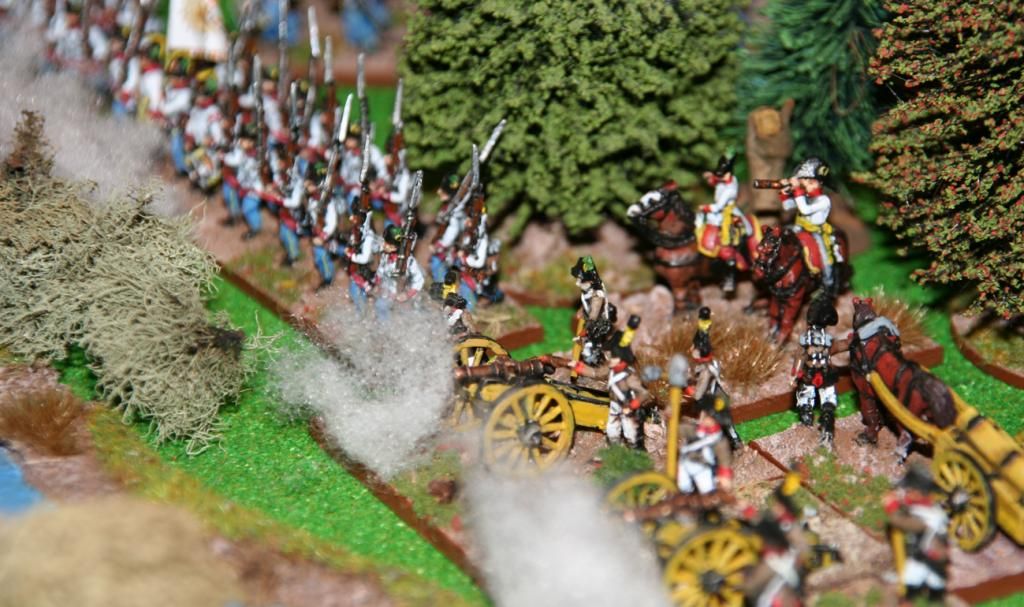
So here we have a small French force of two demi-brigades and a cavalry regiment marching through an Italian town and being met by a couple of Austrian Battalions supported by artillery.

 
So, after putting these out I've decided a few things. I need a lot more roads and a huge lot more gaming space, my streams are way too blue, and worst of all - my French Heavy Cavalry with added plumes... the plumes are a little fragile. Where's my super glue?
 :(
 

Saturday, 18 October 2014

Skirmishers - Austrian Jaegers vs French Voltigeurs

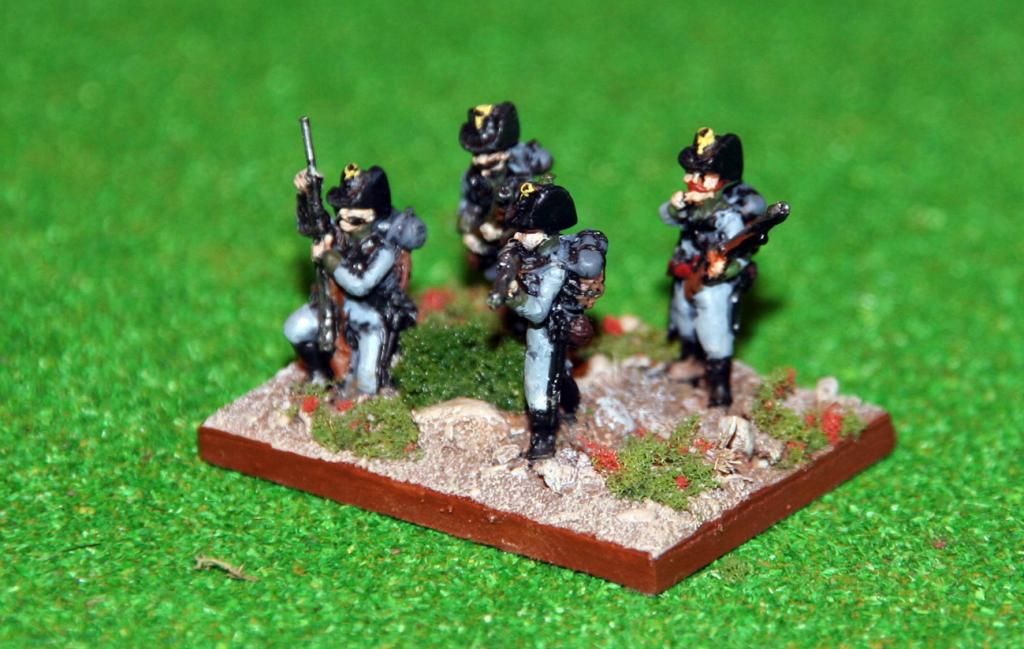
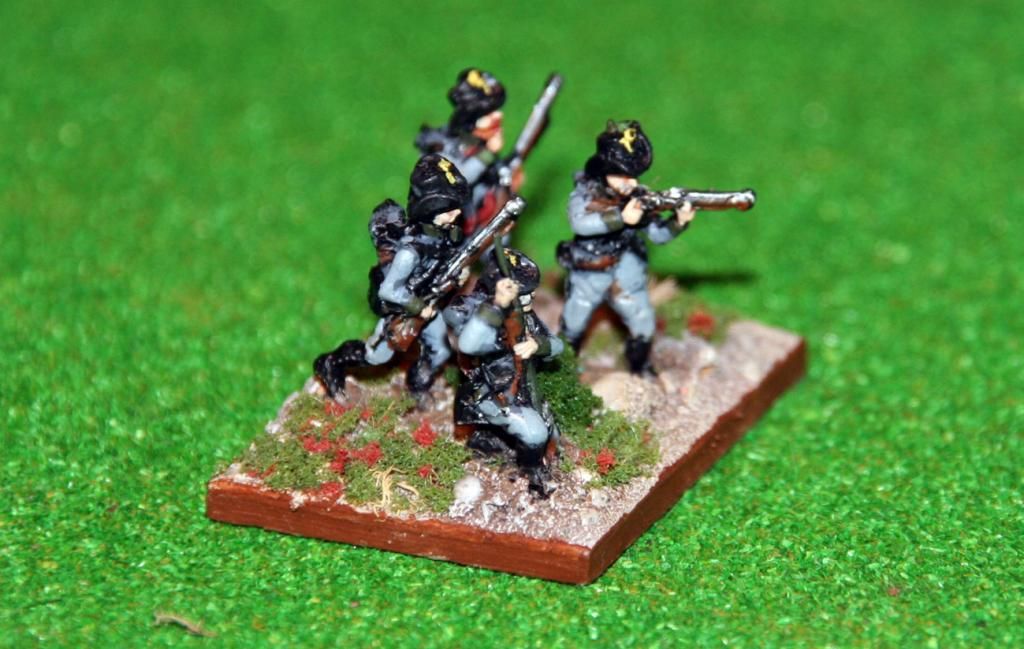
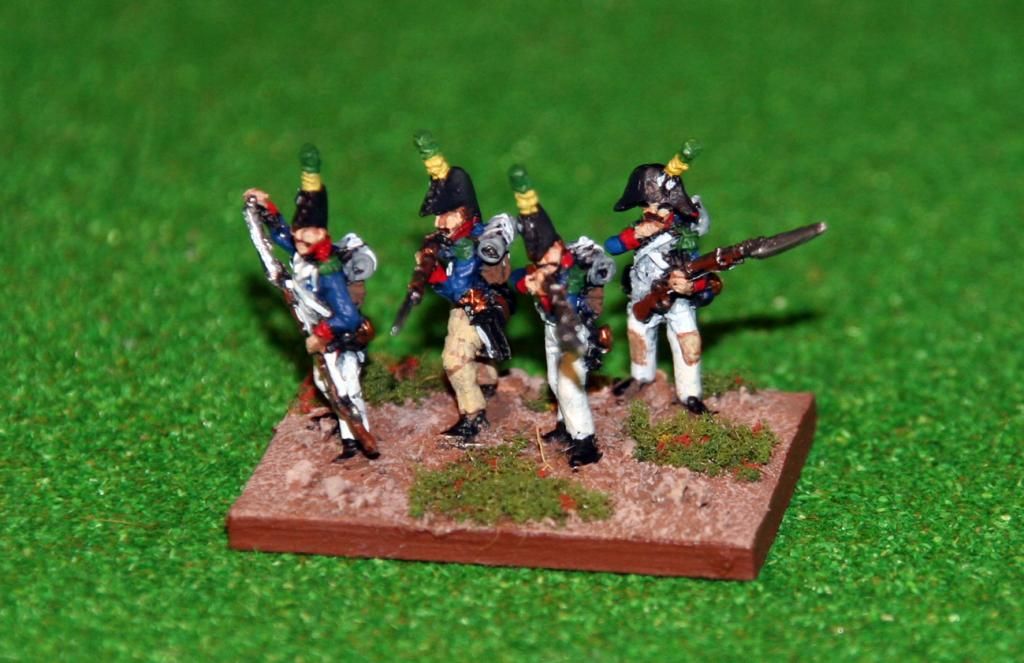
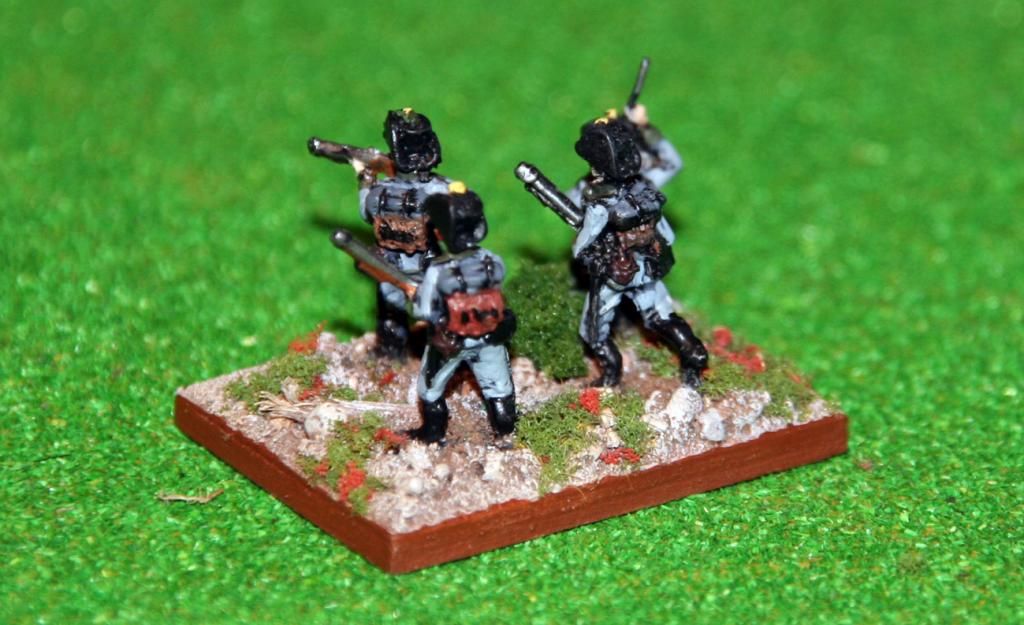
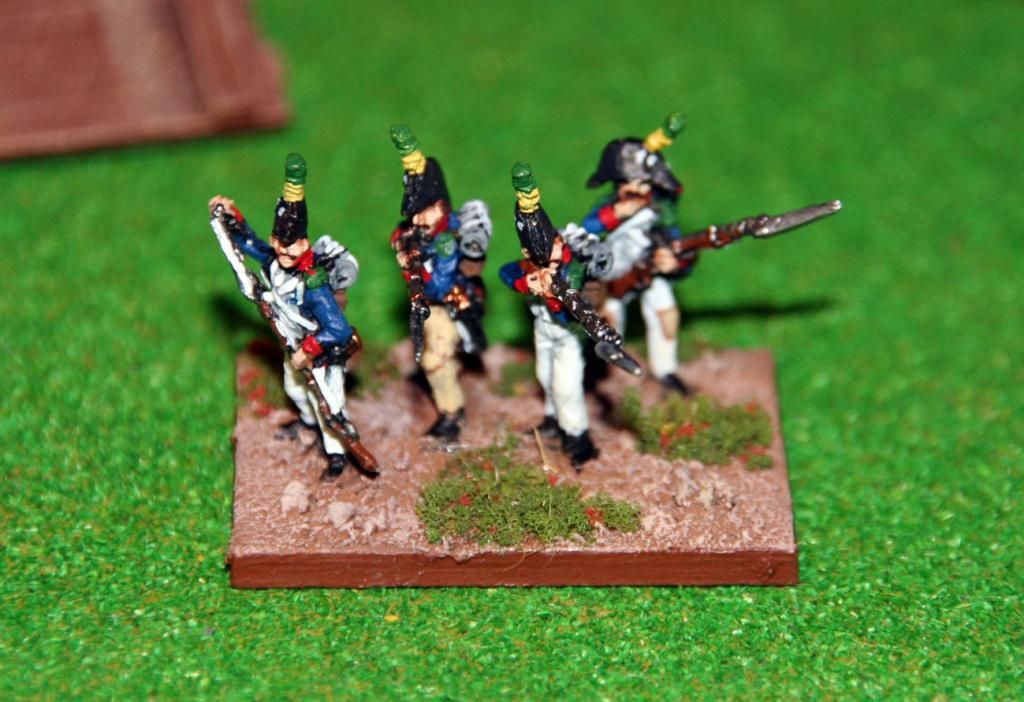
I've painted up a couple of bases of skirmishers, putting four figures per base as a test to see how the bases would look. The figures are Warmodelling and quite nice, although I'm not 100% happy with the quality of the miniatures, especially the Jagers. The faces are a little rough. On the table they look fine though, and I'm happy with the base sizes, though I may cut down to three figure per base and have more bases.

First up is the Austrians...


Followed by the French....
 
I tried a couple of "action" shots but couldn't get the focus right on these. I'll need to figure out how to use the camera a little better to get some better pictures...


Tuesday, 14 October 2014

Trees

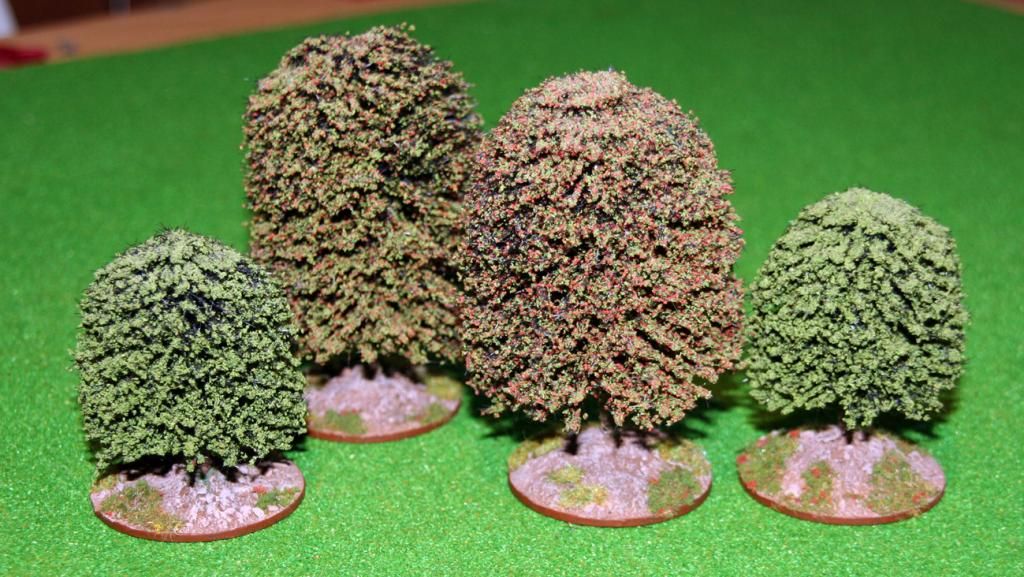
I also based some trees while waiting on the paint to dry on under coated miniatures. I always feel that a good wargame not only needs good miniatures and rules, but the scenery on the table always plays a strong part of the game. I've spent a fair bit of time building bridges, sorting out a Fontanone stream, and creating little scratch-built card buildings, and it was tempting to just put the trees on the table without spending any time on them. I decided to put these on mdf bases from warbases.com, a spread of PVA, a dusting of sand and grit, painted with my earth colour and drybrushed and flocked, and I have trees that are up to par.
Unfortunately, I have no idea who manufactured these. They've been hanging around in my garage for quite a few years now. I would like some more in the same style, but my other trees will have to do, even though they are of lower quality.

Monday, 22 September 2014

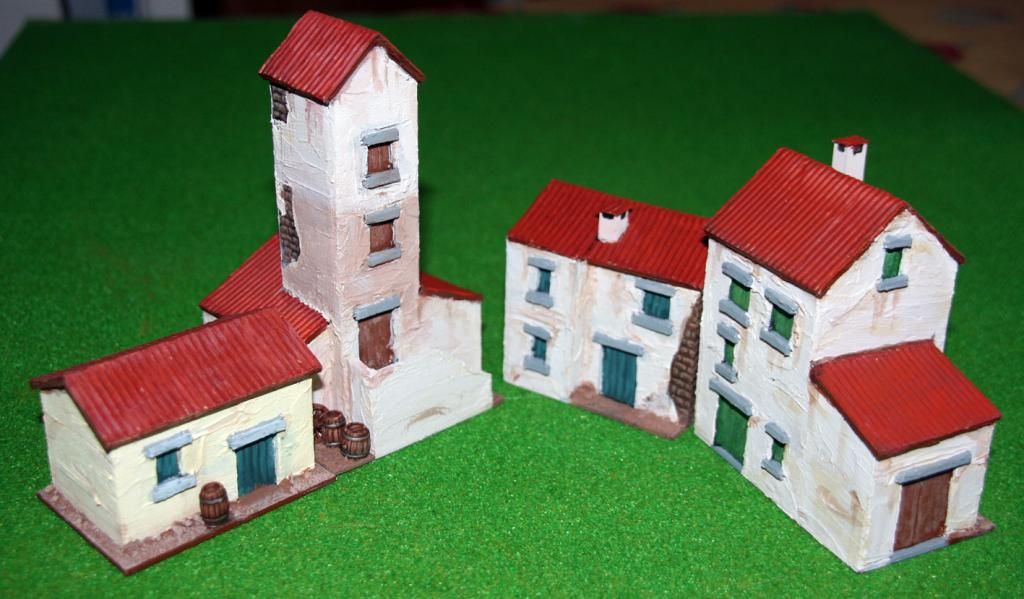
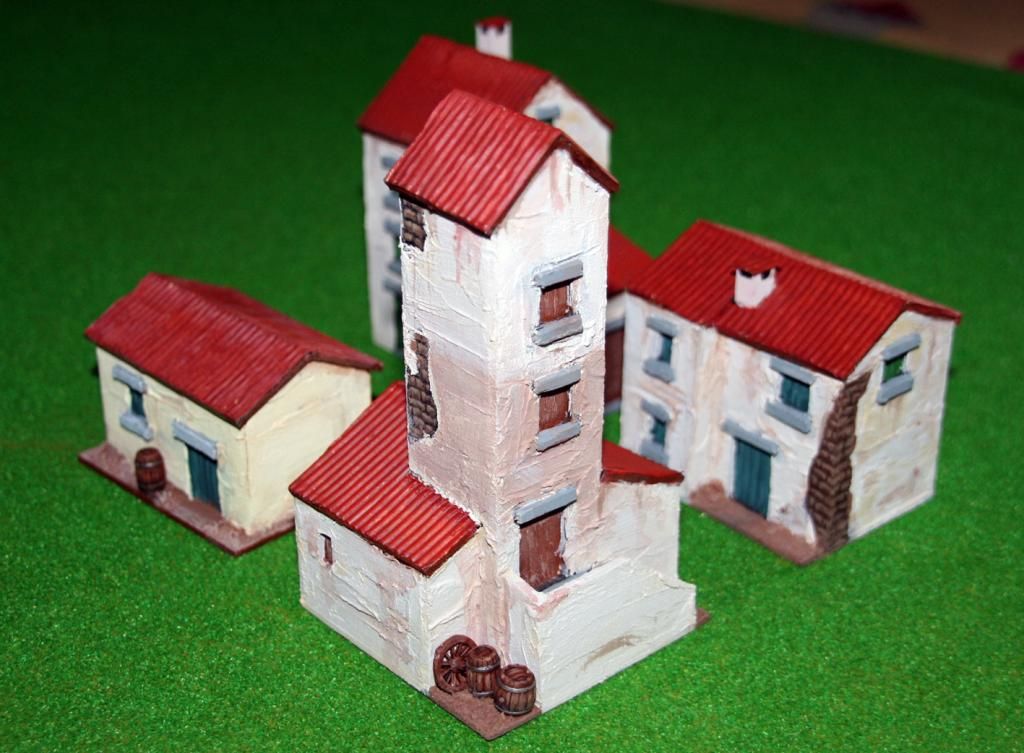
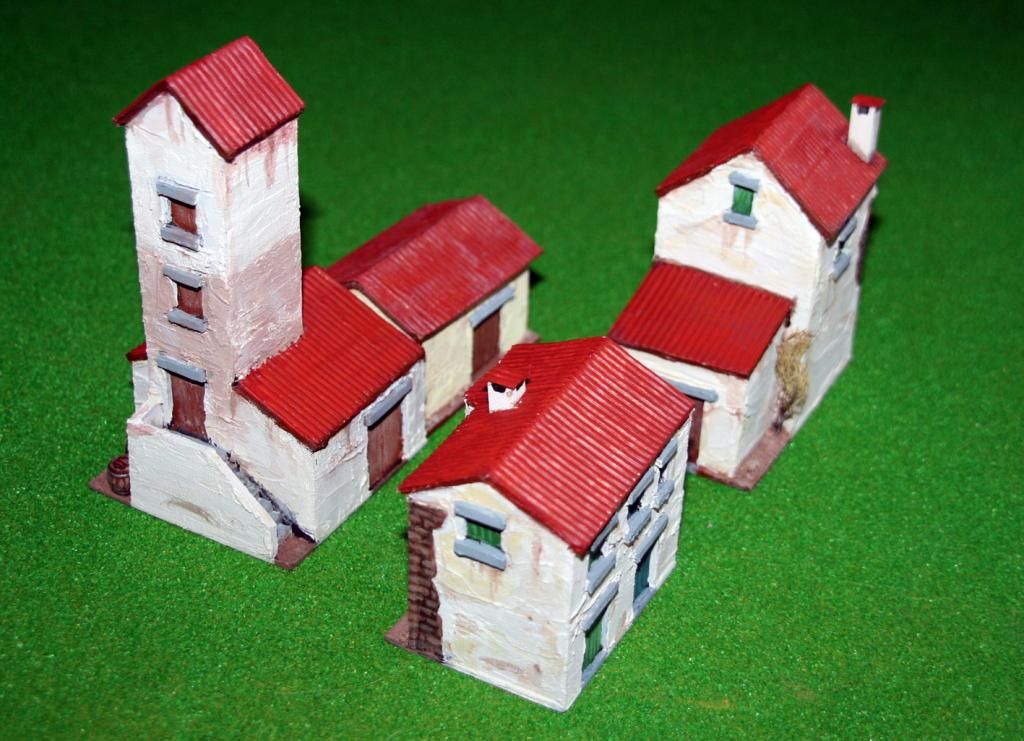
The Village of Marengo Part 3 - The Tower

Yet again real life has taken its toll on my Marengo project. A new job has eaten severely into my free time, and there's been very little improvement to my finances to allow any decent purchases - all that Austrian cavalry I need will have to wait a little longer.

But over the last month or so I have made some progress, but again time hasn't been kind enough to let me post on my blog until now.

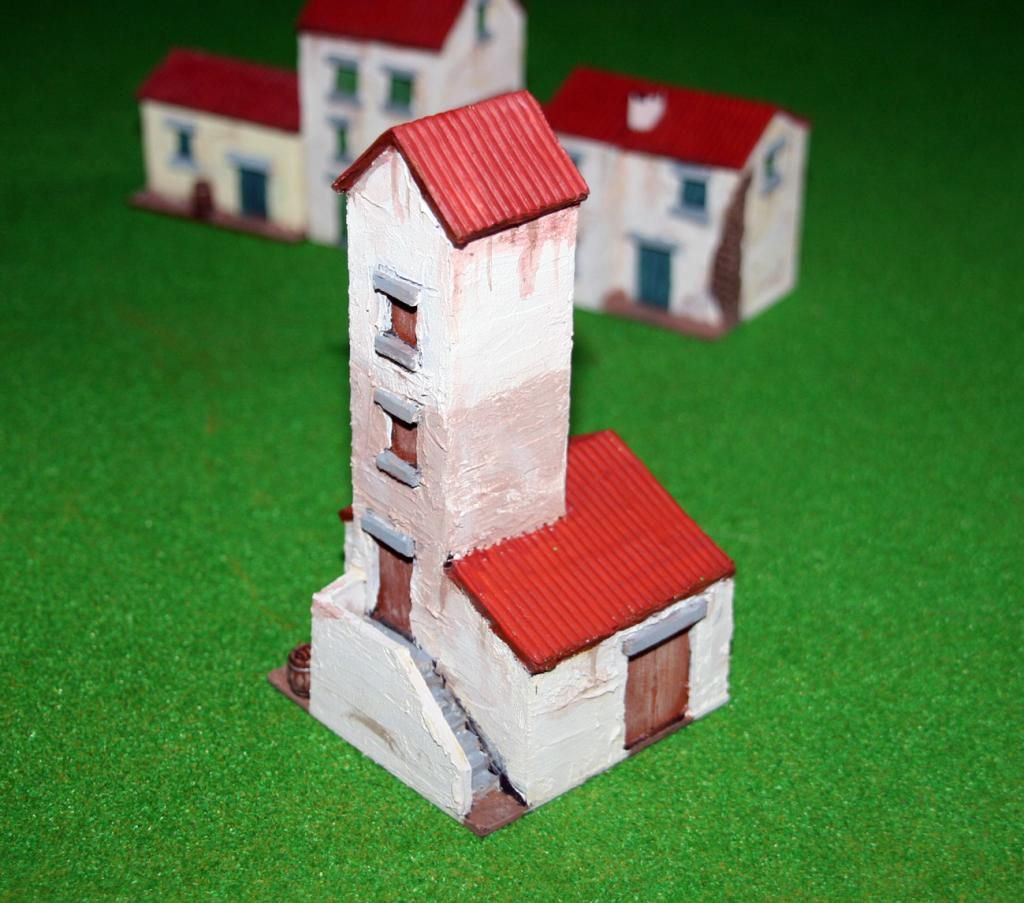
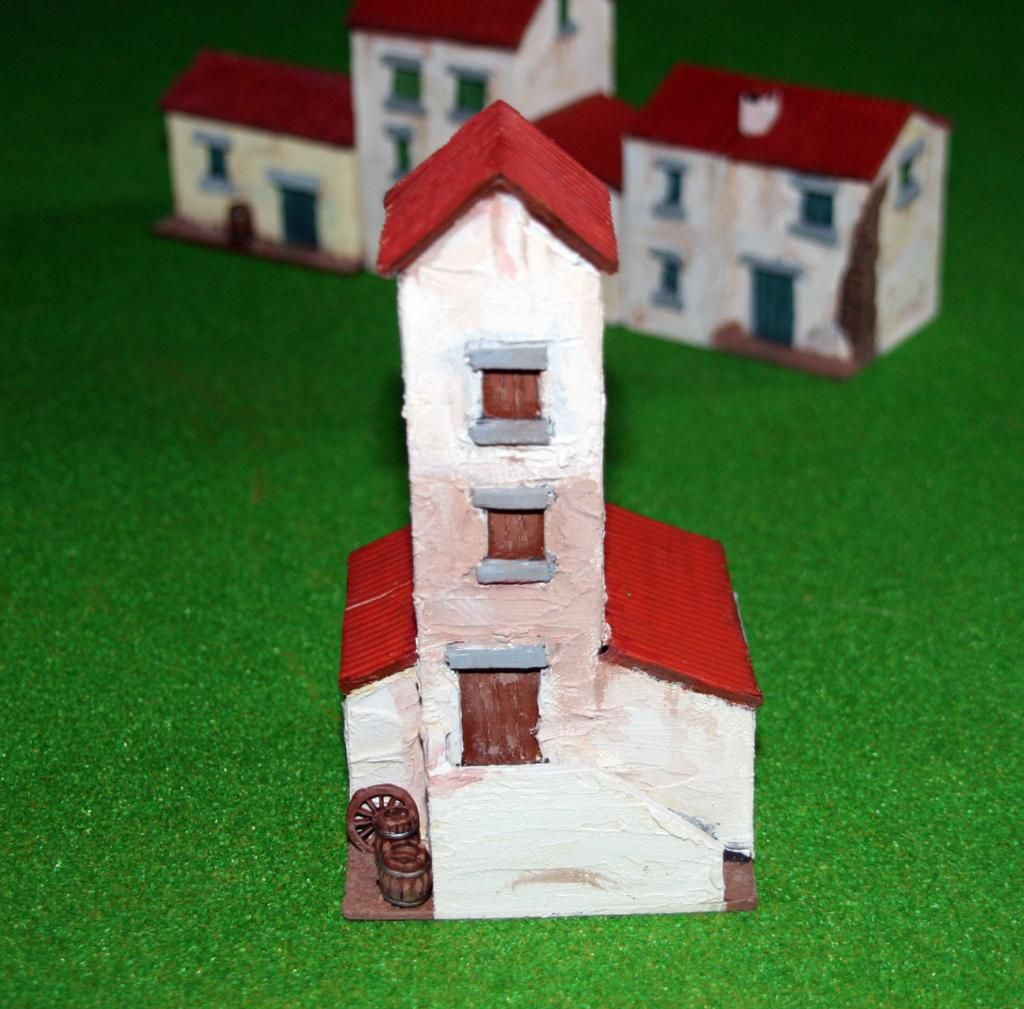
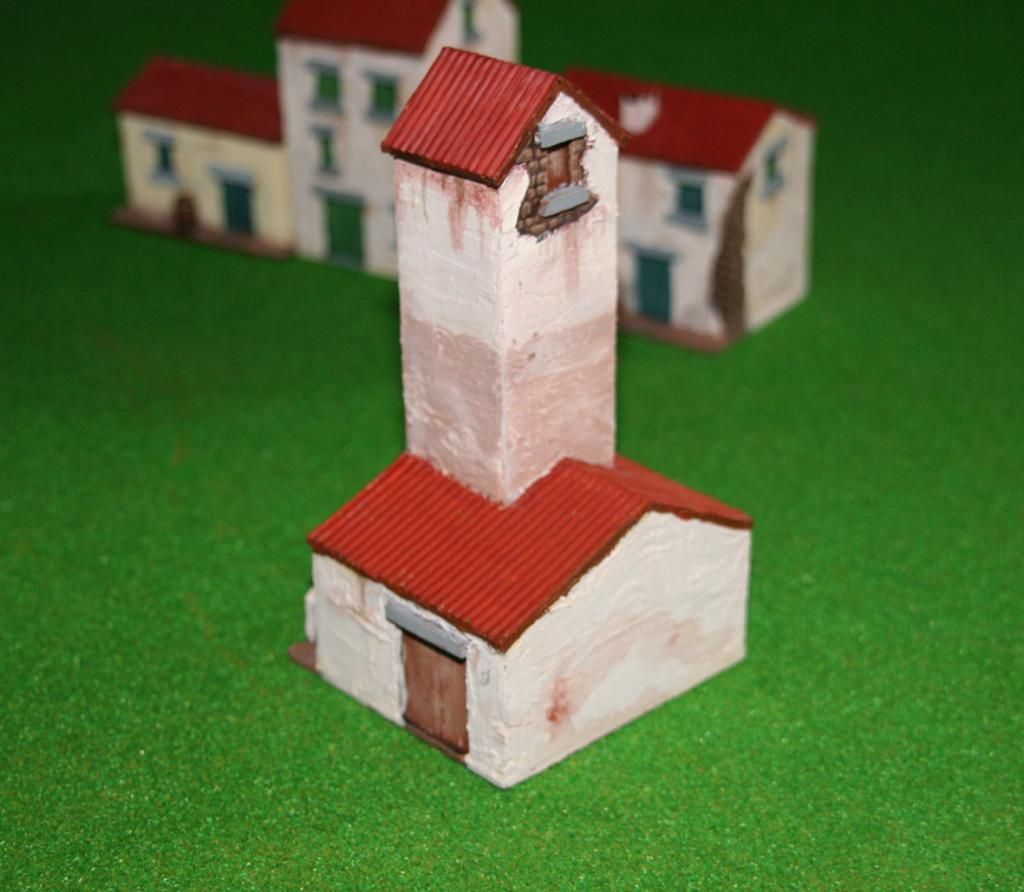
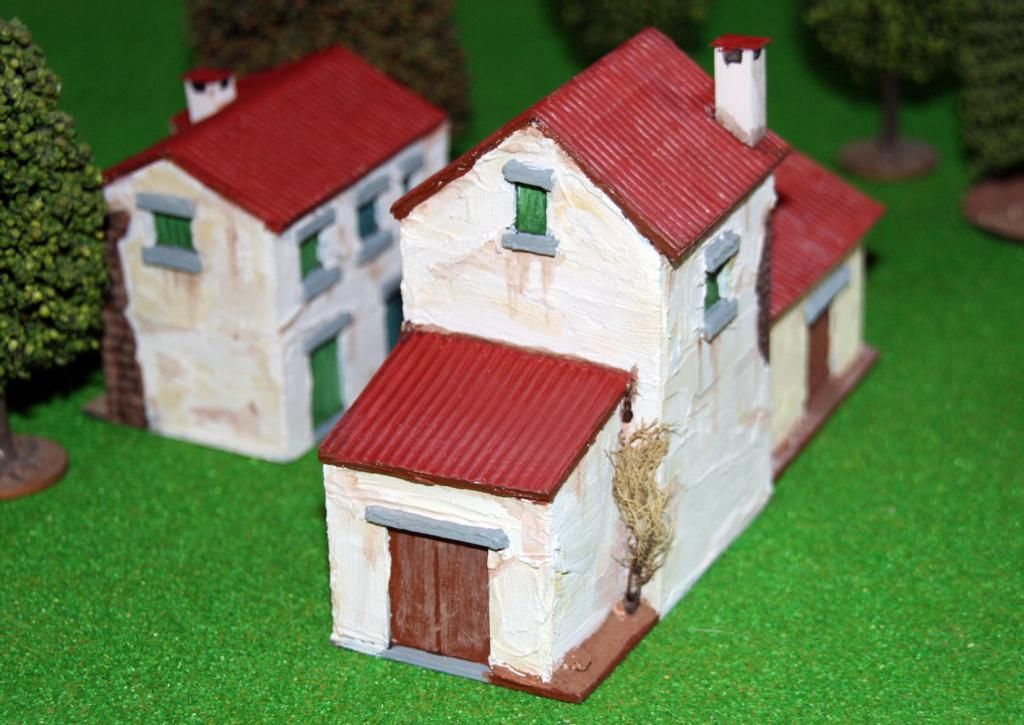
So here is an addition to my Marengo village scenery. The missing tower, which I knew next to nothing about. I'd actually started the model before being pointed in the right direction for some accurate reference by Dave Hollins, and I have to wonder why I haven't already got myself a copy of his Marengo 1800 book from Osprey.

The Tower at Marengo was apparently used for breeding silkworms, which is something else I was totally ignorant off, and there is great photographic reference to the building in Dave's book. Unfortunately, as I said, I'd started the model before seeing the reference and my Tower is fairly different to how the real one looked. But I'm justifying the difference so that I can use the model as any Northern Italian building, or possible even for any future Peninsular projects.

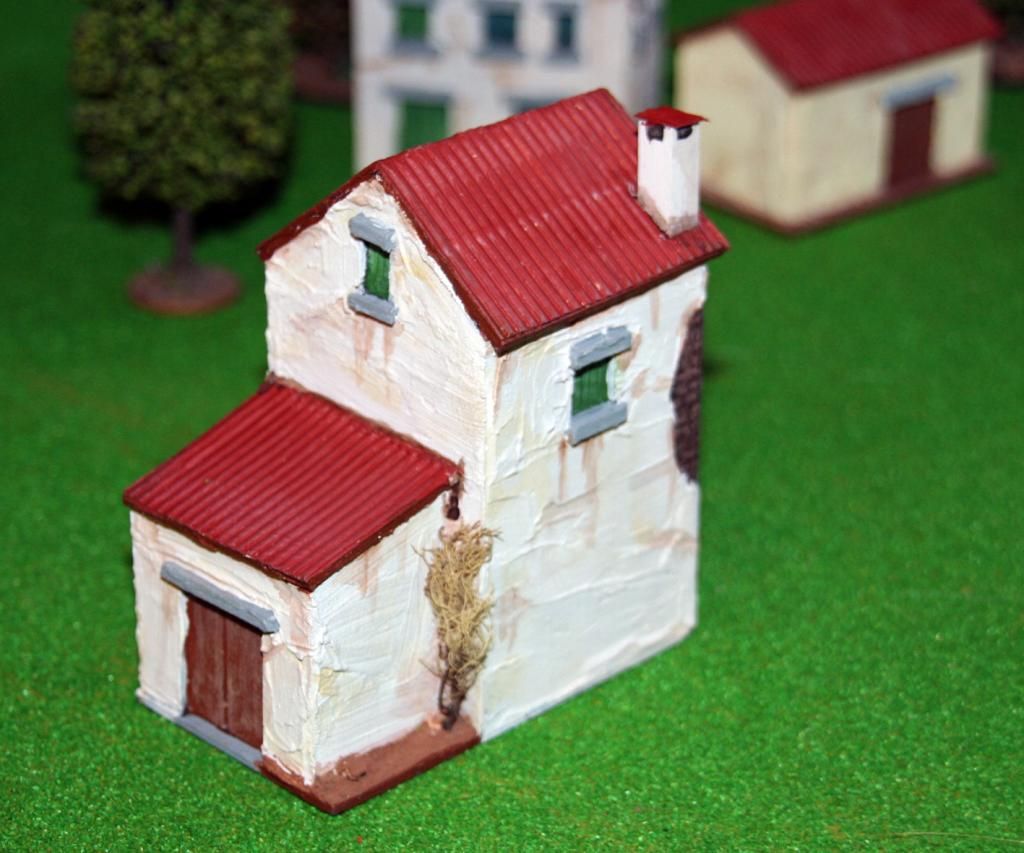
So here is the latest scratch-built building, again built from spare mounting card, food packaging and balsa wood, and painted with indoor wall paint from samplers I had lying around the garage.

I hope you like it.


And all the buildings together...
Wednesday, 30 July 2014

The Village of Marengo Part 2 - Scratch Built Buildings

It's been a bit of a trying time at home, with one of our kids not very well and going into hospital, and then finding out that I have arthritis - which will only get worse as I get older. So my painting projects have been neglected yet again, but things are now a lot better and I'm getting back into my blog.

Recently I posted pics of the first building to represent Marengo, the village that was the focus of the battle and campaign which inspired this project. Although the model from Total Battle Systems was very nice, I didn't feel that it looked very Italian. I searched through the major suppliers and although there were some building I thought were perfect they were also very expensive.

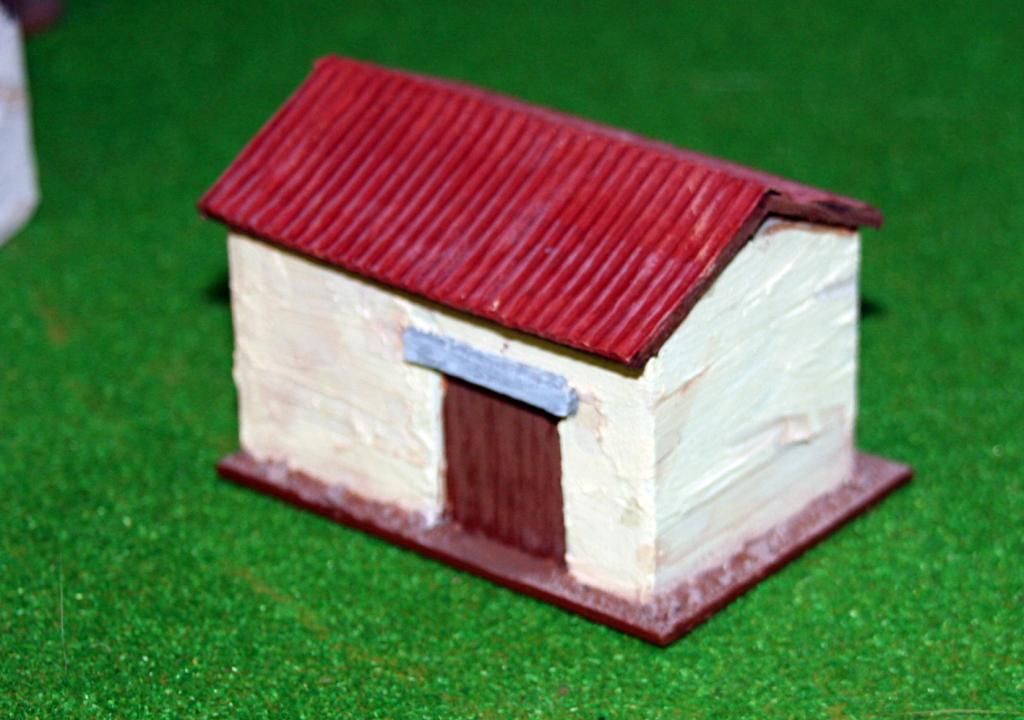
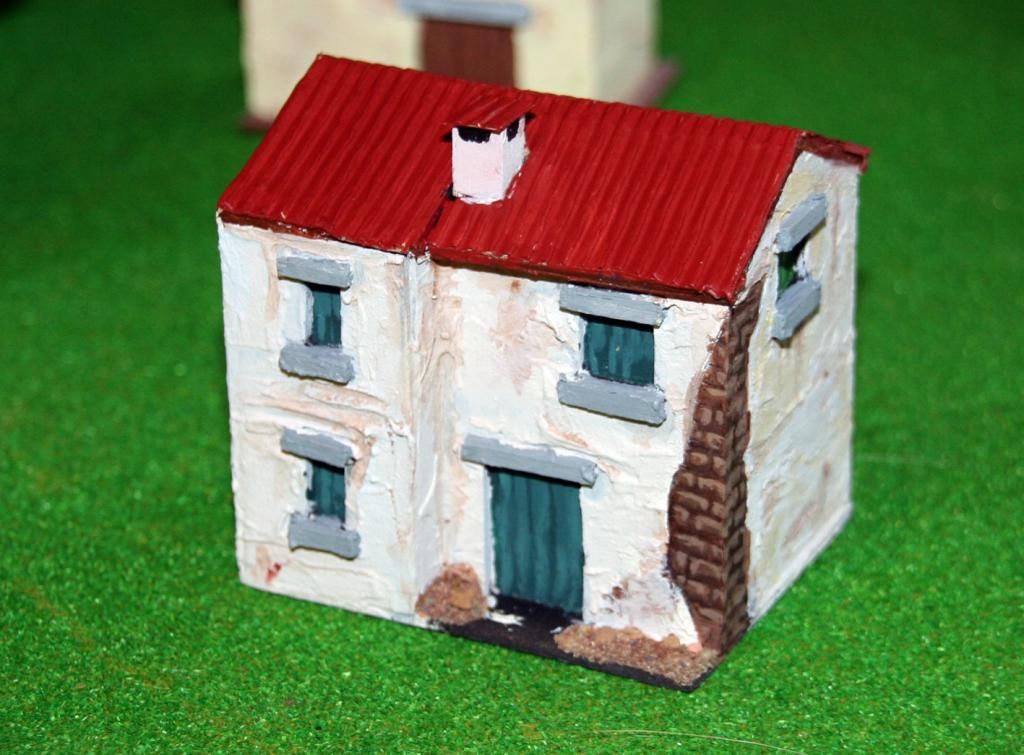
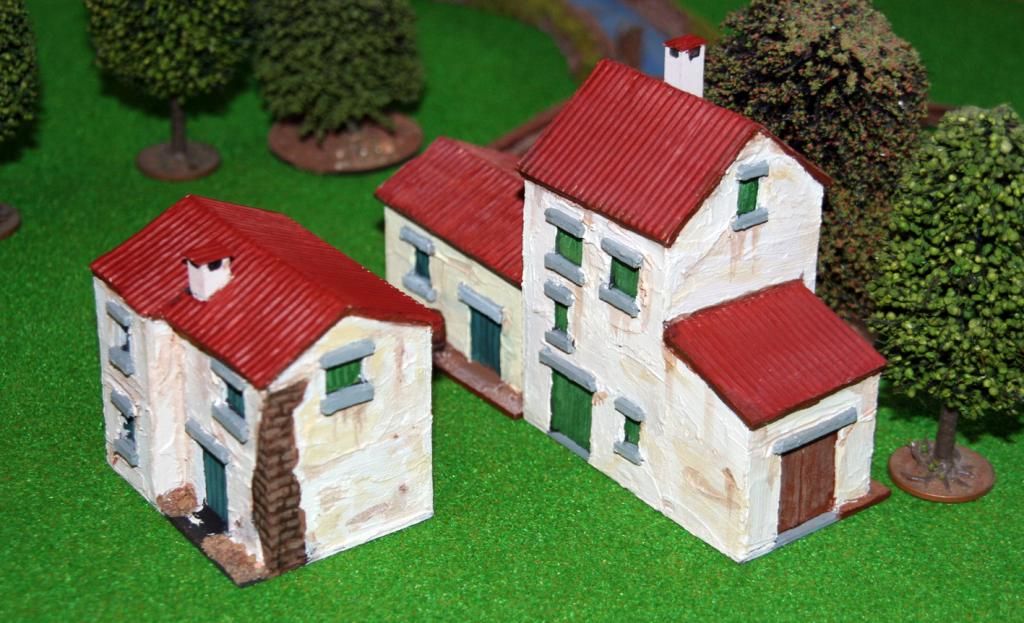
I decided to put my creativity to the test. I decided I didn't want absolutely perfect models - just something that looked right. I had a pile of strong mounting card lying under my desk and had some corrugated food packaging that could be used as roof tiling - so I started work. I built a house from card, used a coating of tiling grout to cover the walls, waited until it was dry and painted the walls with some cream wall paint that was sitting in the garage.

It looked great. It also looked huge. It was much too large for a games table. The scale was right, 15mm figures looked fine alongside the model, but when wargaming with figures at a scale of 1:20 it makes sense for the buildings to have a reduced footprint, all of which most gamers know - but I hadn't considered when starting my model.

So, start again. I knew what I was doing this time, so with the help of a keen 7-year-old daughter who would have preferred me to be building a fairytale castle, and using the Total Battle Systems building for inspiration and a size reference, I built another building. Here's the result...
I was happy with the result so next up was a large barn-like building.
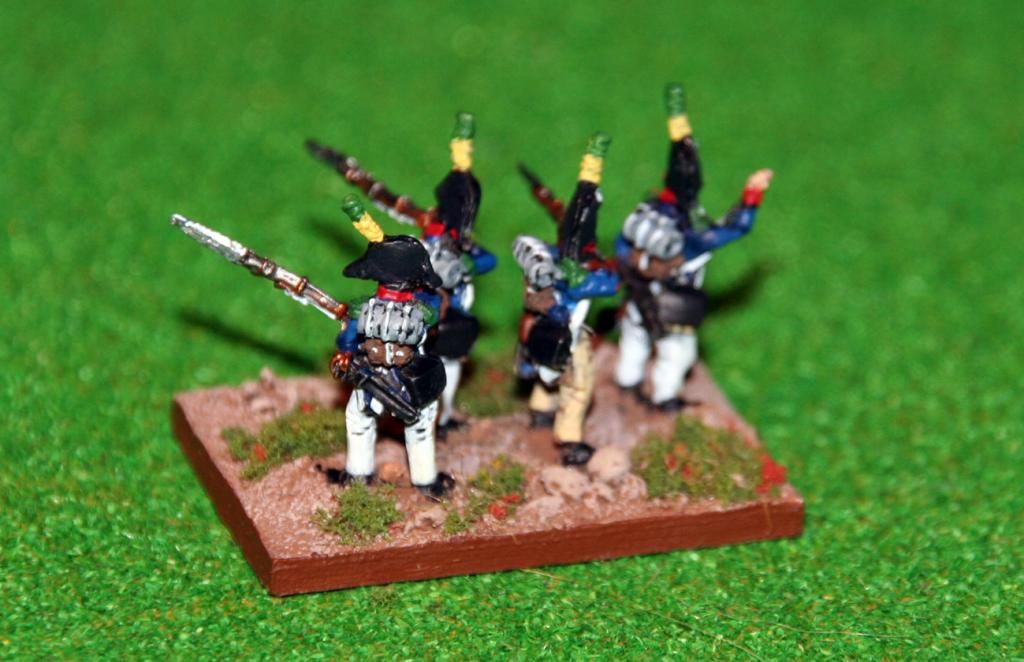

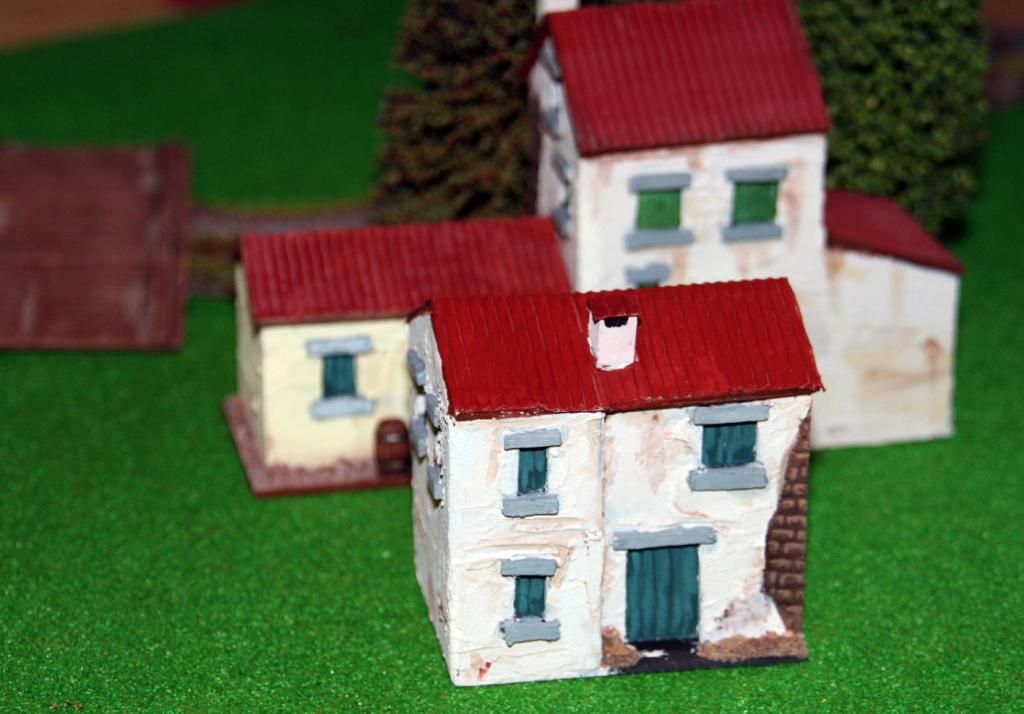
After the barn I built another house, this one a smaller two storey building. Each one was taking less time to build, and as I wasn't trying for perfection, the rough look was fine and actually helped these buildings look right for the period and area.

 
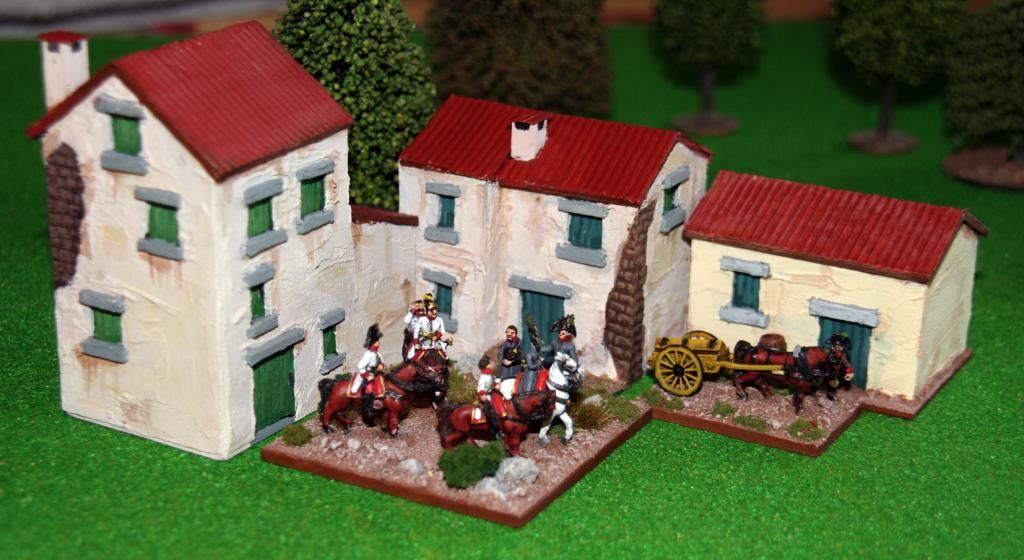
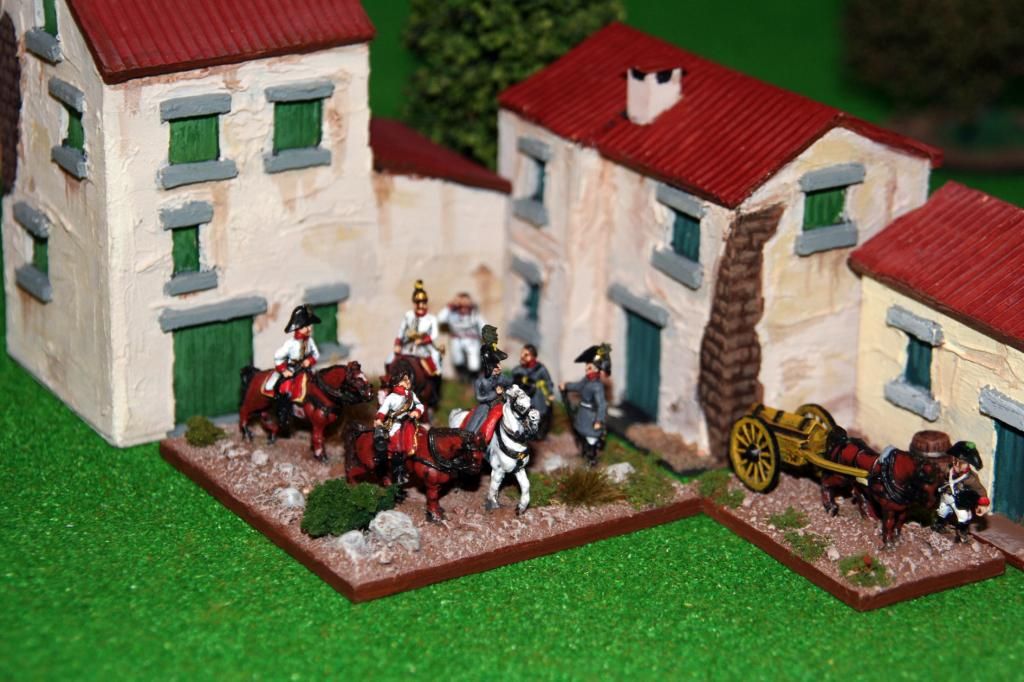
The models still need a little finishing off and touching up to the paintwork and the ground on the last one needs painted, but when they sit together I feel they look like a small Italian farming village. Here they are together and with some 15mm figures for scale.


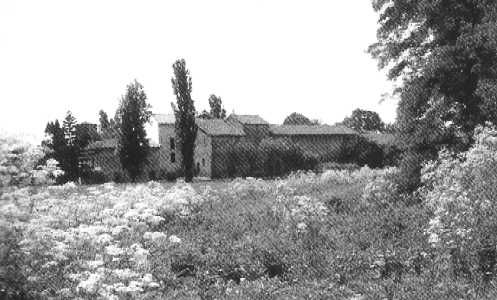
I feel that these will suffice to represent the village of Marengo. I've searched the internet for any pictorial evidence of how the town looked and the best I found was an old photograph (obviously not from 1800) which may or may not be Marengo, and a lovely and inspirational painting by Keith Rocco. The painting shows a tower which I may recreate as part of the town - although I have my doubts as to whether there was a tower at Marengo.