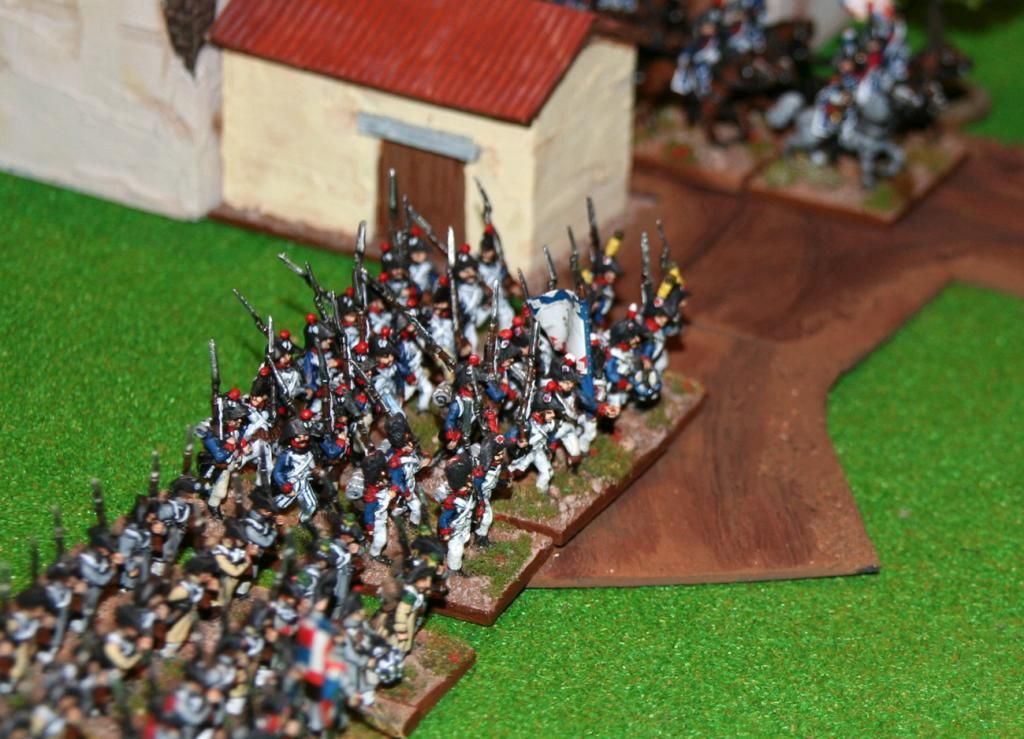
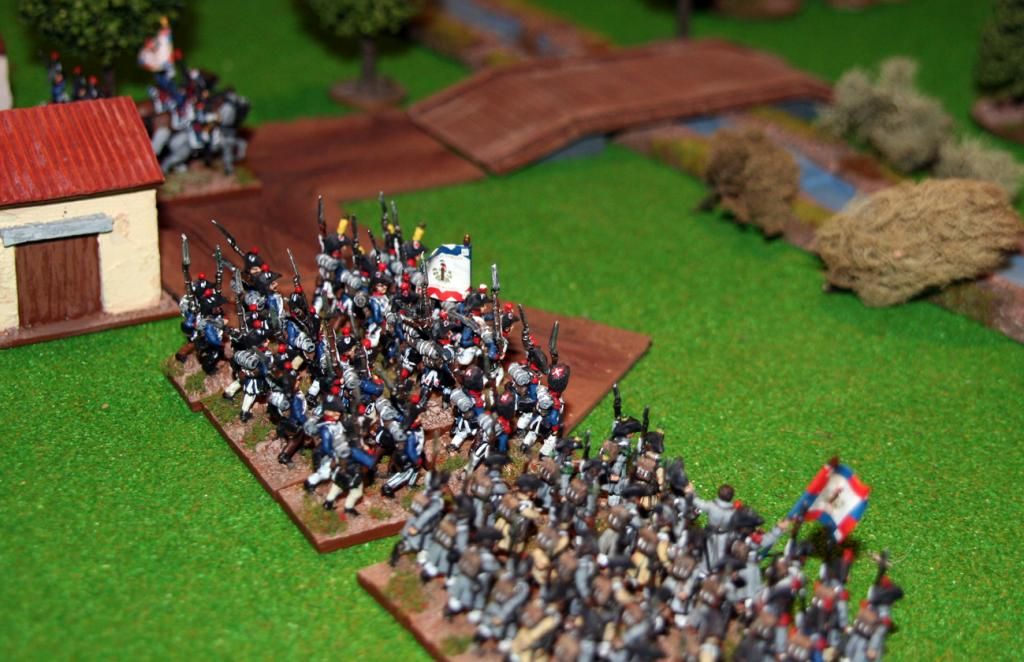
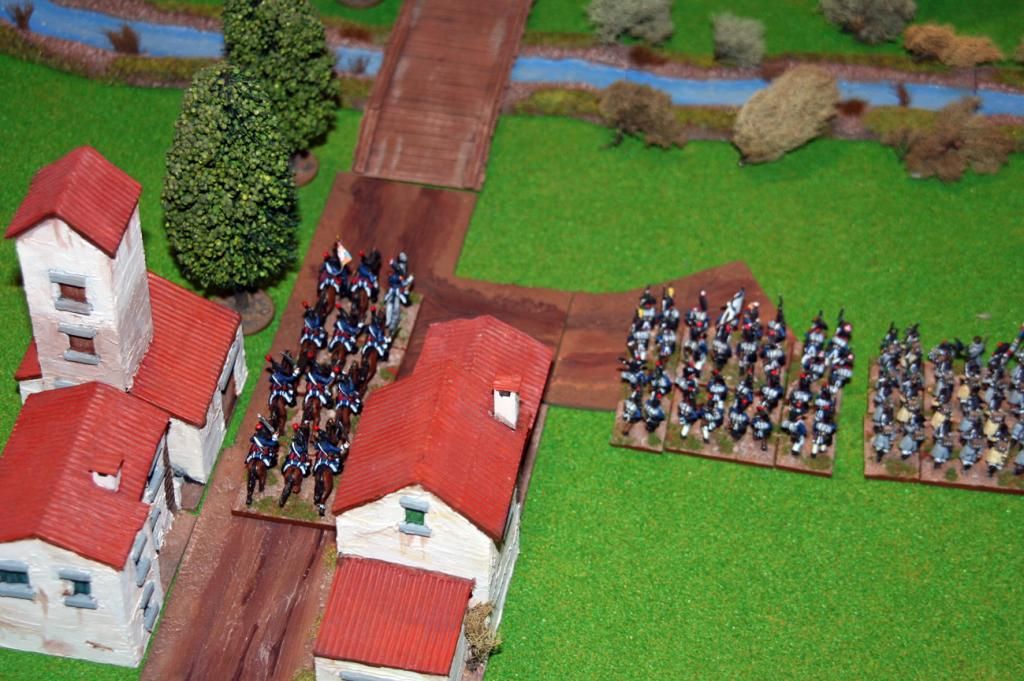
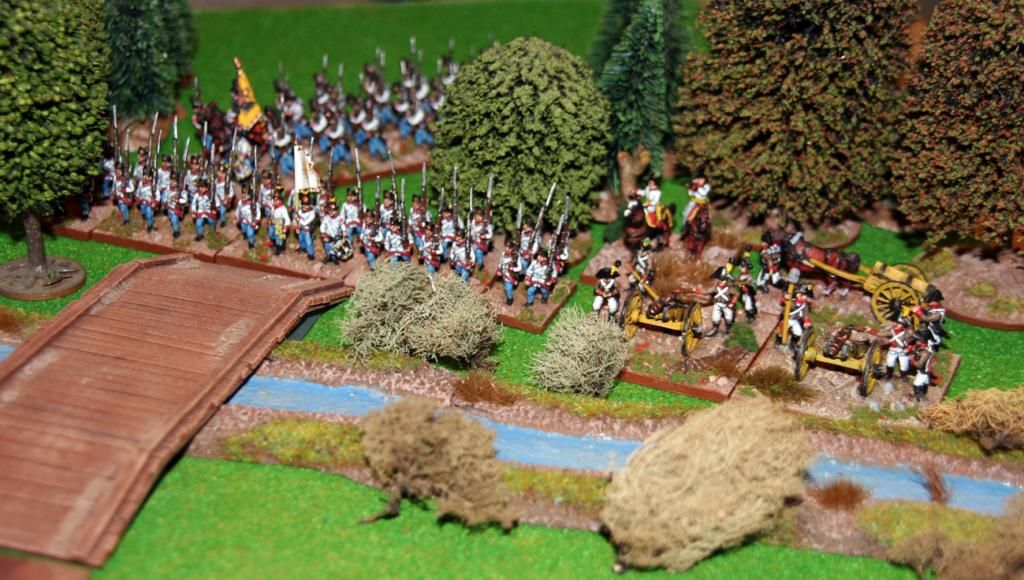
The other day there the kids had me put the buildings, stream, bridge and trees out on the table with some figures, and what was clear was that I really needed to sort out the road situation. Now at the moment I have limited funds and some spare time, and with a pile of heavy card sitting under my desk, I decided to make myself a test piece of road.
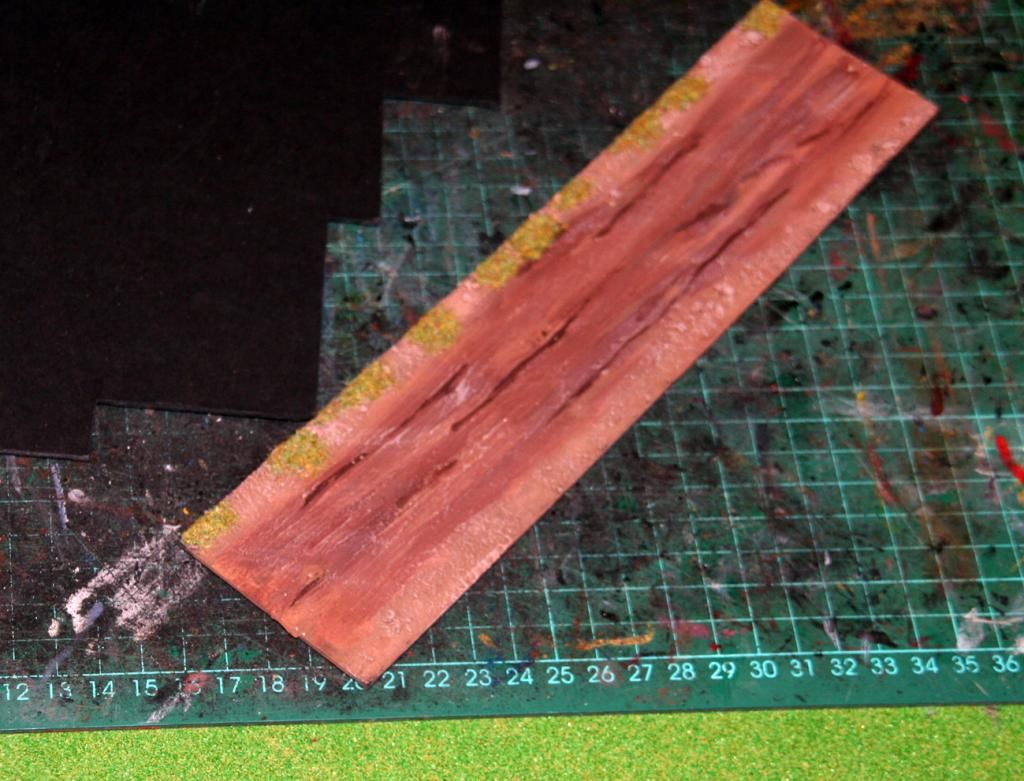
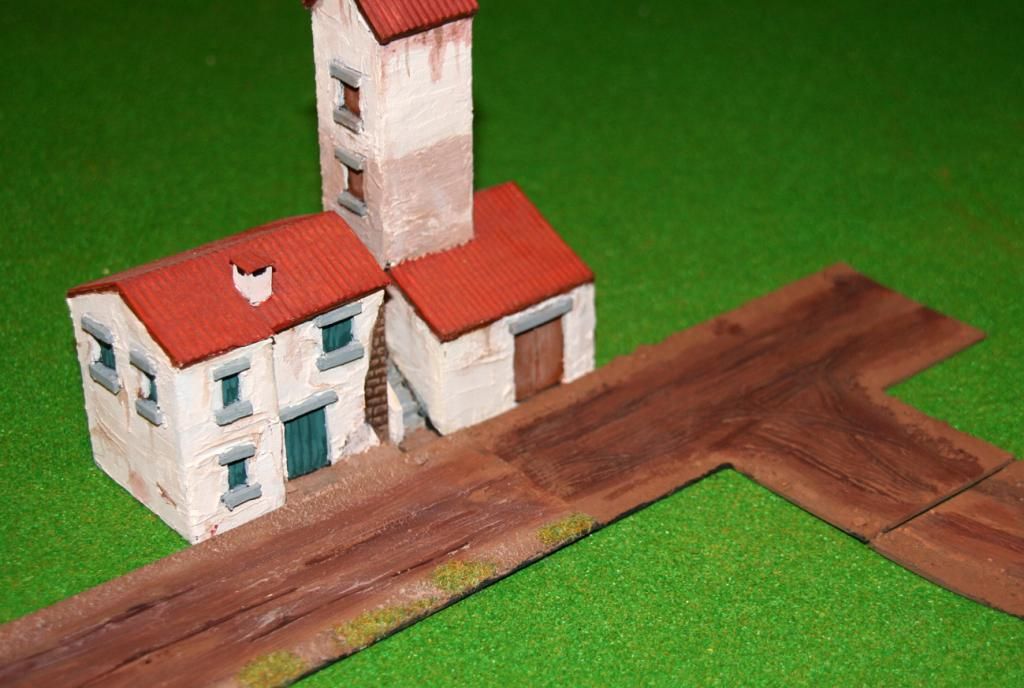
I cut a length of card, 60mm wide to allow a 40mm base width and 10mm each side for some grass, and plastered it lightly with grout. I scored the grout with a bit of scrap card and let it dry. Once it was dry I blobbed PVA glue along the edges and sprinkled sand and gravel. Once that was dry I painted the whole piece with the "chocolate" brown paint I picked up from a DIY store, let it dry, gave it a light wash of darker brown, then drybrushed with a 50/50 mix of the brown and a stone grey. I added a little static grass afterwards.
All in it took about ten minutes between doing some housework and it turned out not bad.
I had to be careful not to put too much onto the card so that it didn't warp. It still turns up a little but not too much.
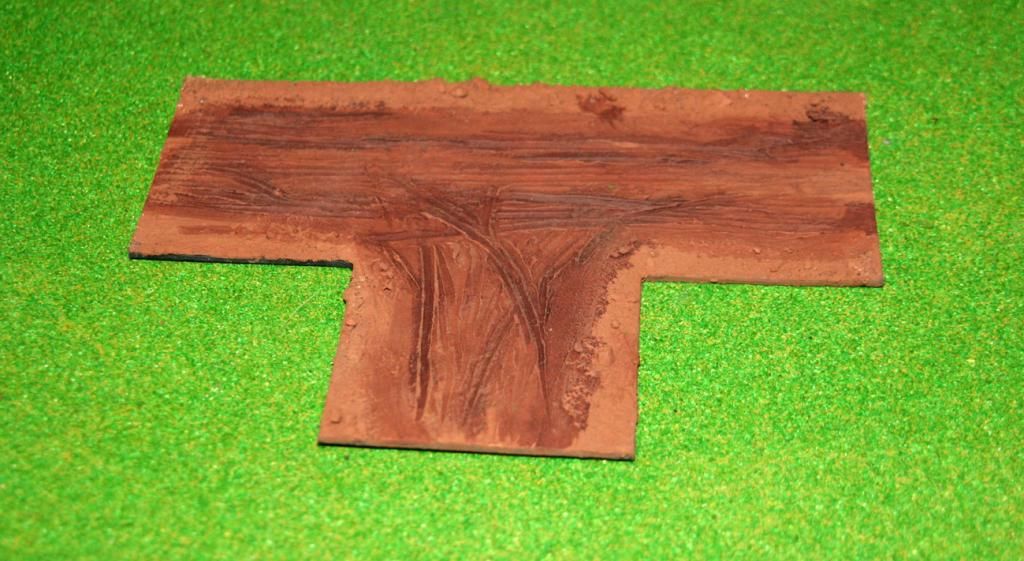
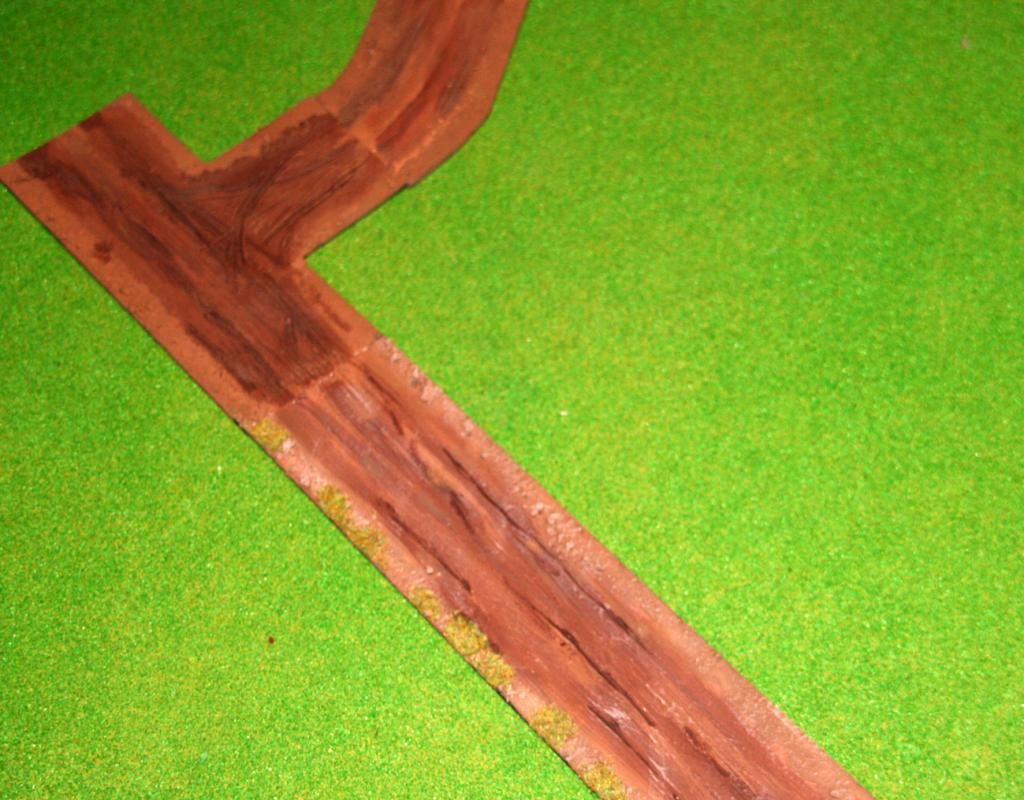
Once I was happy with this piece I did another couple of bits. A "T" junction and a curve. I still need to do a few more straight pieces, which I'll do shorter next time to avoid as much of a warp. These new bits haven't been drybrushed yet - just undercoated and washed, but that shows the painting process.
Then while taking these pictures I got carried away...
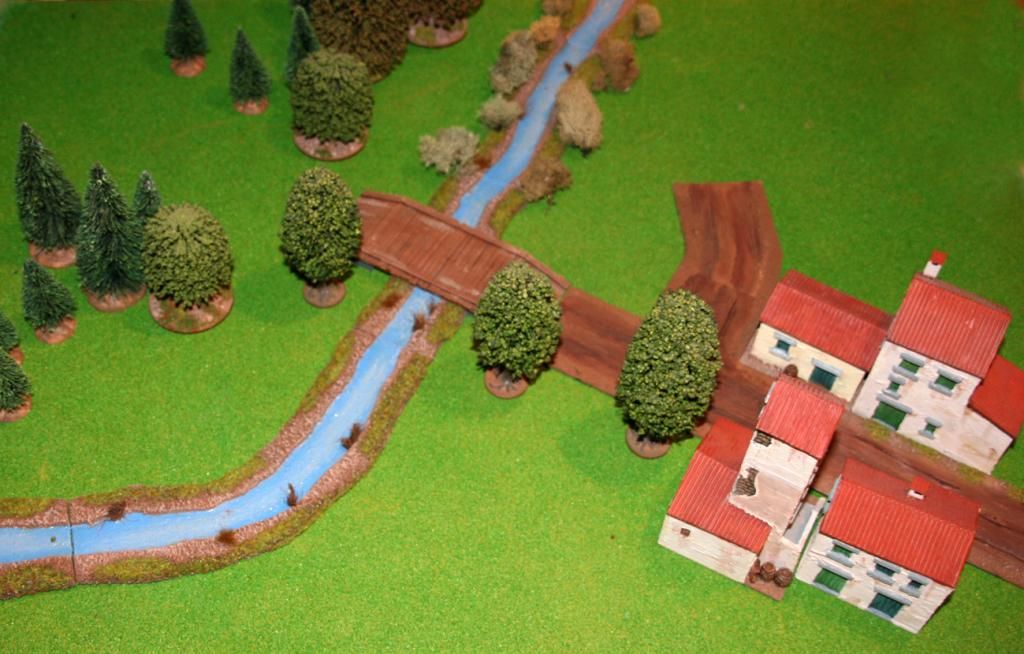
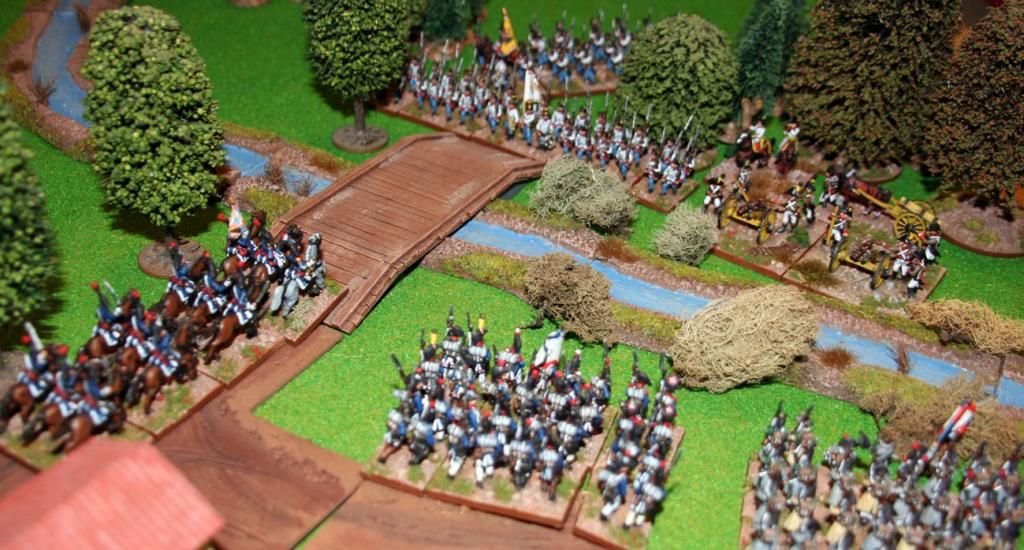
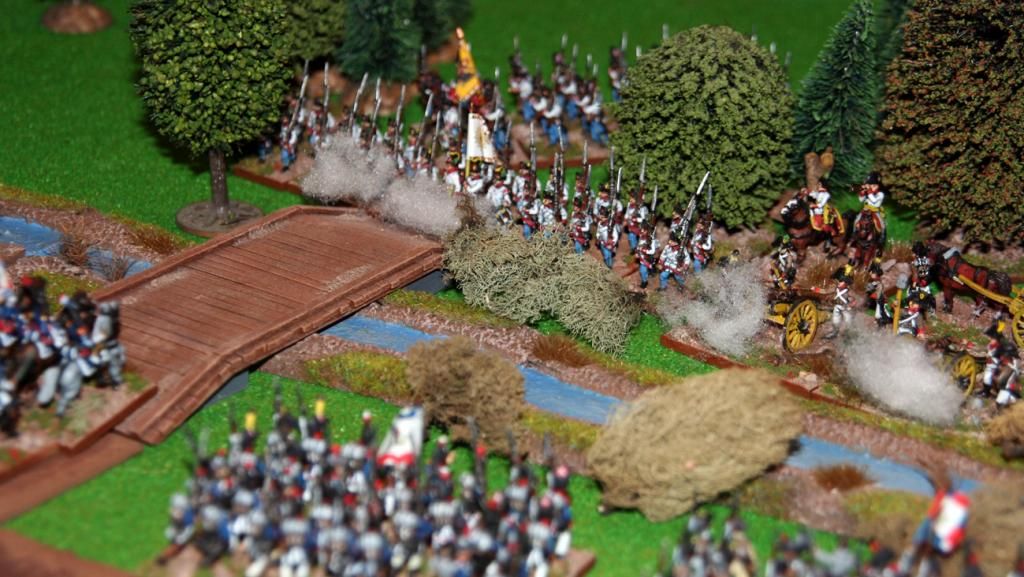
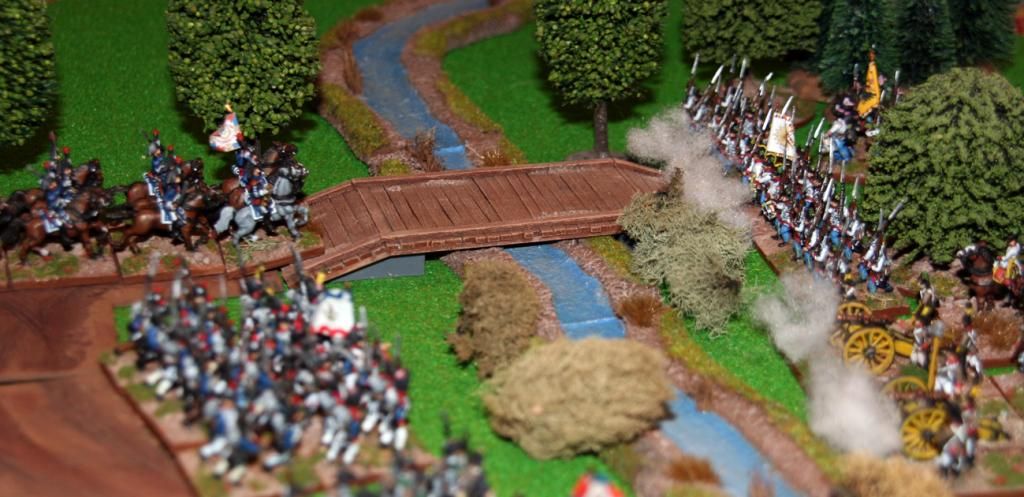
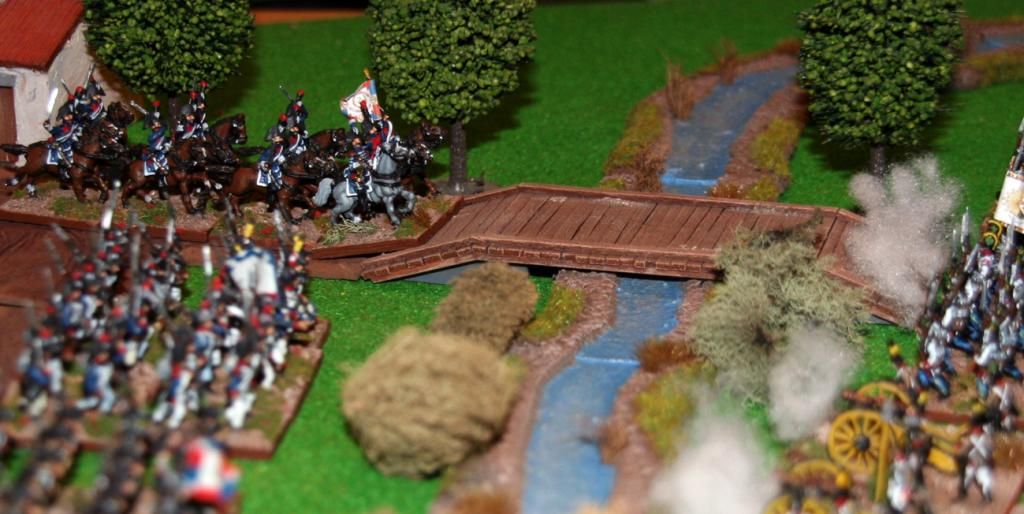
First I added a couple of buildings, then some trees, then the stream and bridge, and before I knew it I was putting Marengo on the table. It's a very squashed version though as I didn't have much space. In a proper game I'd have a this all a but more spread out, and I need a lot more of the road pieces.
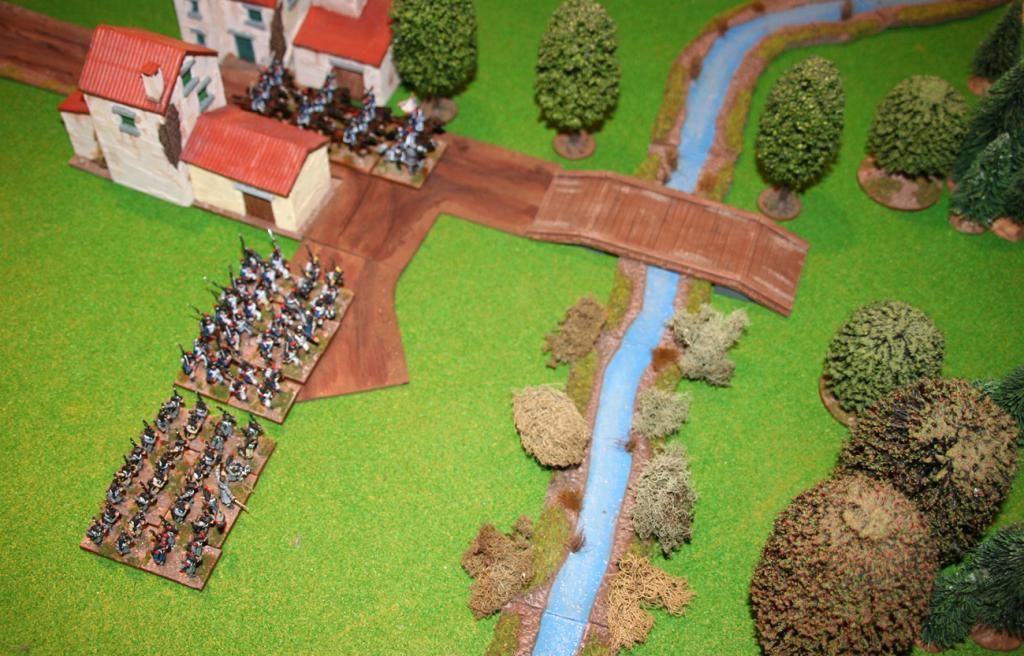
After putting out the terrain it only made sense to add some figures.
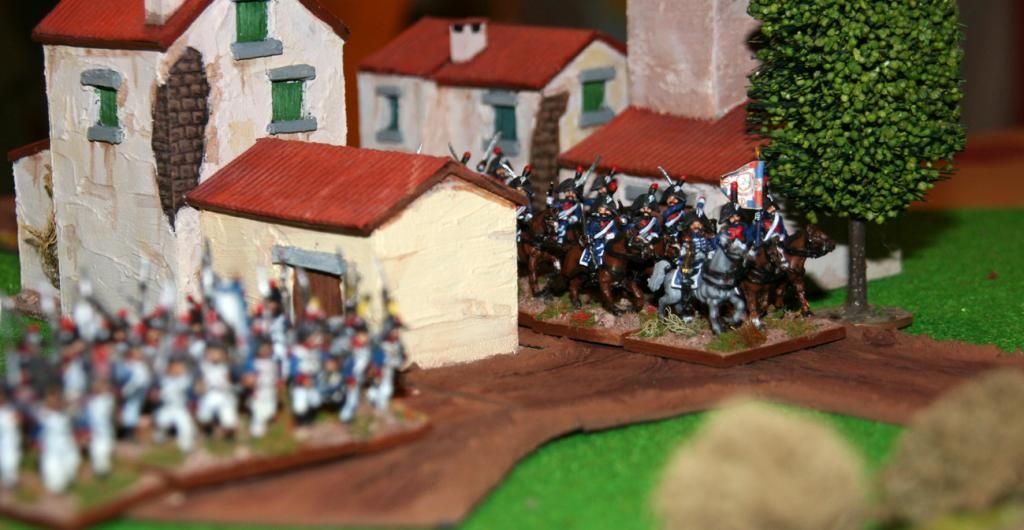
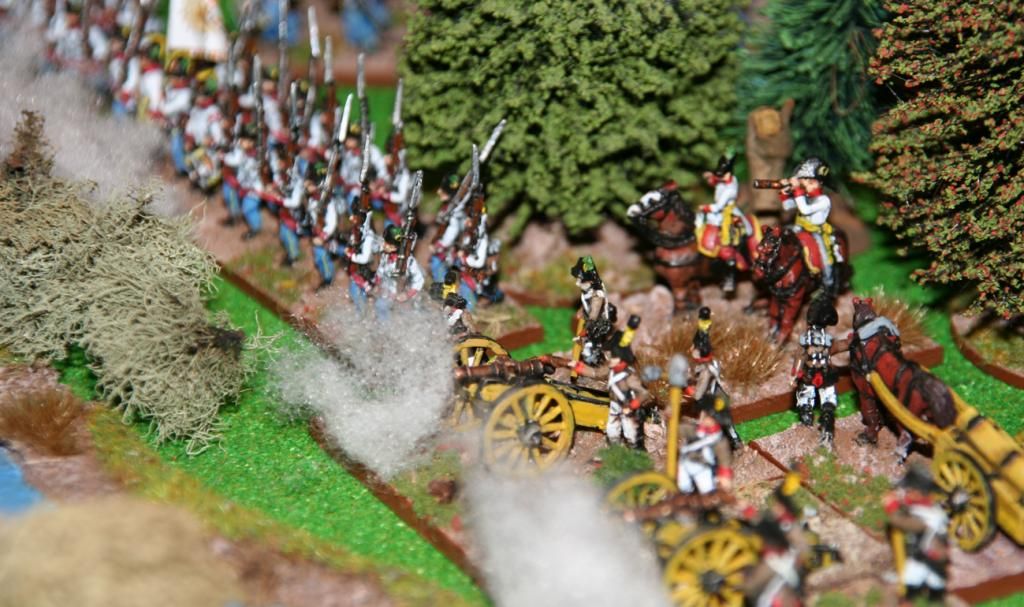
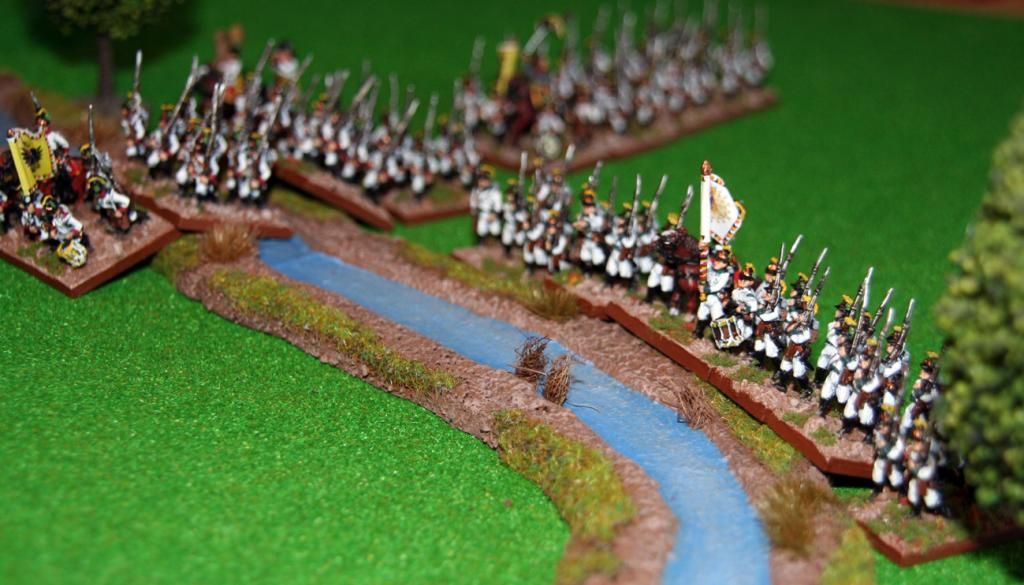
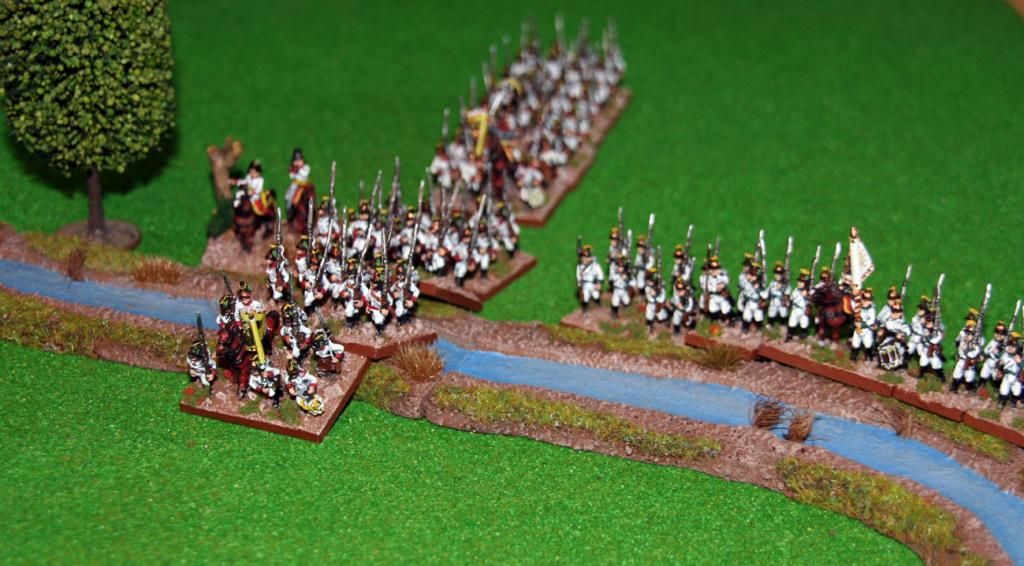
So here we have a small French force of two demi-brigades and a cavalry regiment marching through an Italian town and being met by a couple of Austrian Battalions supported by artillery.
So, after putting these out I've decided a few things. I need a lot more roads and a huge lot more gaming space, my streams are way too blue, and worst of all - my French Heavy Cavalry with added plumes... the plumes are a little fragile. Where's my super glue?
:(
Having sourced, and then repainted, my streams to represent the Fontanone I then had to find a bridge for the Austrian Army to cross. I struggled. There were many bridges that were correct in scale, but were wrong in style or size. My favourite was from Baueda, available from Magister Militum, but it was far too long for the bridge I needed to cross a smallish stream. It was also a bit pricey.
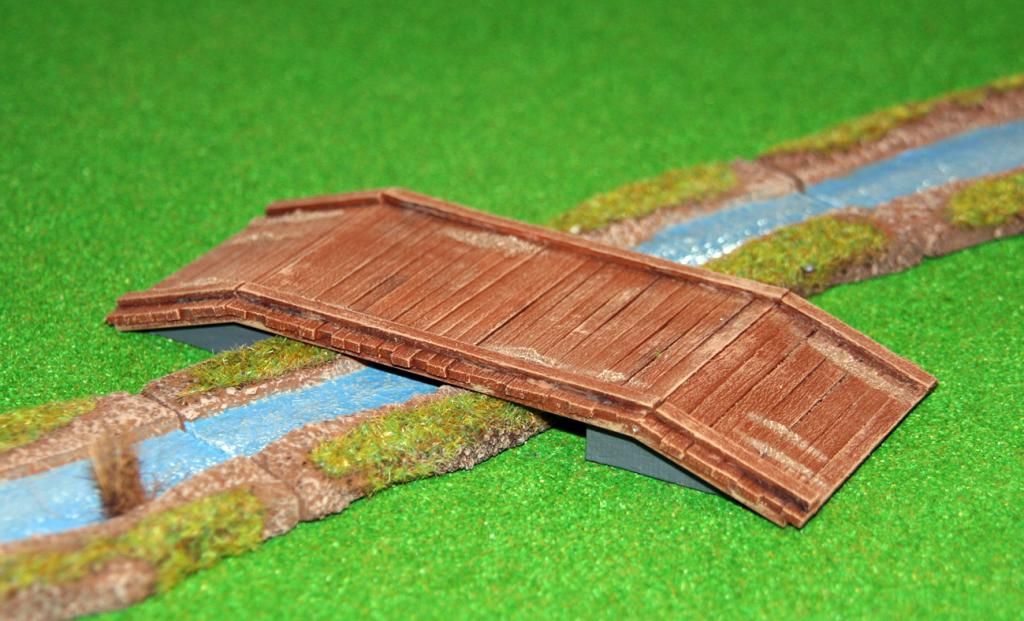
After getting fed up searching for something the ideal height, ideal length and breadth, and ideal style and period, I decided to build my own, or at least give it a try.
I visited the local art and craft store, purchased a sheet of plasticard and some thin balsa wood strips, and then got out the cutting map. My seven year old daughter decided she would oversee the project and sat giving some good advice.
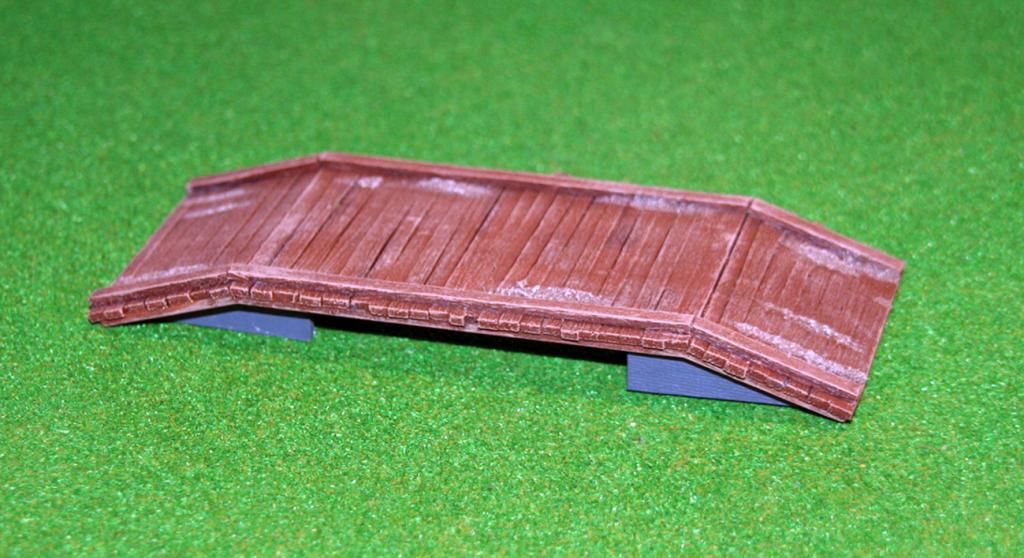
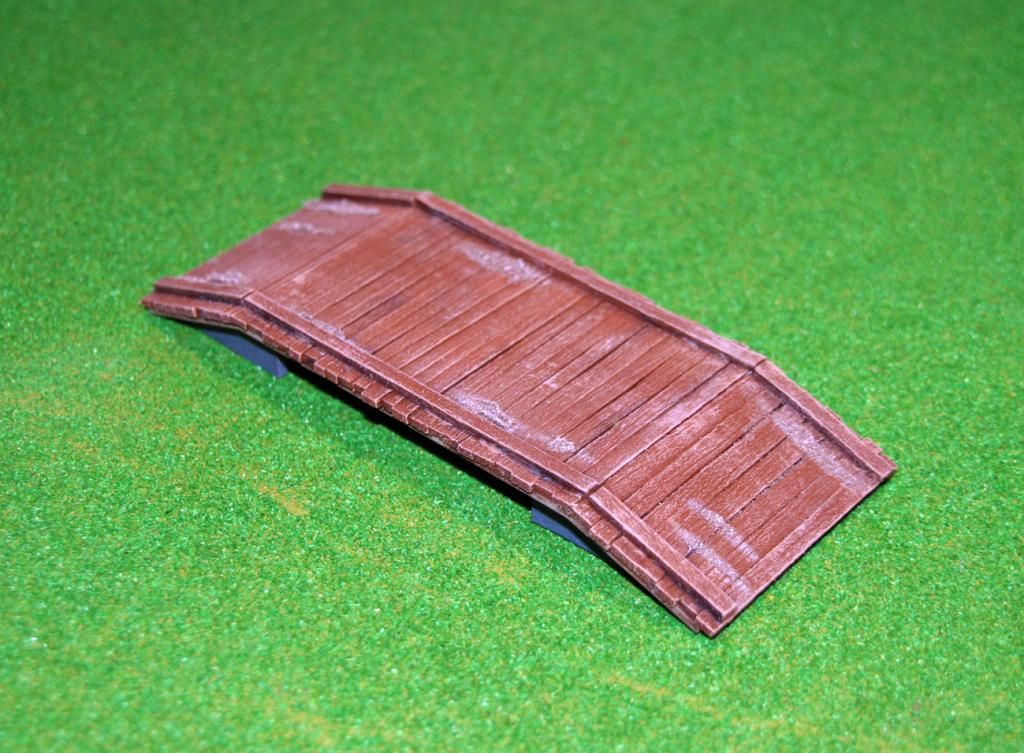
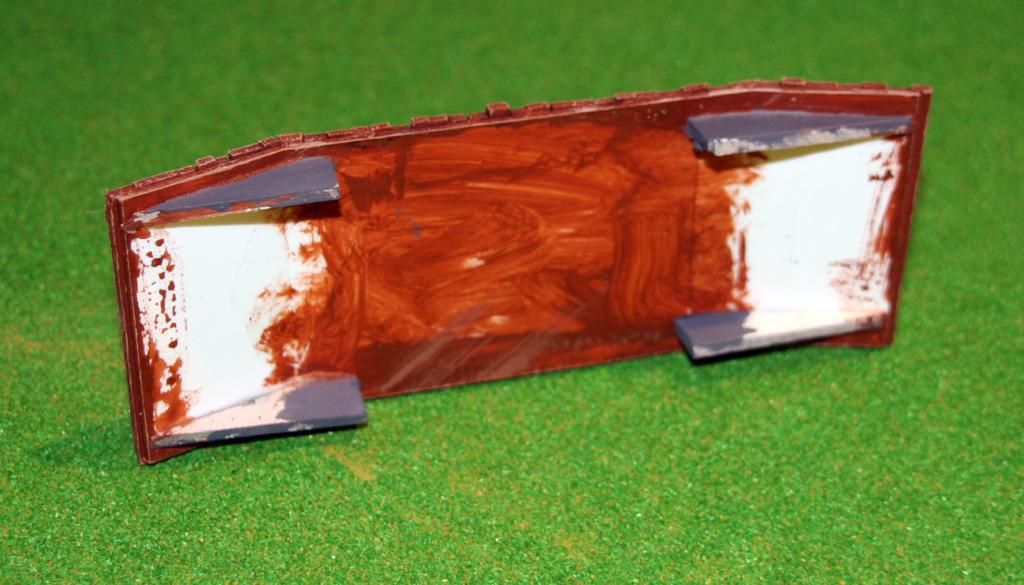
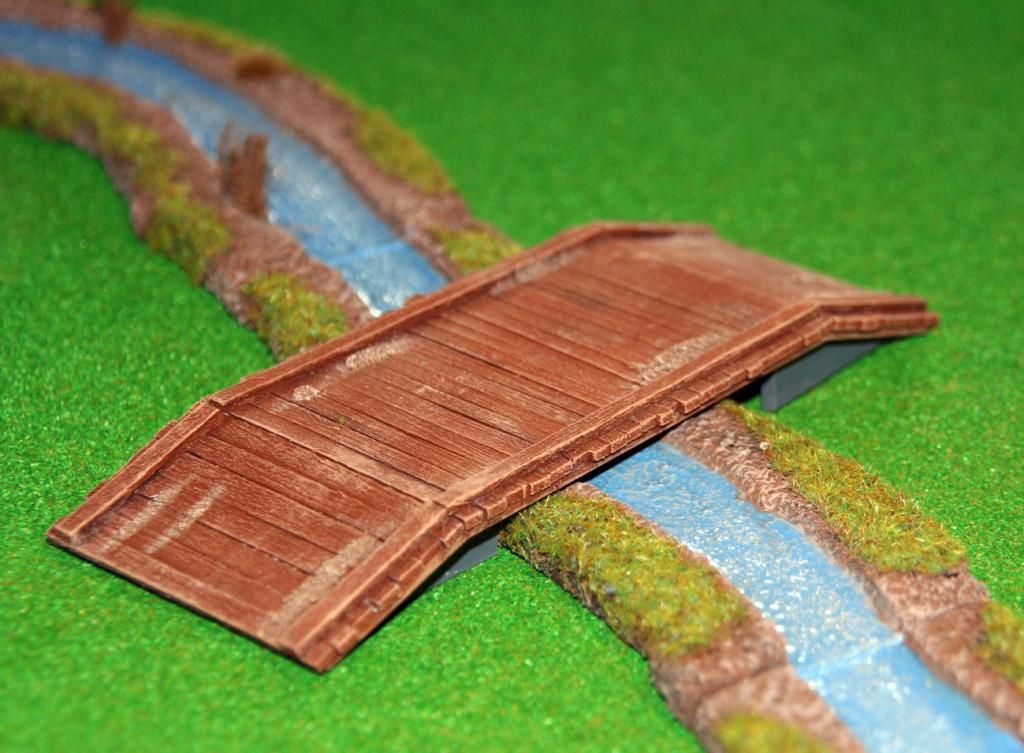
I cut the plasticard to the size required, then scored across the length at each end, then carefully bent the card to the correct angle for the ramps. I put some sellotape over the seams to hold the plasticard from snapping, then cut four heavy card shapes to hold the angles. These were attached with superglue.
While I was waiting for this to dry, I cut the balsa strips into "planks" which were then glued cross ways across the bridge, again using superglue. I didn't take too much time ensuring each plank was the same width or length as I wanted the bridge to be a bit rough.
After leaving this to settle for about ten minutes I glued side strips onto the planking using pva woodglue. I left the whole thing to dry for an hour or two, put the kids to bed, then came down and painted the bridge with Games Workshop's Mournfang Brown, let this dry, then drybrushed with the brown plus some white. I added some mud and tracks to make the bridge look well used, gave the whole thing another light drybrush, and it was finished. Allin it was about two hours work and cost about £3, with plenty of spare card and balsa left over.
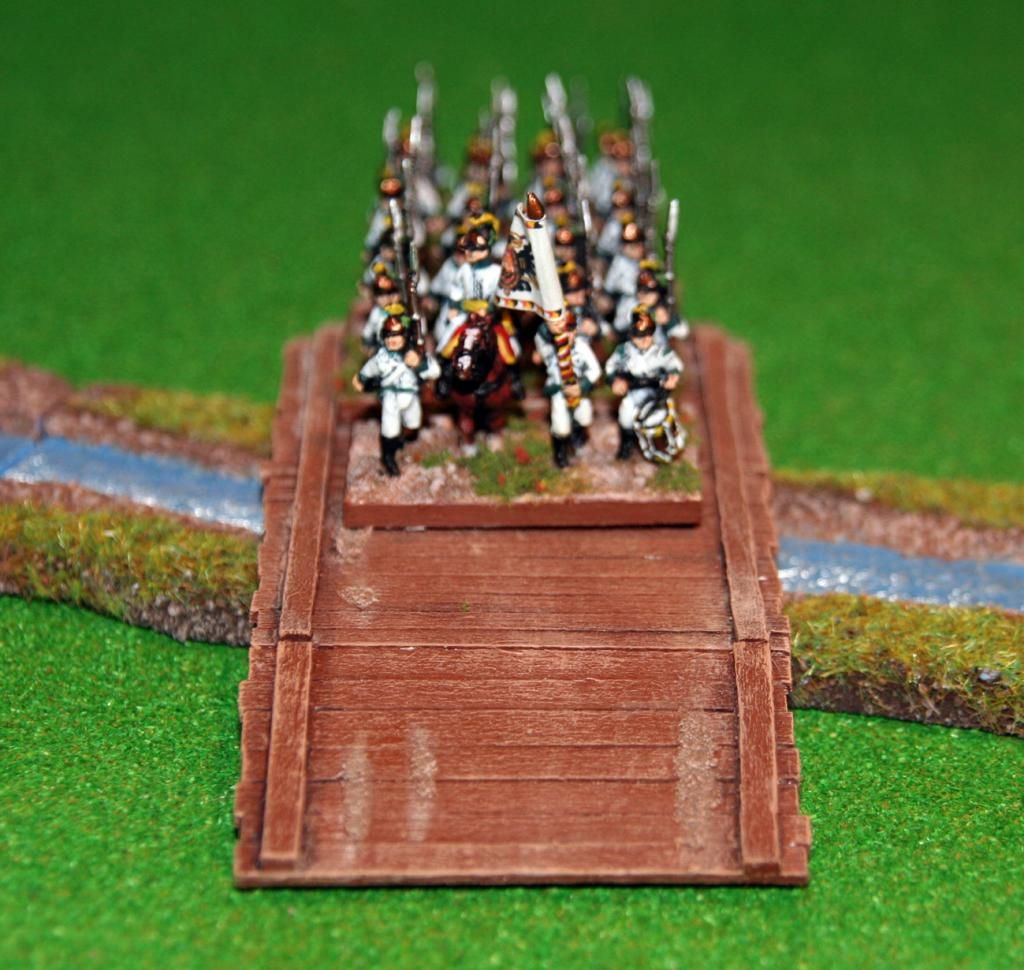
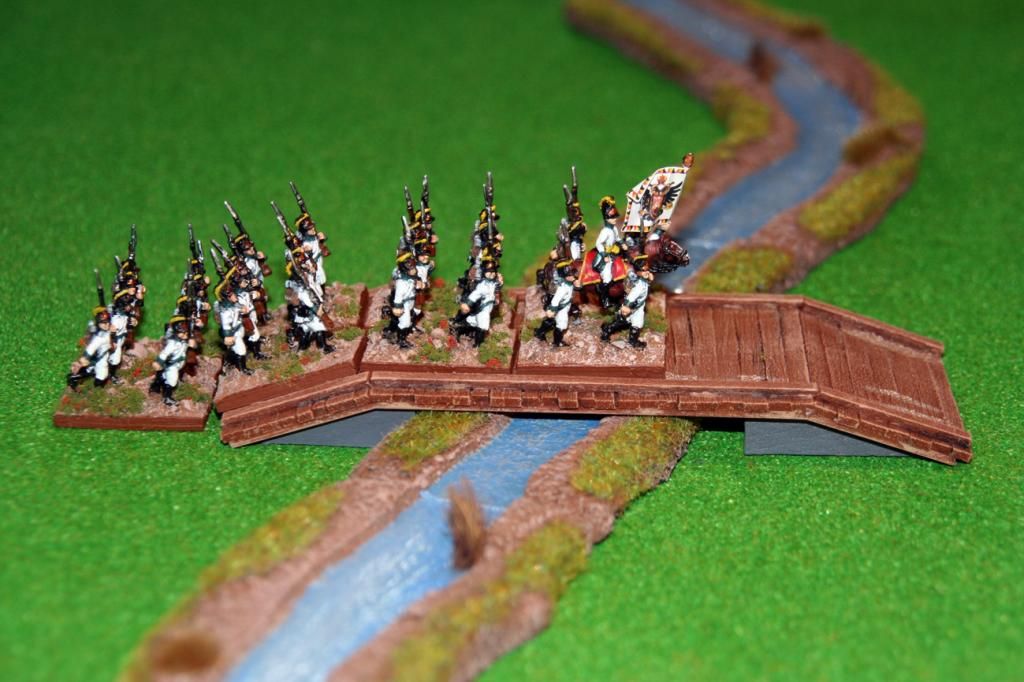
The bridge fits perfectly over my streams from Small_Terrain and is wide enough to easily accommodate a 40mm wide base. I think I need to look at the supporting card under the bridge to find a way of making that look a little better, as its the only bit I'm not happy with.
Its been a while since I posted on my blog - work, children and other issues have been distracting - but in the meantime I've been working away on my Napoleonic collection, while being distracted from my main project of the Austrian army at the Battle of Marengo by Revolutionary French and some Vendean Revolution miniatures, and creating the flags for these guys.
The first post here is about my first scenic items for setting the stage of the Battle of Marengo. One of the most famous areas of this battle was the Fontanone stream, where the French unsuccessfully tried to stem the flow of the earlier Austrian advances.
Rivers and streams have always been an issue for me on wargames tables. Obviously a river or stream needs to be at a lower level than the surrounding ground, so how can this be realistically, and easily, be put on a table? Today, more than ever, there are many products for roads and rivers and other terrain, and some are not at all costly.
A quick search on eBay showed plenty of choice, and picking a very reasonably priced set, I placed an order and waited to see if what I received looked as good at what was advertised. To be honest I was expecting something cheap looking but with potential when I ordered from a small company called Small_Terrain, available here LINK.
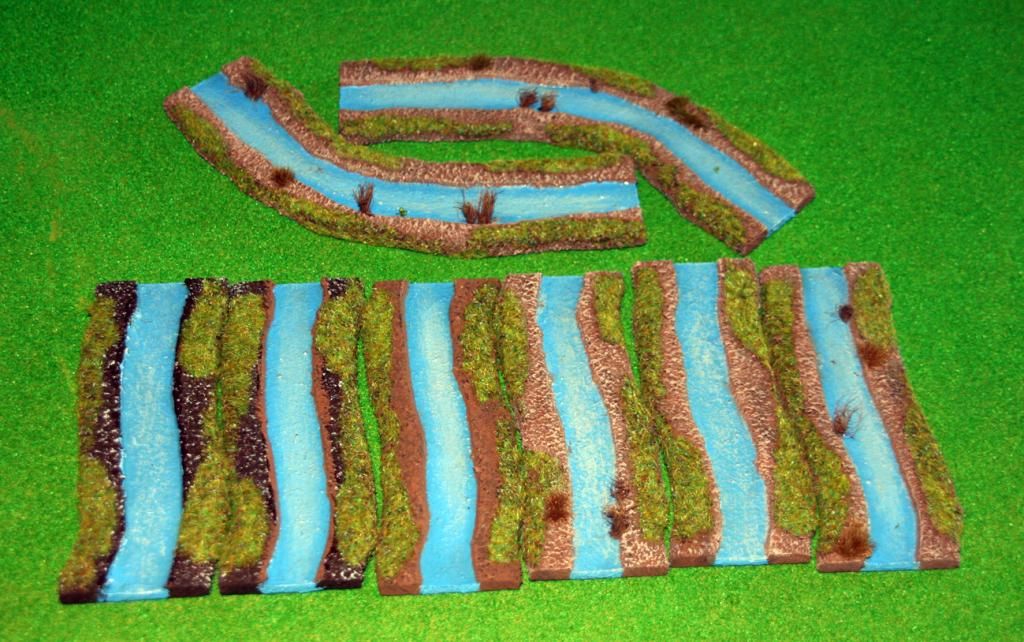
What I received was a lot better than I had hoped for. Made from cut MDF and ready painted, these river/stream sections are ready to straight (or bendy) onto the table.
Here's how they describe their items...
"Made from hard wearing medium density fibreboard these river sections feature raised banks flocked with War World static grass and clump foliage, textured water effect, painted and drybrushed . Muddier river water colours can be painted at your request."
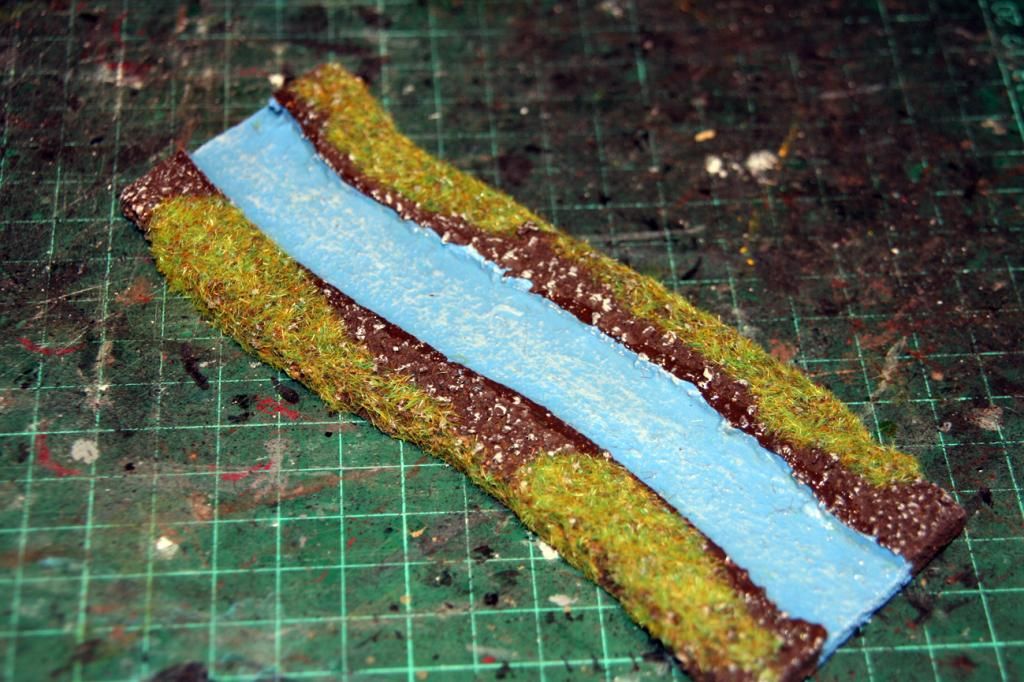
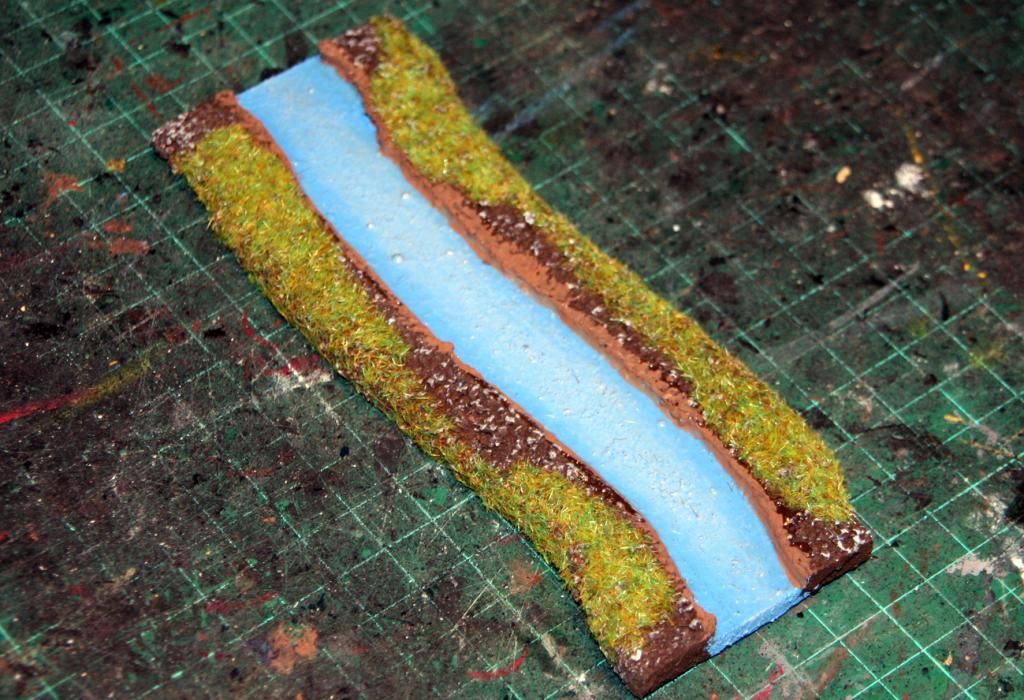
Here's how the pieces look as supplied...
My only real issue was the waters edge, where the blue paint slightly overlapped the earth banks, but to be honest, you could live with that.
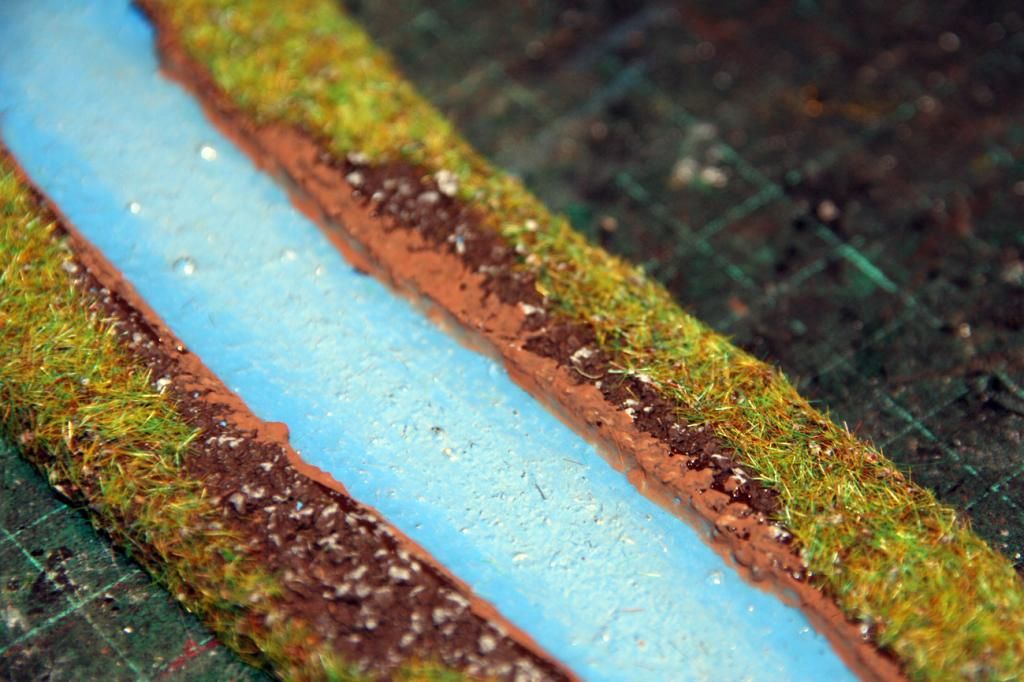
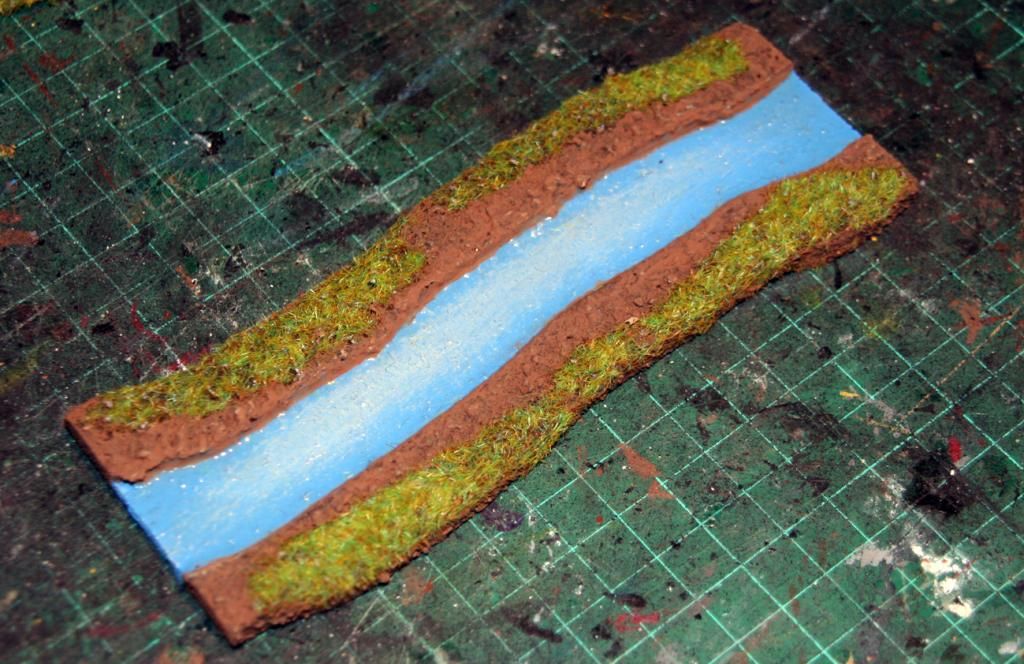
I decided that, although these looked great already, that I wanted them to match the ground colours that I had on my figures bases, so I repainted the streams banks and the other visible earth. I've managed to source a cheap alternative to the Games Workshop Earth colour I'd been using - Wickes Chocolate Brown, available in a testor pot for about £2 and almost exactly the same colour as the GM paint.
First I painted the stream edges then filled in the rest of the earth...
Once the paint was dry I then drybrushed using a mix of the chocolate brown and a little white...
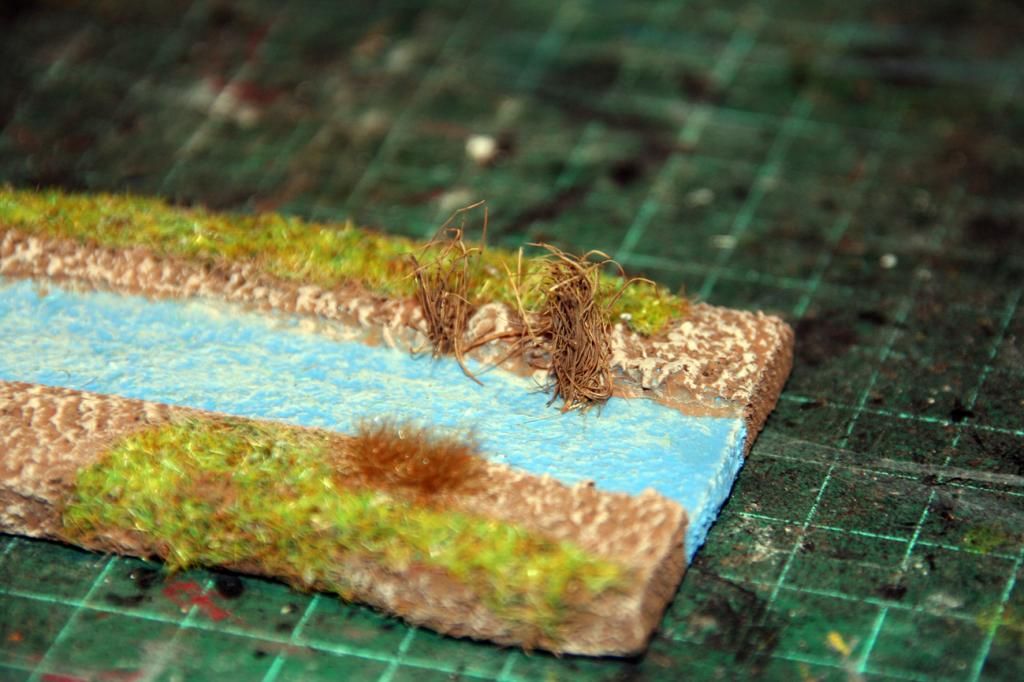
Then all that was needed was some grass tufts and some tall water weeds trimmed from a doormat...
This gave me enough great looking streams for the Fontanone, all for less than £15. All I need now is a bridge as the troops are struggling to cross the stream in an orderly fashion...
I may repaint the water at a later date. I recently visited Italy and have noticed that the water tends to be a lot less blue than what I have here, but the blue looks fine for now.