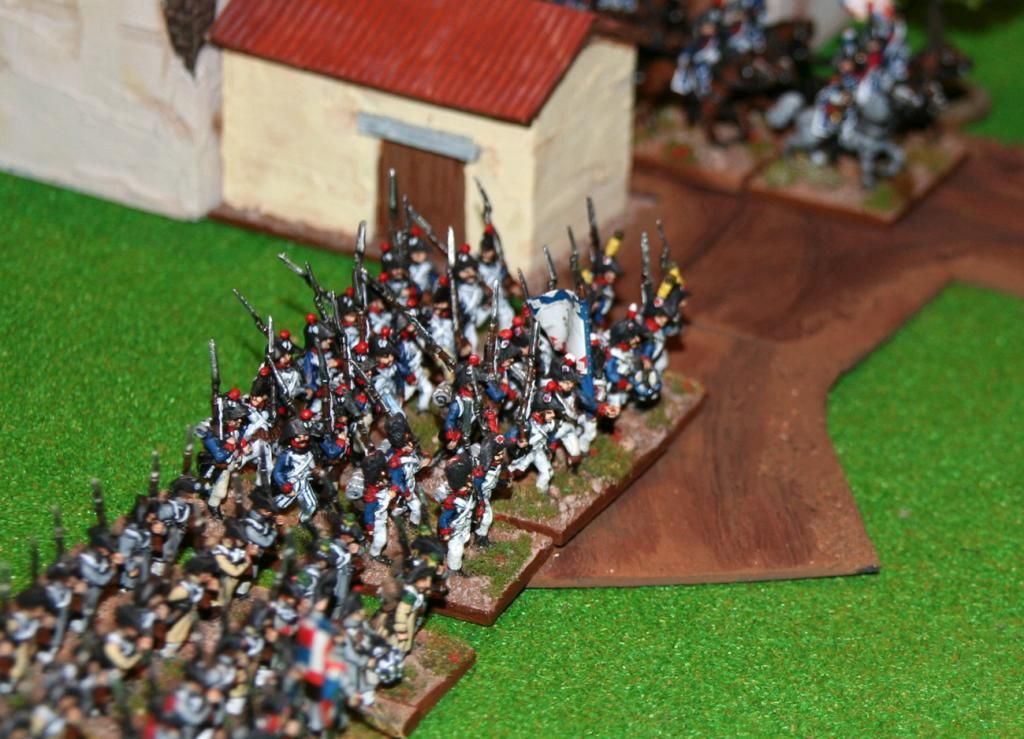
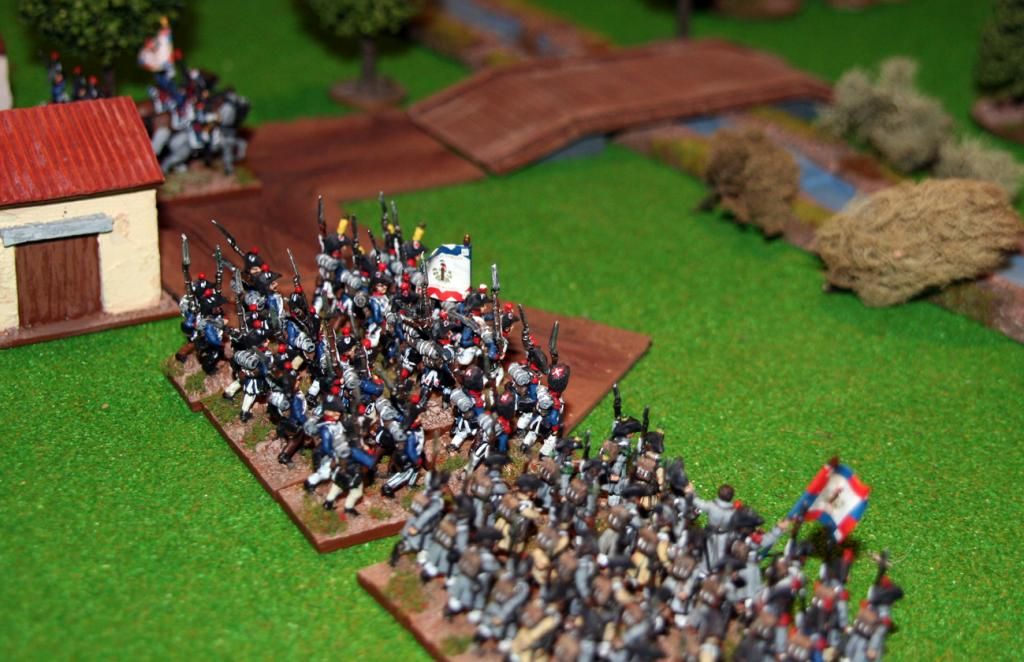
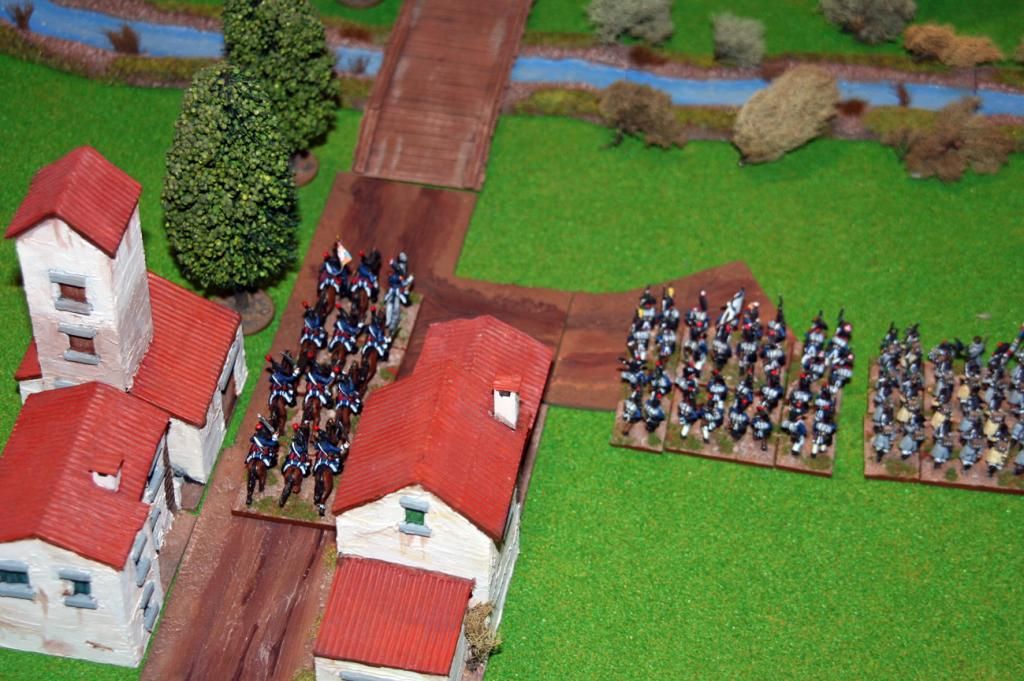
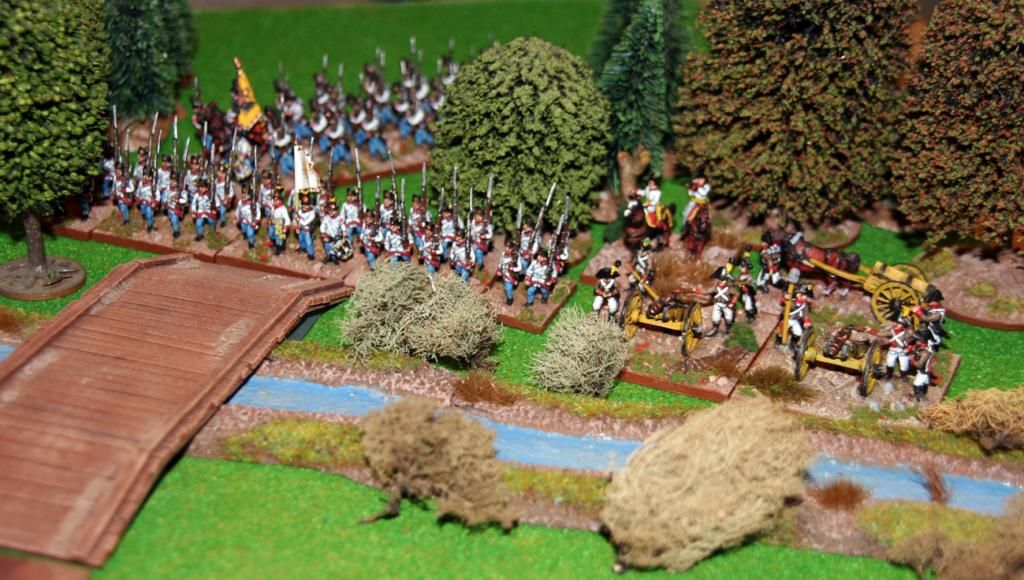
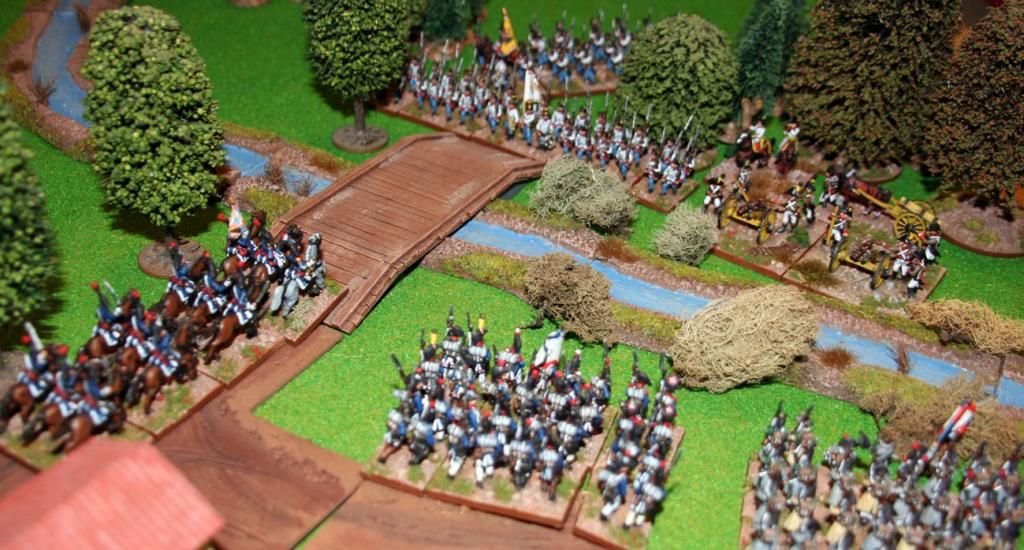
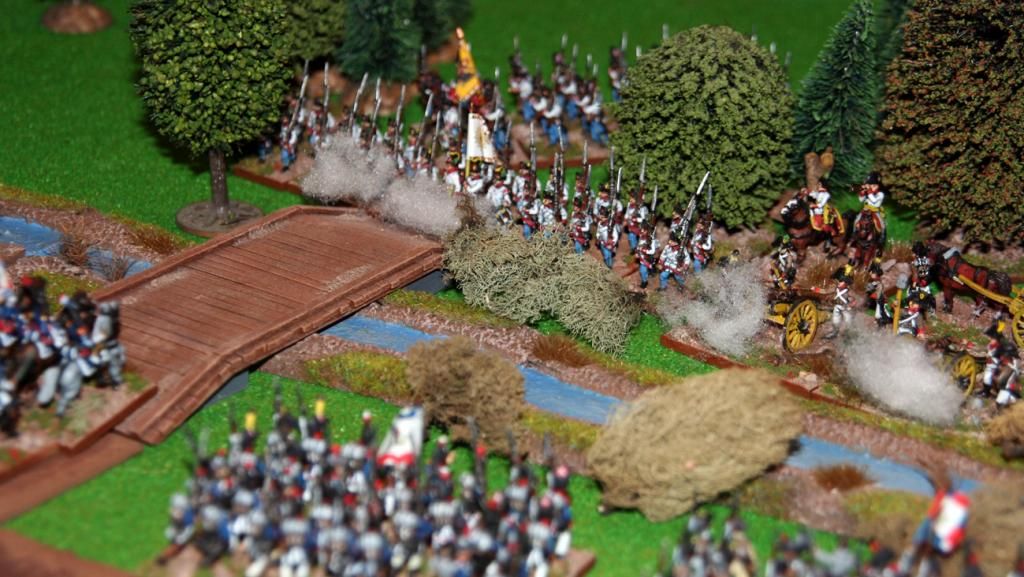
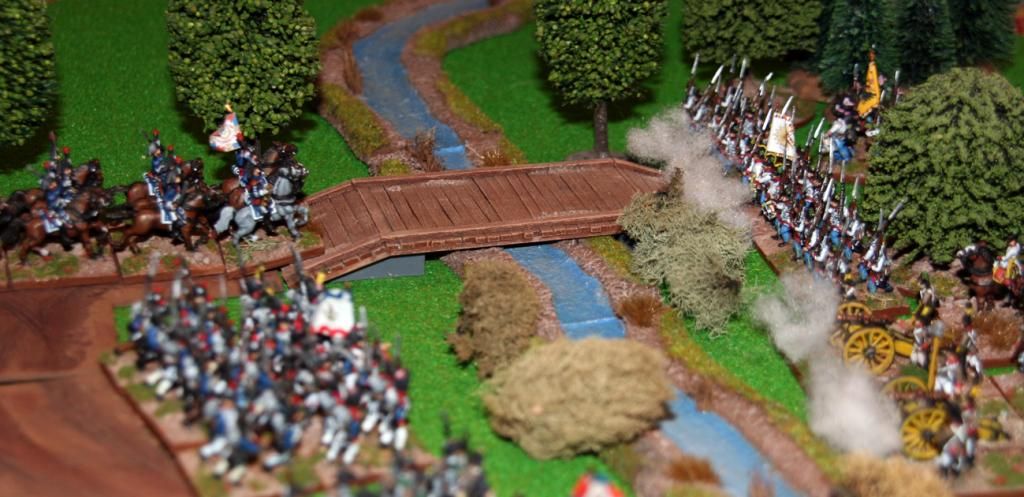
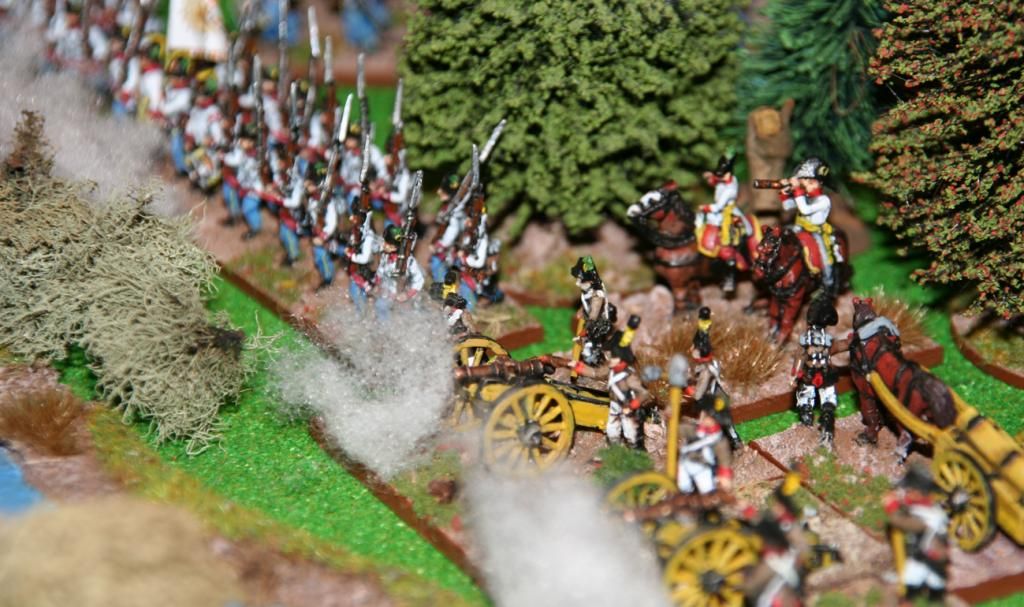
The other day there the kids had me put the buildings, stream, bridge and trees out on the table with some figures, and what was clear was that I really needed to sort out the road situation. Now at the moment I have limited funds and some spare time, and with a pile of heavy card sitting under my desk, I decided to make myself a test piece of road.
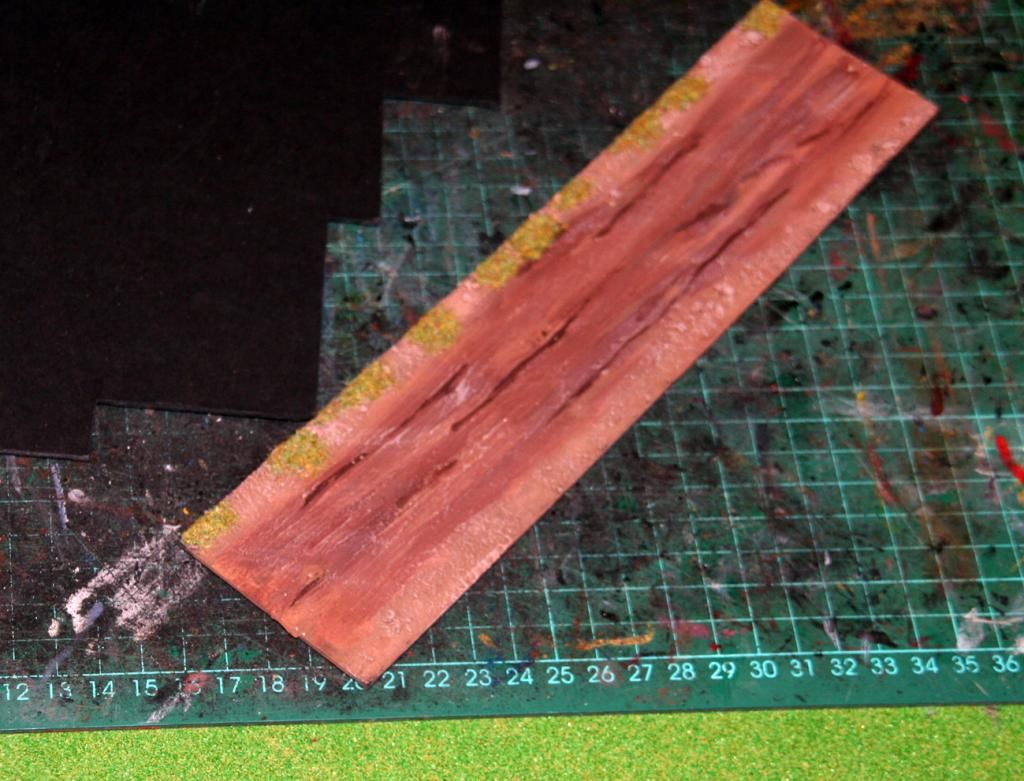
I cut a length of card, 60mm wide to allow a 40mm base width and 10mm each side for some grass, and plastered it lightly with grout. I scored the grout with a bit of scrap card and let it dry. Once it was dry I blobbed PVA glue along the edges and sprinkled sand and gravel. Once that was dry I painted the whole piece with the "chocolate" brown paint I picked up from a DIY store, let it dry, gave it a light wash of darker brown, then drybrushed with a 50/50 mix of the brown and a stone grey. I added a little static grass afterwards.
All in it took about ten minutes between doing some housework and it turned out not bad.
I had to be careful not to put too much onto the card so that it didn't warp. It still turns up a little but not too much.
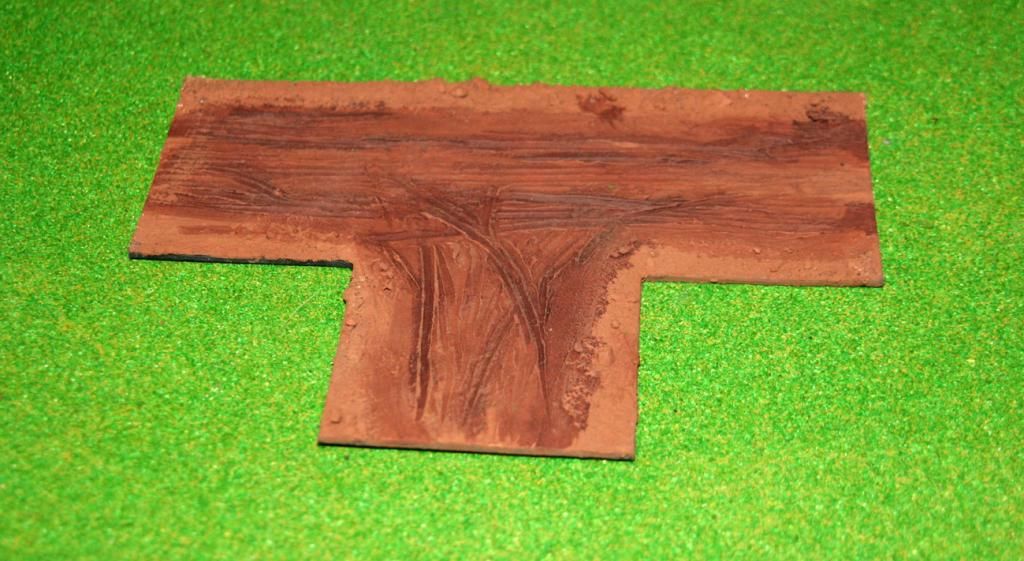
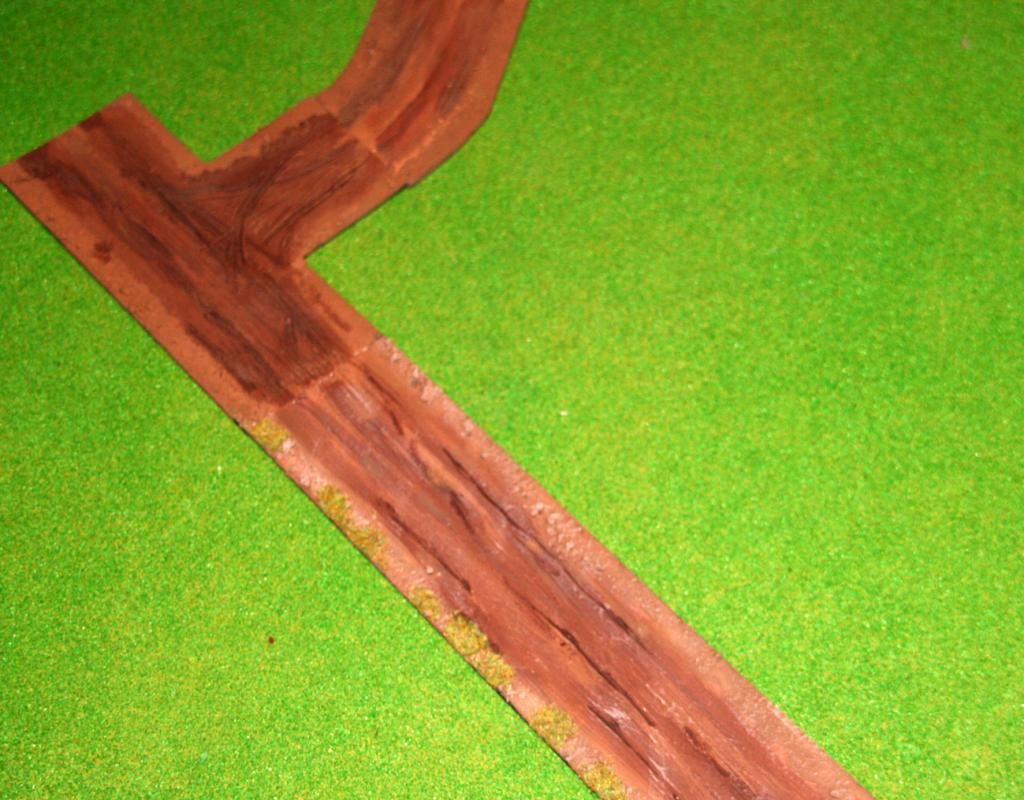
Once I was happy with this piece I did another couple of bits. A "T" junction and a curve. I still need to do a few more straight pieces, which I'll do shorter next time to avoid as much of a warp. These new bits haven't been drybrushed yet - just undercoated and washed, but that shows the painting process.
Then while taking these pictures I got carried away...
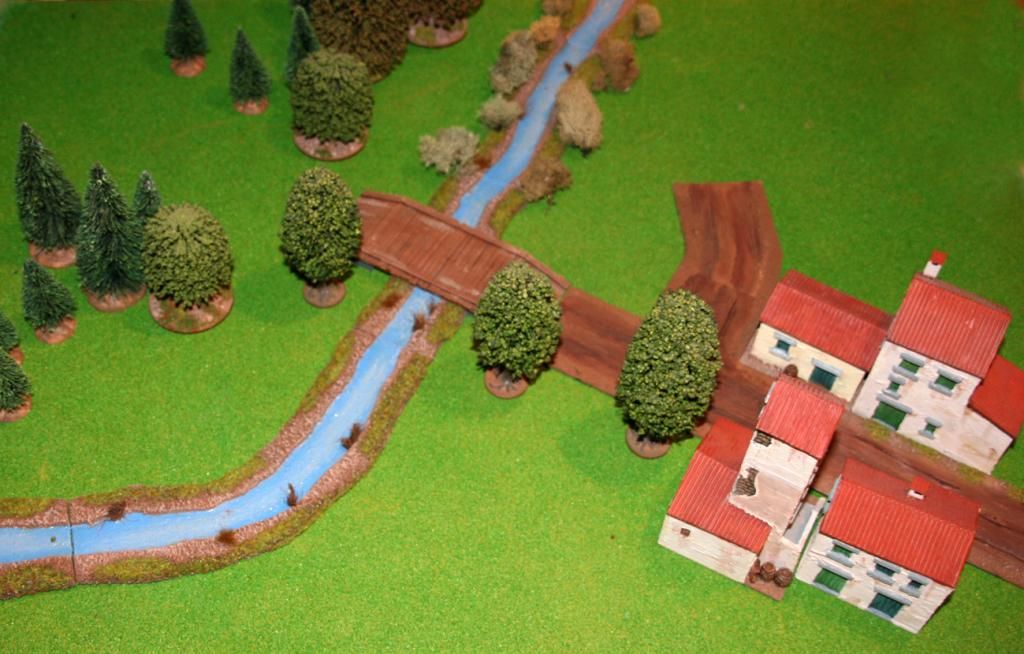
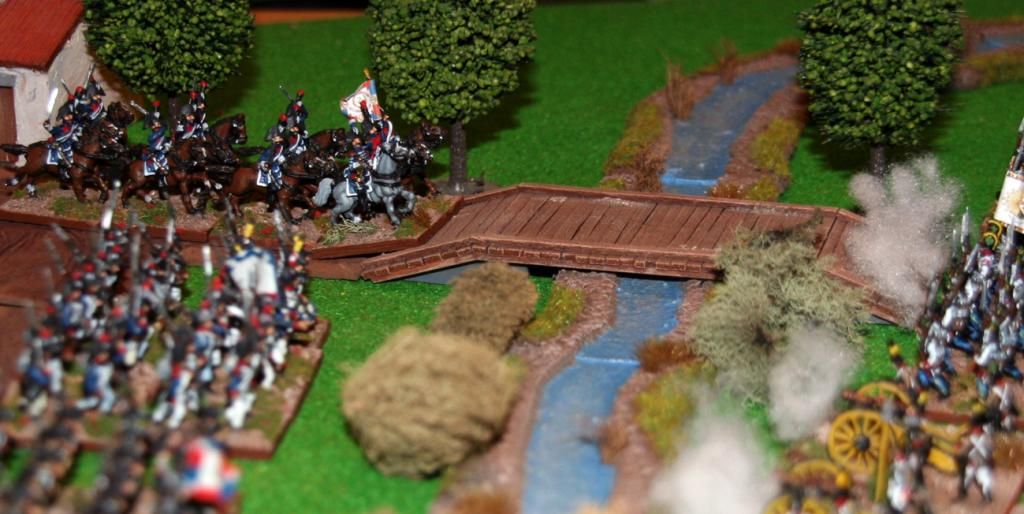
First I added a couple of buildings, then some trees, then the stream and bridge, and before I knew it I was putting Marengo on the table. It's a very squashed version though as I didn't have much space. In a proper game I'd have a this all a but more spread out, and I need a lot more of the road pieces.
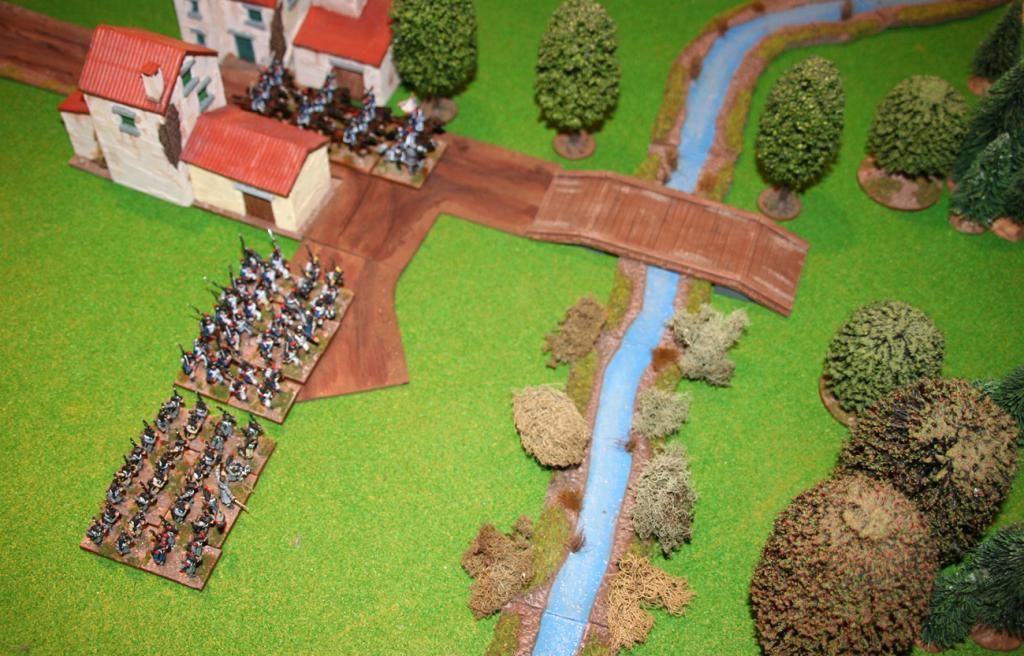
After putting out the terrain it only made sense to add some figures.
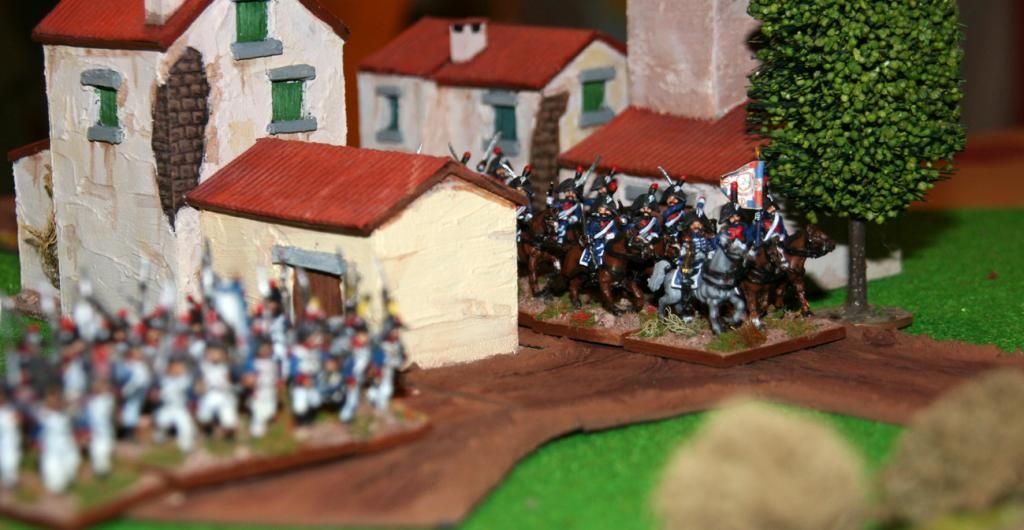
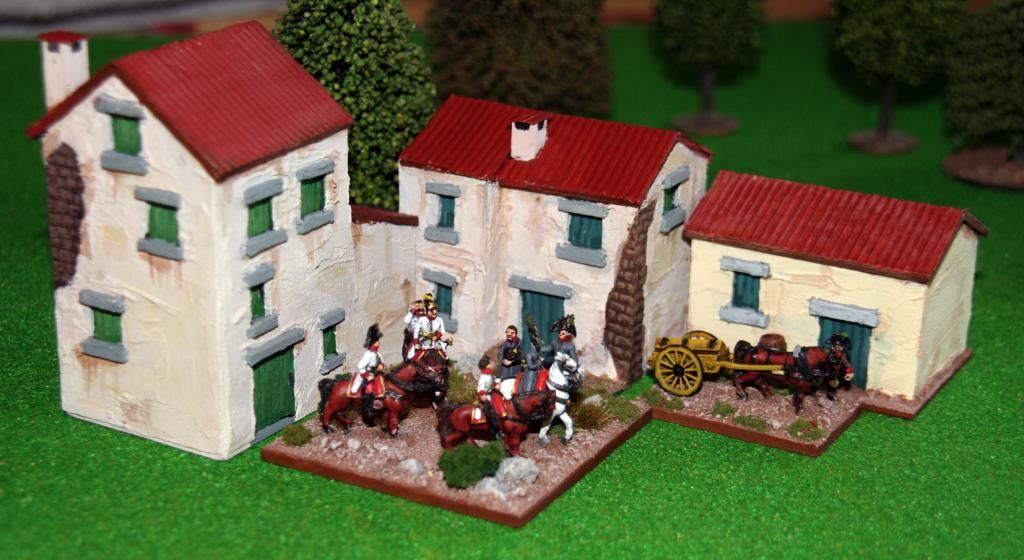
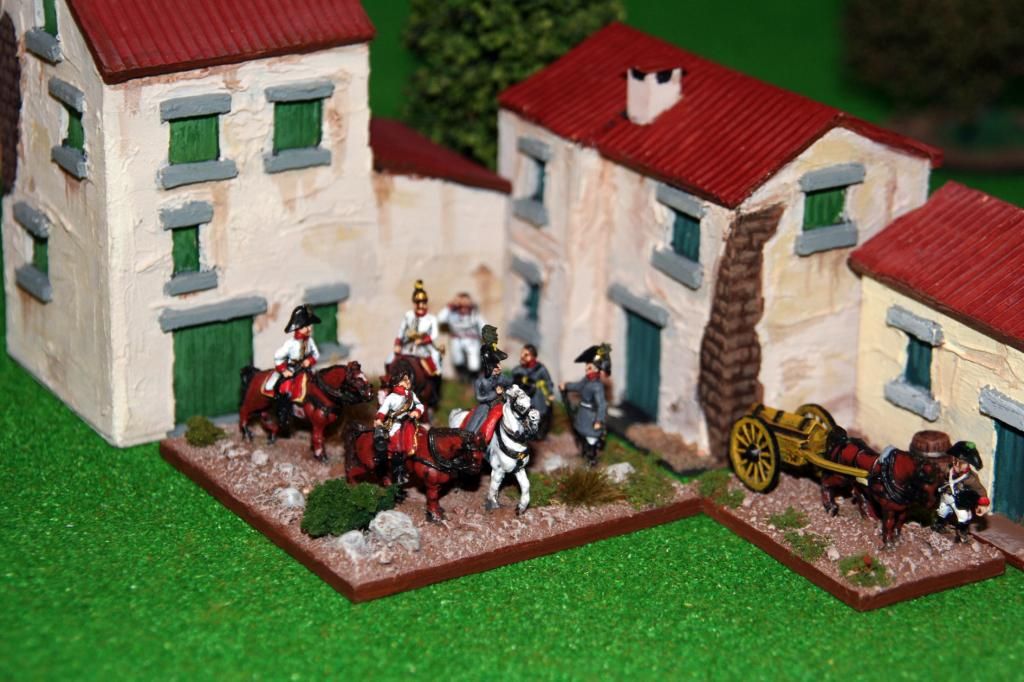
So here we have a small French force of two demi-brigades and a cavalry regiment marching through an Italian town and being met by a couple of Austrian Battalions supported by artillery.
So, after putting these out I've decided a few things. I need a lot more roads and a huge lot more gaming space, my streams are way too blue, and worst of all - my French Heavy Cavalry with added plumes... the plumes are a little fragile. Where's my super glue?
:(
Yet again real life has taken its toll on my Marengo project. A new job has eaten severely into my free time, and there's been very little improvement to my finances to allow any decent purchases - all that Austrian cavalry I need will have to wait a little longer.
But over the last month or so I have made some progress, but again time hasn't been kind enough to let me post on my blog until now.
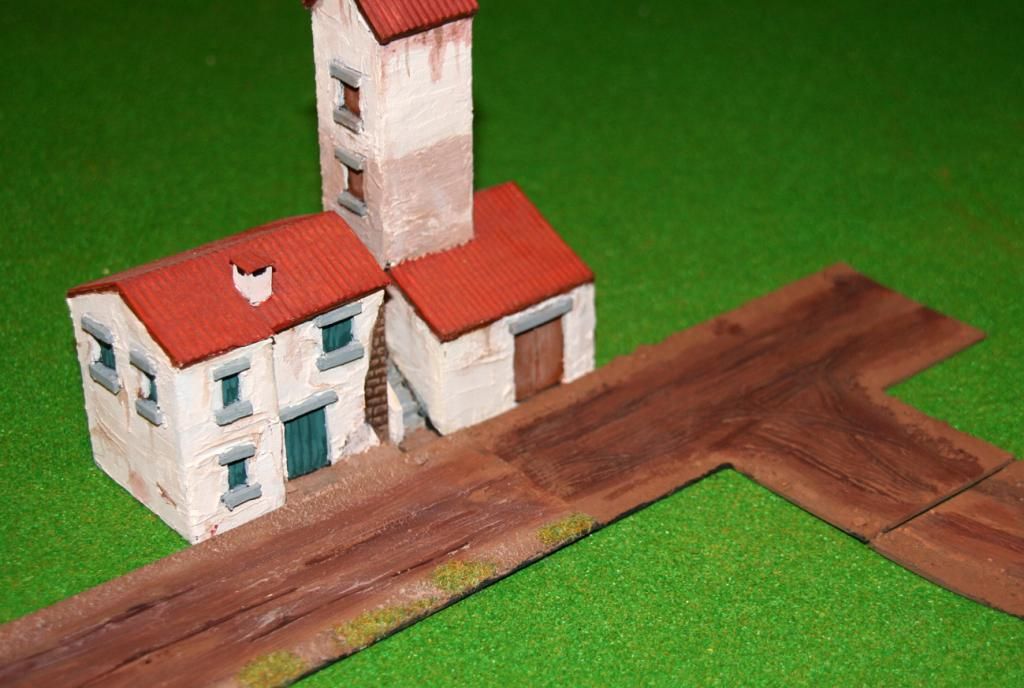
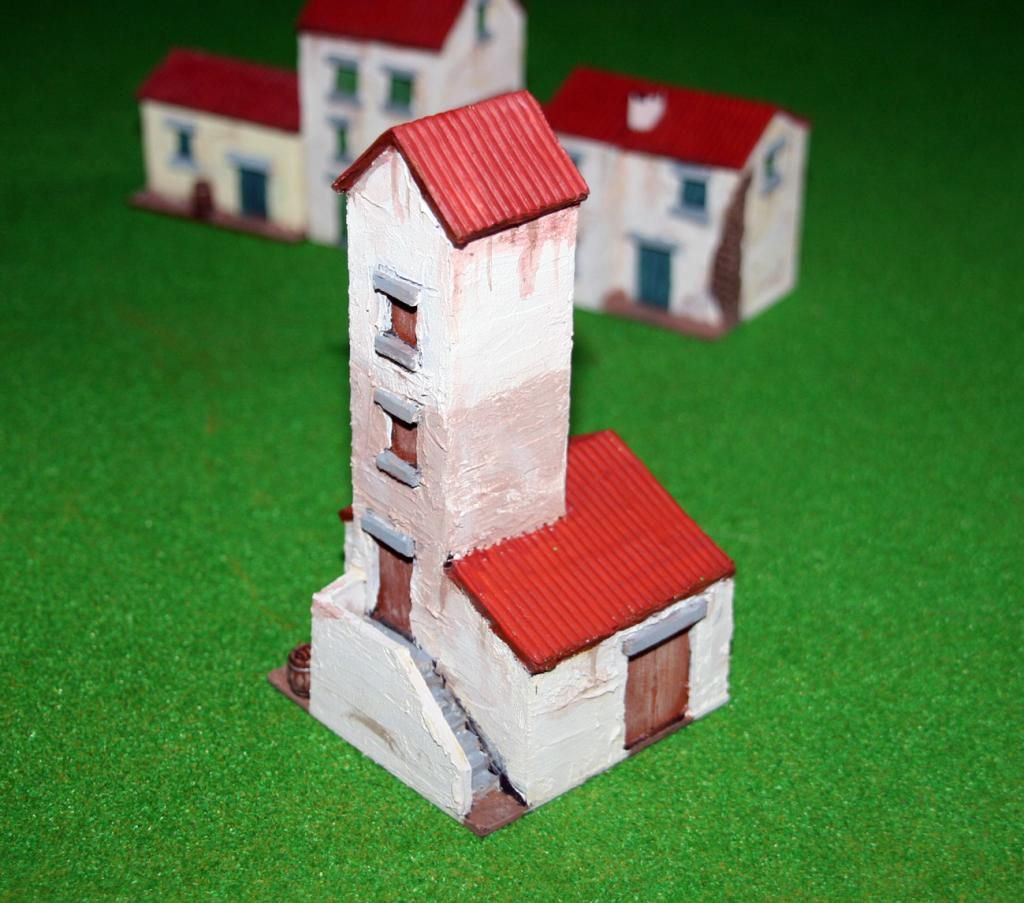
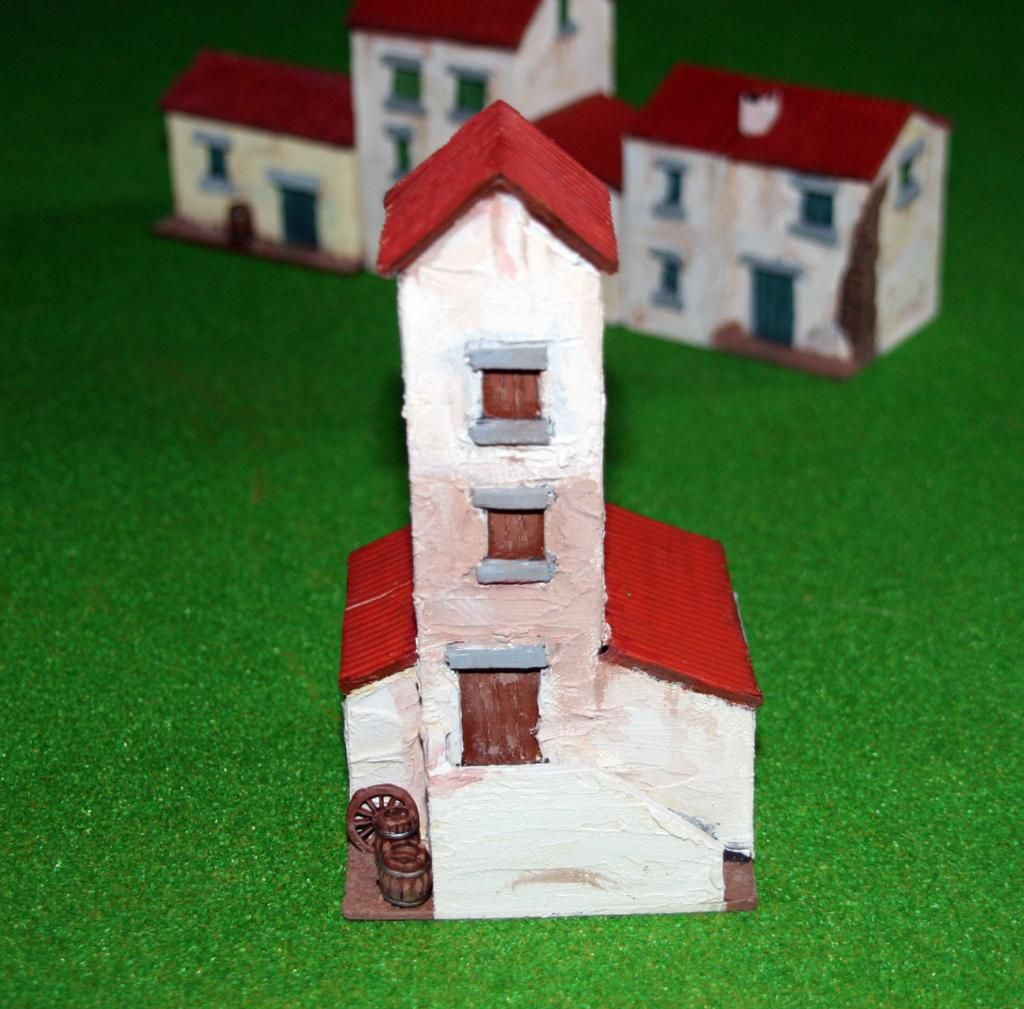
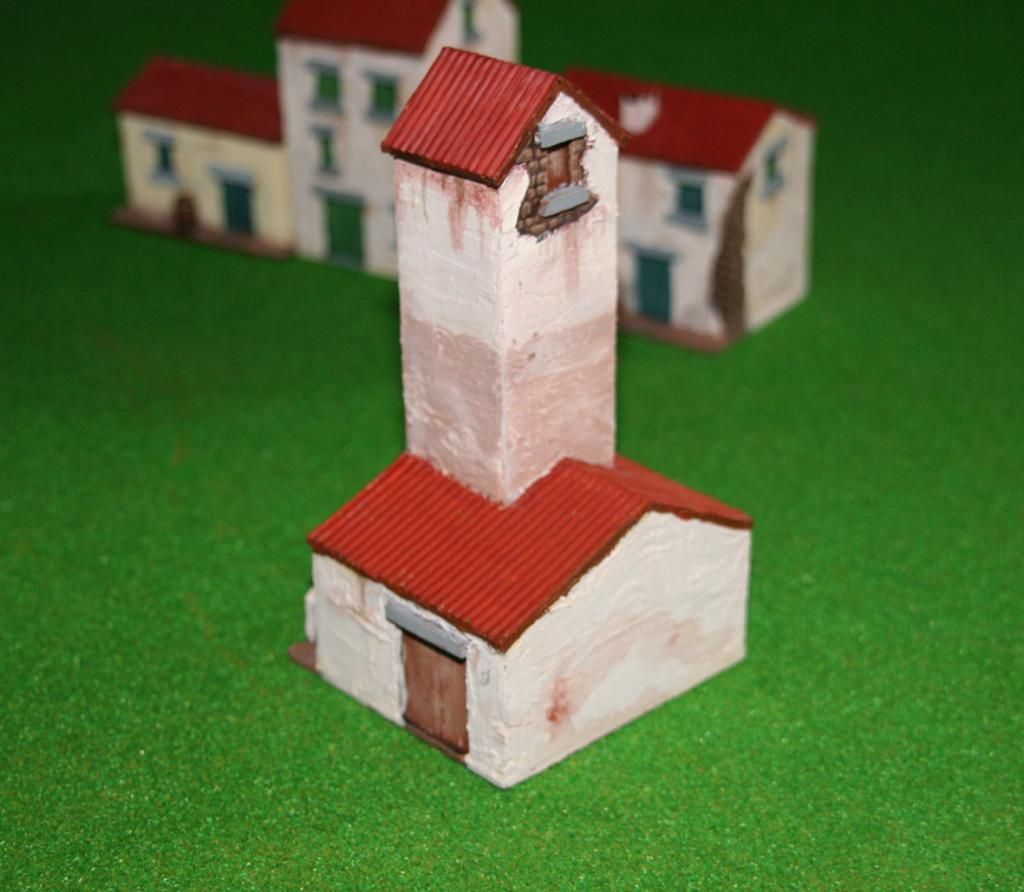
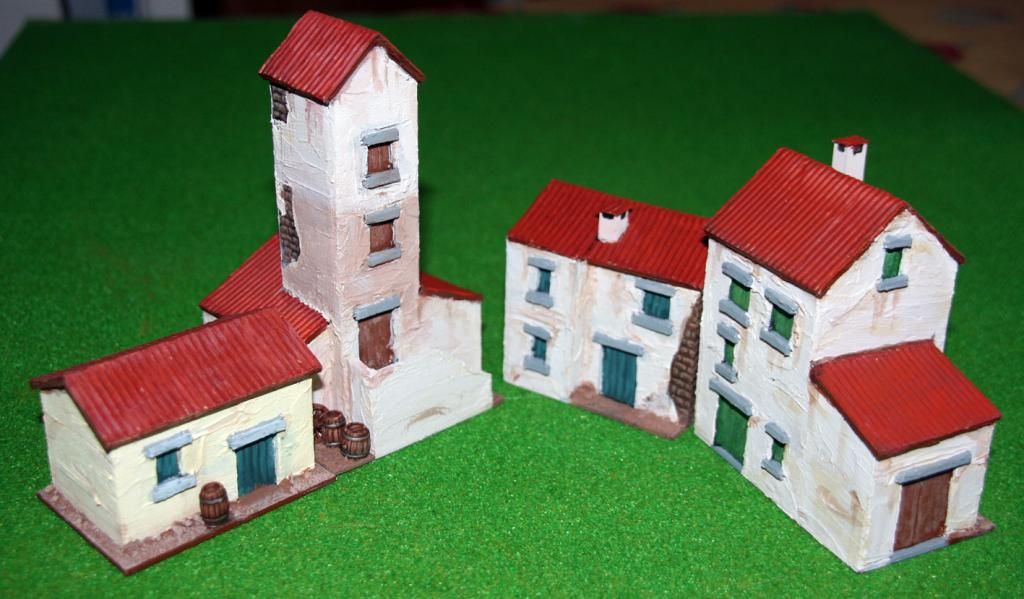
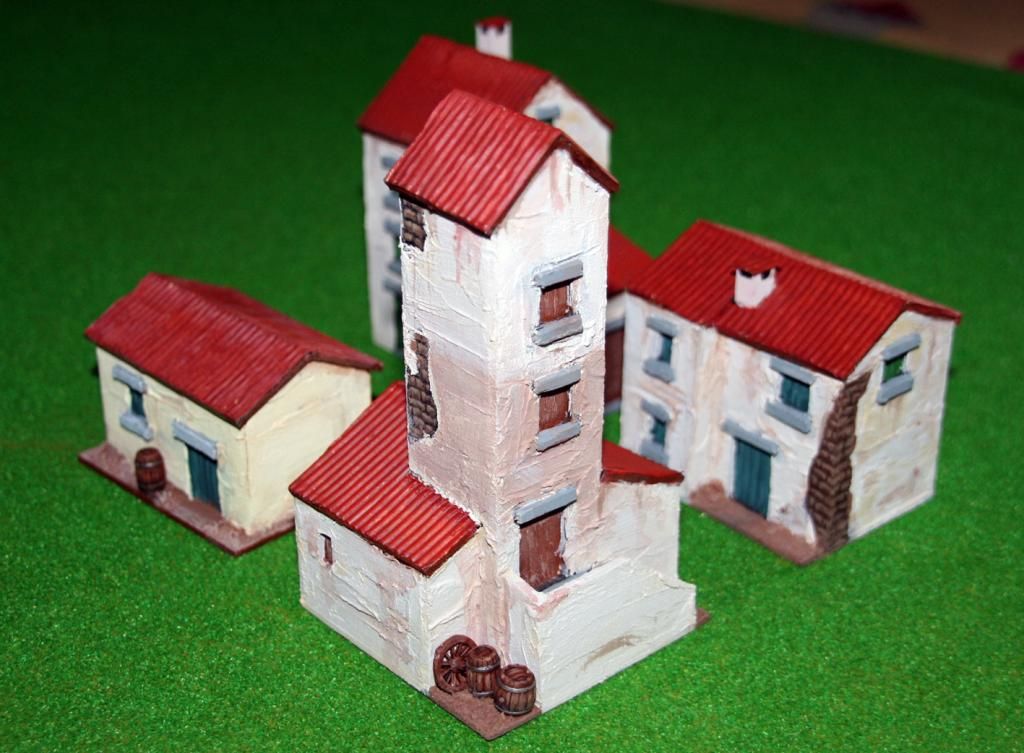
So here is an addition to my Marengo village scenery. The missing tower, which I knew next to nothing about. I'd actually started the model before being pointed in the right direction for some accurate reference by Dave Hollins, and I have to wonder why I haven't already got myself a copy of his Marengo 1800 book from Osprey.
The Tower at Marengo was apparently used for breeding silkworms, which is something else I was totally ignorant off, and there is great photographic reference to the building in Dave's book. Unfortunately, as I said, I'd started the model before seeing the reference and my Tower is fairly different to how the real one looked. But I'm justifying the difference so that I can use the model as any Northern Italian building, or possible even for any future Peninsular projects.
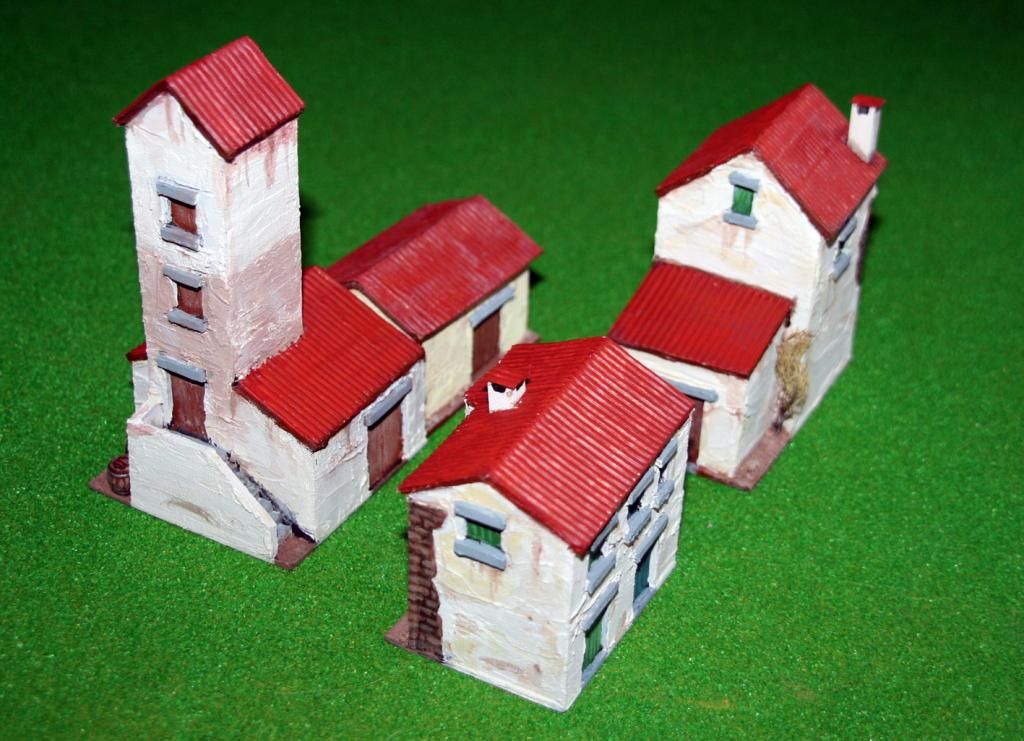
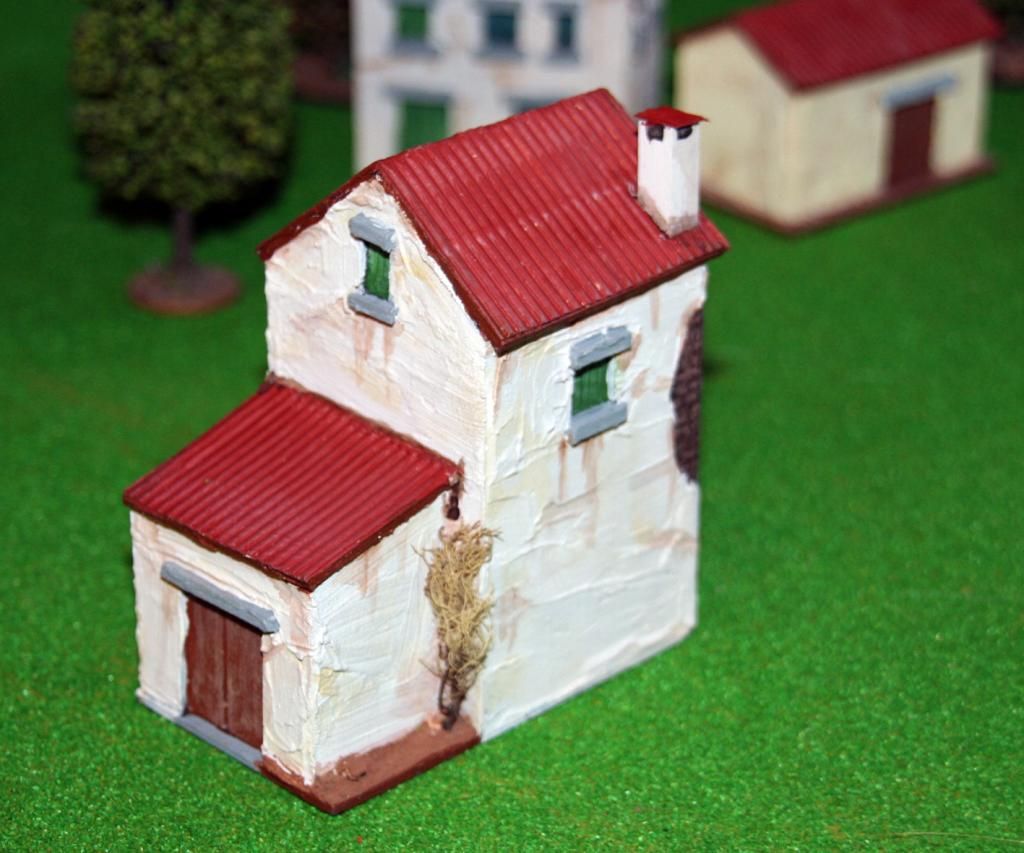
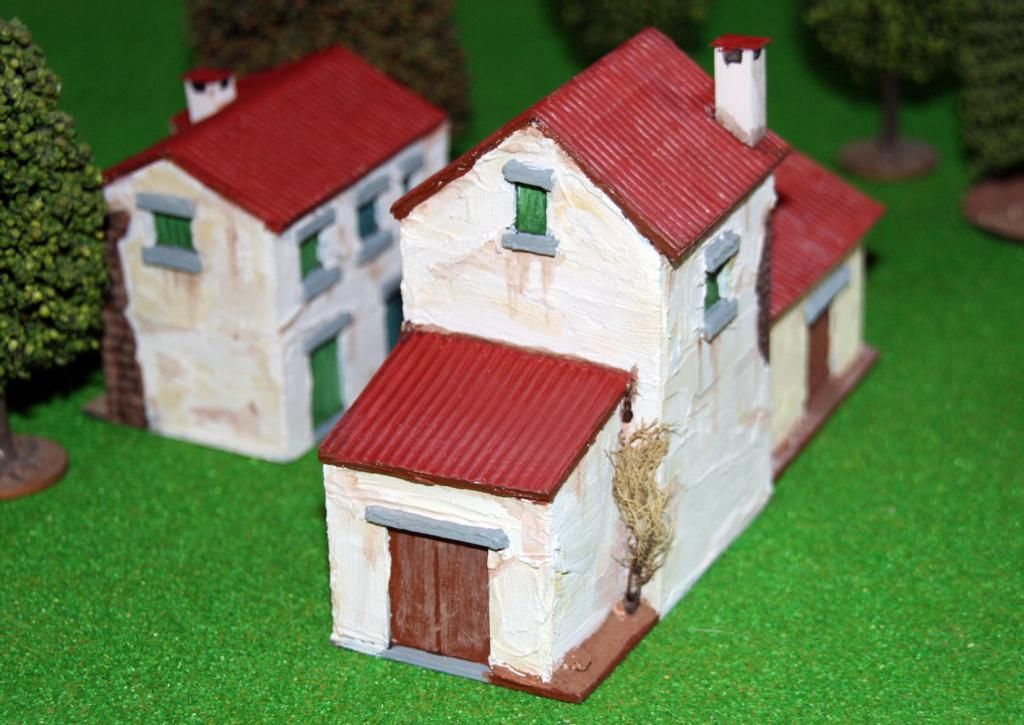
So here is the latest scratch-built building, again built from spare mounting card, food packaging and balsa wood, and painted with indoor wall paint from samplers I had lying around the garage.
I hope you like it.
And all the buildings together...
It's been a bit of a trying time at home, with one of our kids not very well and going into hospital, and then finding out that I have arthritis - which will only get worse as I get older. So my painting projects have been neglected yet again, but things are now a lot better and I'm getting back into my blog.
Recently I posted pics of the first building to represent Marengo, the village that was the focus of the battle and campaign which inspired this project. Although the model from Total Battle Systems was very nice, I didn't feel that it looked very Italian. I searched through the major suppliers and although there were some building I thought were perfect they were also very expensive.
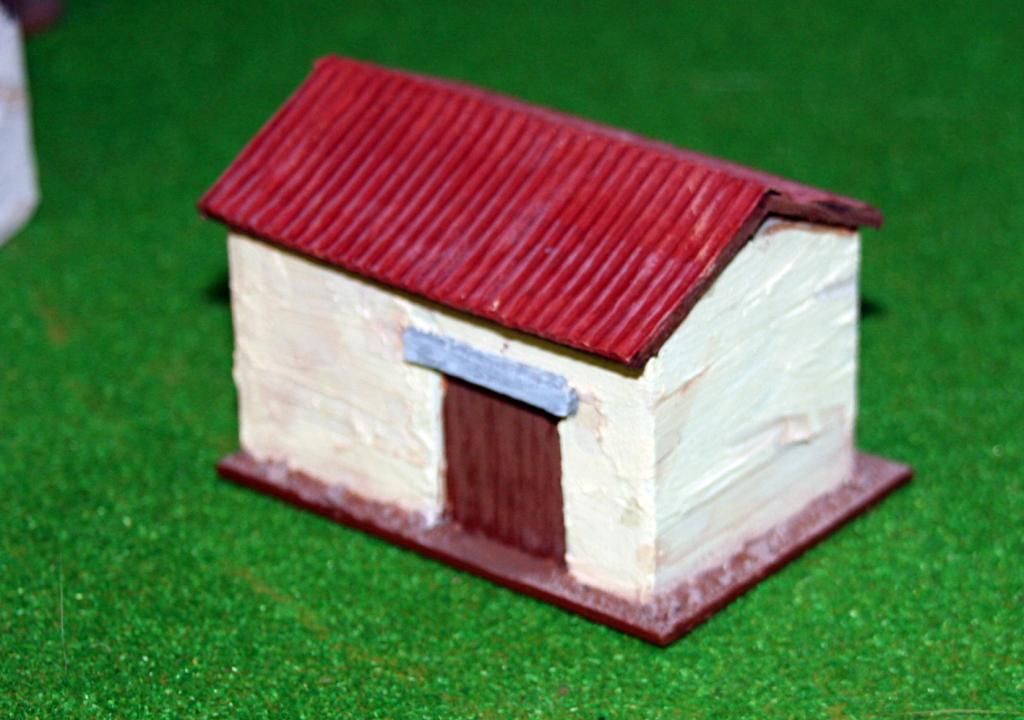
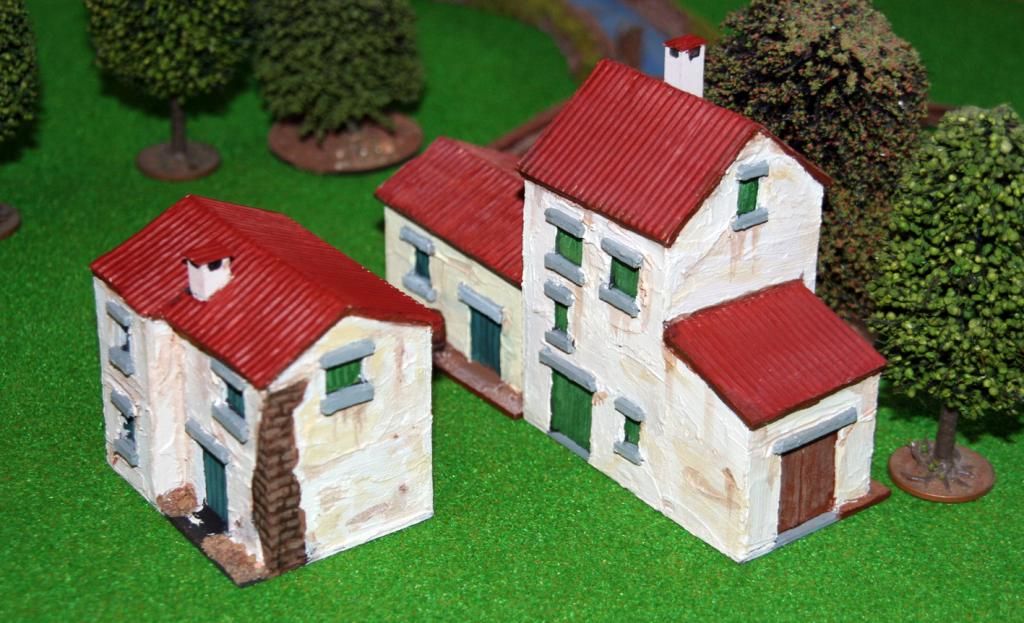
I decided to put my creativity to the test. I decided I didn't want absolutely perfect models - just something that looked right. I had a pile of strong mounting card lying under my desk and had some corrugated food packaging that could be used as roof tiling - so I started work. I built a house from card, used a coating of tiling grout to cover the walls, waited until it was dry and painted the walls with some cream wall paint that was sitting in the garage.
It looked great. It also looked huge. It was much too large for a games table. The scale was right, 15mm figures looked fine alongside the model, but when wargaming with figures at a scale of 1:20 it makes sense for the buildings to have a reduced footprint, all of which most gamers know - but I hadn't considered when starting my model.
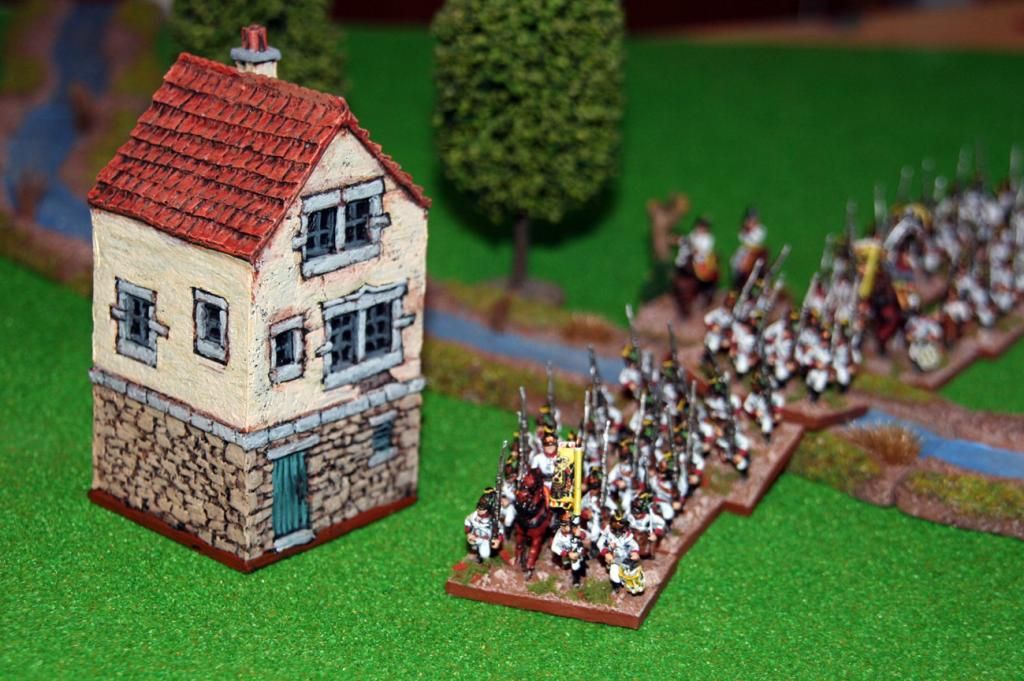
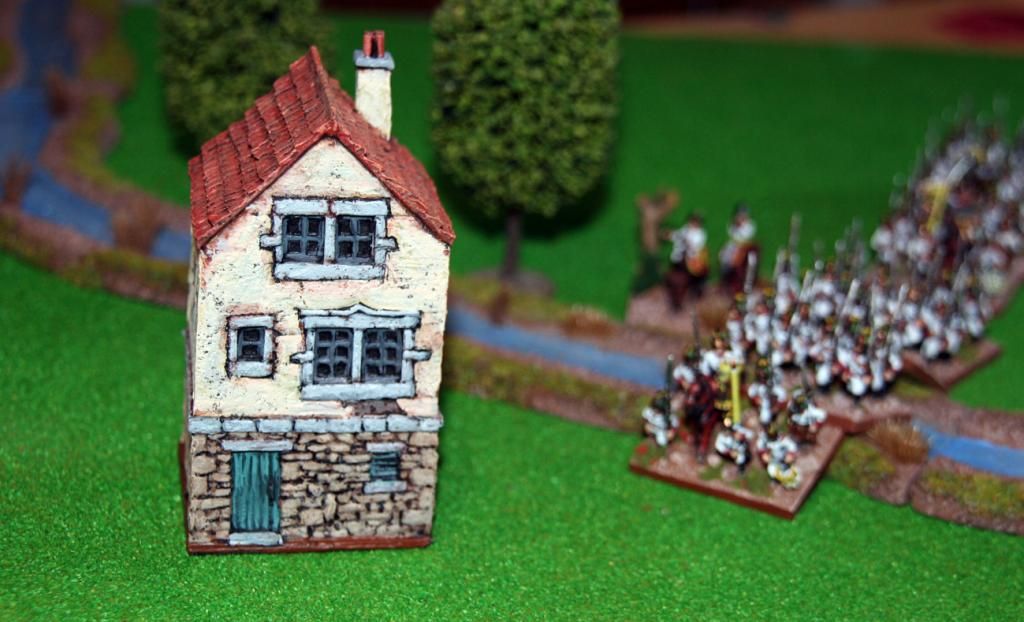
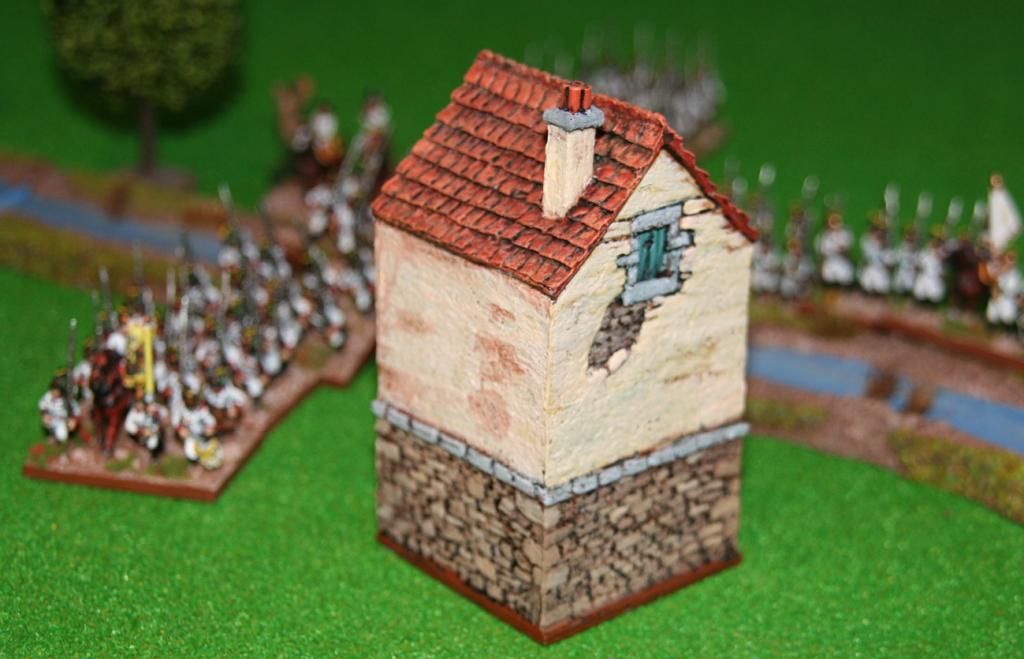
So, start again. I knew what I was doing this time, so with the help of a keen 7-year-old daughter who would have preferred me to be building a fairytale castle, and using the Total Battle Systems building for inspiration and a size reference, I built another building. Here's the result...
I was happy with the result so next up was a large barn-like building.
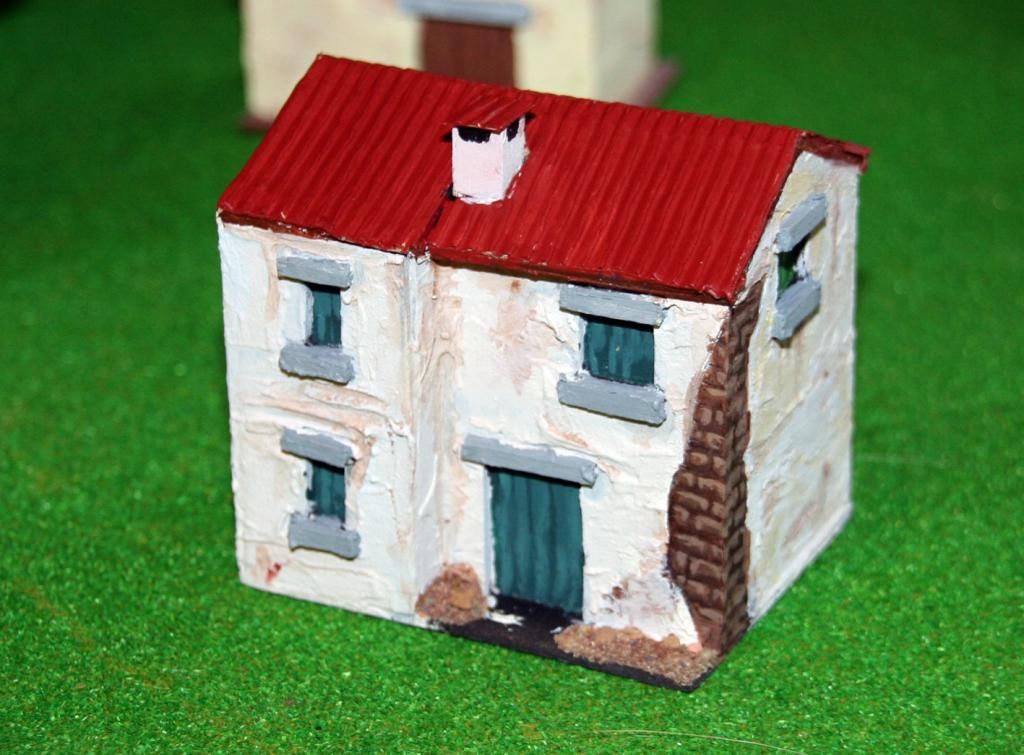
After the barn I built another house, this one a smaller two storey building. Each one was taking less time to build, and as I wasn't trying for perfection, the rough look was fine and actually helped these buildings look right for the period and area.
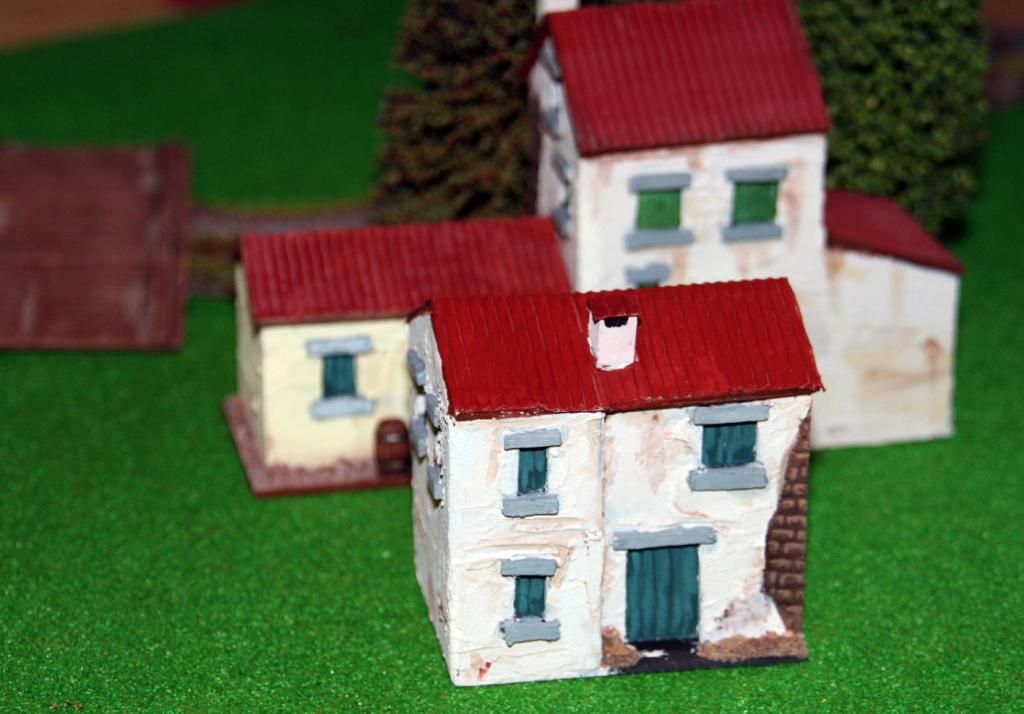
The models still need a little finishing off and touching up to the paintwork and the ground on the last one needs painted, but when they sit together I feel they look like a small Italian farming village. Here they are together and with some 15mm figures for scale.
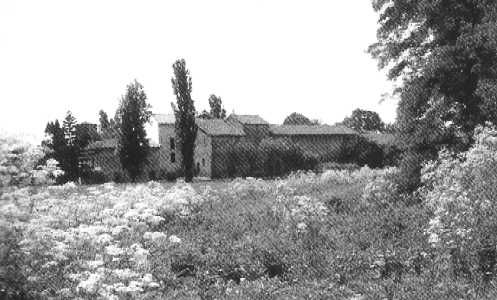
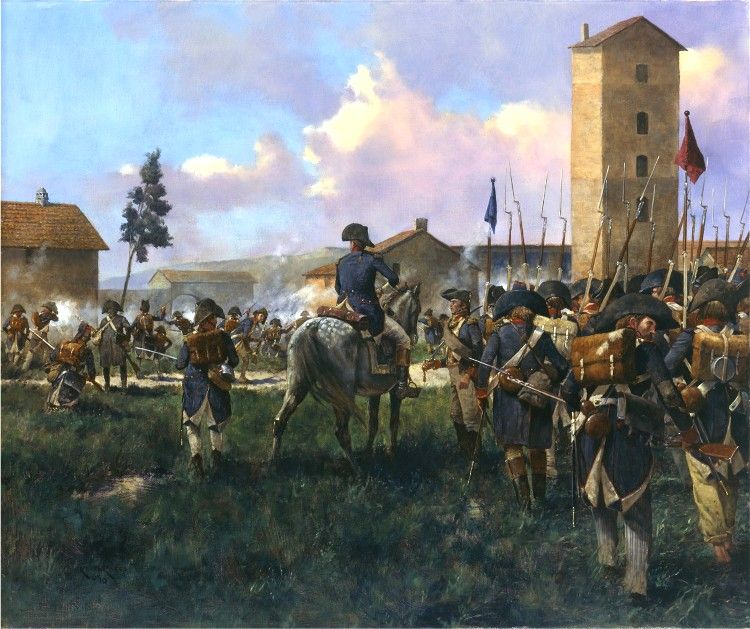
I feel that these will suffice to represent the village of Marengo. I've searched the internet for any pictorial evidence of how the town looked and the best I found was an old photograph (obviously not from 1800) which may or may not be Marengo, and a lovely and inspirational painting by Keith Rocco. The painting shows a tower which I may recreate as part of the town - although I have my doubts as to whether there was a tower at Marengo.
After finishing of the Fontanone Stream it seemed to make sense to get some buildings for the village the battle of Marengo was named after. Unforunately it seems though that 15mm Northern Italian buildings for the Napoleonic period are not all that easy to find. Russian, Northern European and Peninsular, and obviously Waterloo, are all pretty well covered, so for now I'll be making do with buildings that are close, but not perfect.
The first and only house so far is from Total Battle Systems "Big Battalions - 15mm Black Powder Europe" range, available here LINK.
This building is the "Three Storey Single House", which comes unpainted for £6 plus P&P. The mould is clean and almost without any bubbles, paints up very easily, and is one of the highest quality resin terrain pieces I've seen. The footprint is 50mm x 50mm, so it takes up little table space.
I've painted this house in a "Italian" colour scheme. It's not 100% correct, but its close enough. I'll definitely be getting some more of Total Battle Systems 15mm buildings, though the others are more obviously not Italian.